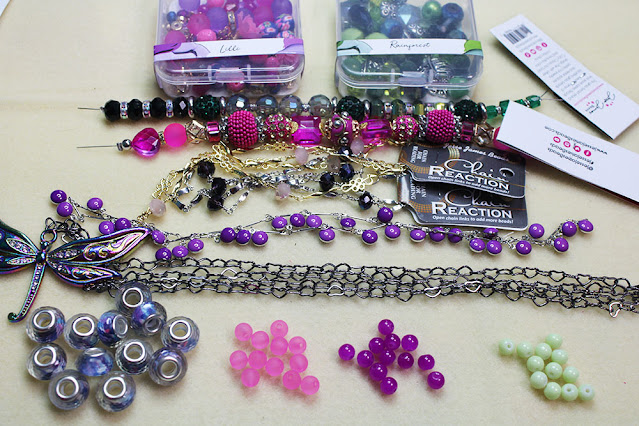
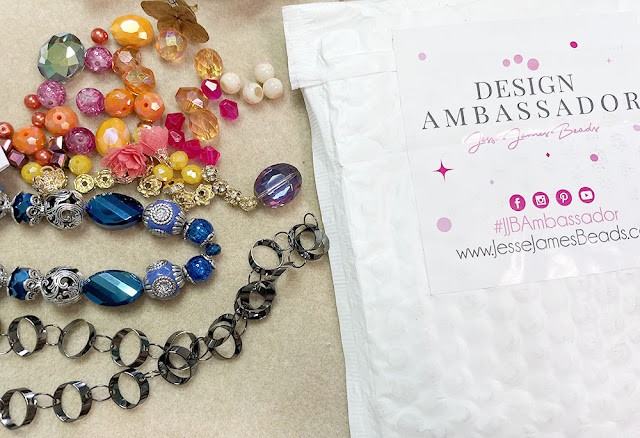
I received another package of goodies from Jesse James Beads as one of their Design Ambassadors. This one was full of bright pinks, purples, and greens and felt quite Spring-like.
I've already got a few ideas for some of these beauties and should hopefully be sharing those soon. For now, you can watch me unbox and take a good look at all of what I was sent.
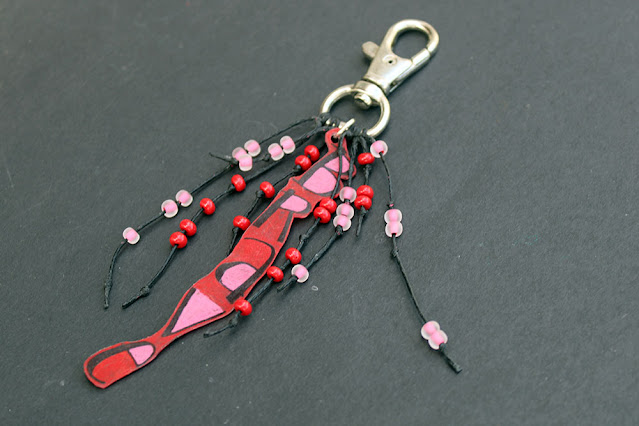
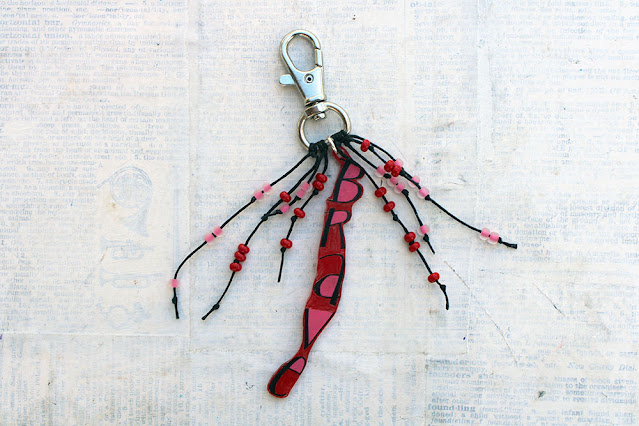
The Pirate Pretties Jewelry Challenge was on my list of Challenges and Inspirations for this month. Angela, the hostess, prompted us to make a purse or bookbag charm with both red and pink. It should also include either silver or rose gold and optionally charms or dangles. If you've been around here much, you know that pink isn't one of my favorites. And, combining red with it felt even more challenging. To top it off, I have never made purse or bookbag charms and didn't know where to begin. Fortunately, I happened to have a set of swivel clasps* in my stash (in SILVER - yay).
And, I had just received an order of shrink plastic as well as recently picked a Word of the Year: Brave. All of these things culminated in this purse charm.
It really is a super easy project and could be fun for just about any age group.
Of course, you don't have to use a word for the charm. A simple drawing or stamp with permanent ink would also work. In addition, you can color it in with either colored pencils (like I did) or with permanent markers. It really is a versatile medium.
Let me know if you have any questions at all about the process!
So, have you picked a word of the year too?
*As an Amazon Associate, I earn from qualifying purchases.
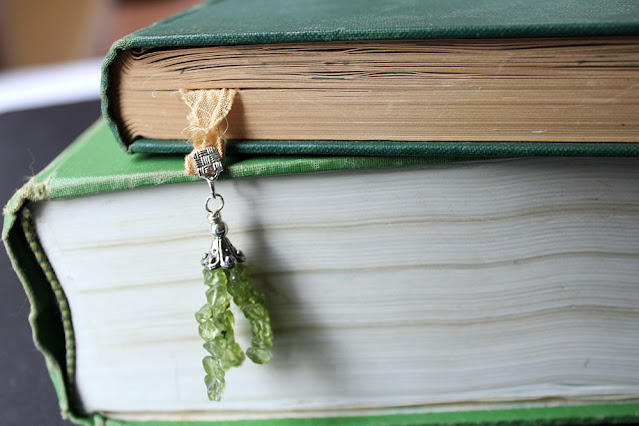
One of the challenges I've been participating in this year has been the Pirate Pretties Jewelry Challenge from Angela of Pirate Pretties Jewelry. This is a birthstone challenge that gives us four prompts each month to create something and reveal it on the 15th. There's a color, metal choice, project type, and optional fun element(s). Here are the parameters for August: color - Peridot, metals - silver or bronze, project - bookmark, and fun elements - tassel or dangle.
Since the only actual peridot I have in my stash were some little chips, I knew those would be used. And, because they are fairly small, I thought I might try my hand at using them to make tassels for a simple bookmark. It worked!
However, it was definitely a learning process. In fact, I recorded the whole thing (because of course I did) for a Bead Tassel Bookmark Tutorial on YouTube.
In the end, I think we all may have learned a little something - like how big of a dork I am.
Don't hesitate to let me know if you have any questions or suggestions about this process.
Holy Bead Box! How have I made it to number sixteen!? And, I don't see me stopping there either. Ha. Let me quickly explain my bead box for those of you who are just finding me (Hiiiiii! 👋👋) My bead box is a basic 17-compartment plastic organizer. I try to keep it stocked with one design per compartment to take with me when I travel or to use when I'm uninspired. It's come in very handy over the years. (I'll link all the other versions at the bottom of this post.)
I like to share what I've packed into each of these boxes and then reveal how (and if) they came together. This particular iteration of the box was actually stocked at the end of June but I haven't touched it yet. I suppose that's a good sign that I've been inspired in other ways. However, now that I'm looking at these designs, I'm not sure what I was thinking when I packed the box. Luckily, I did sketch out a few of them (but not all of them 🤦♀️). Here's what I've got.
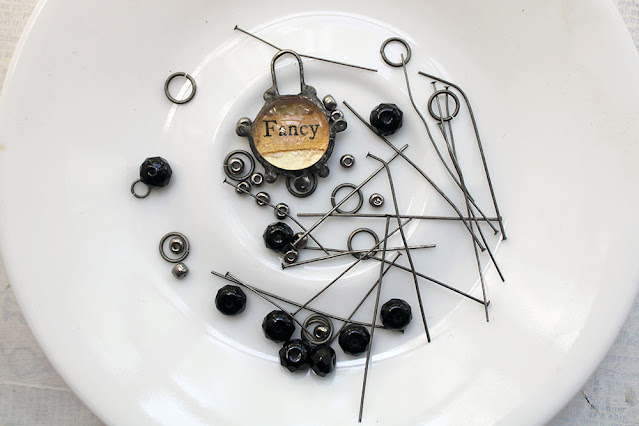
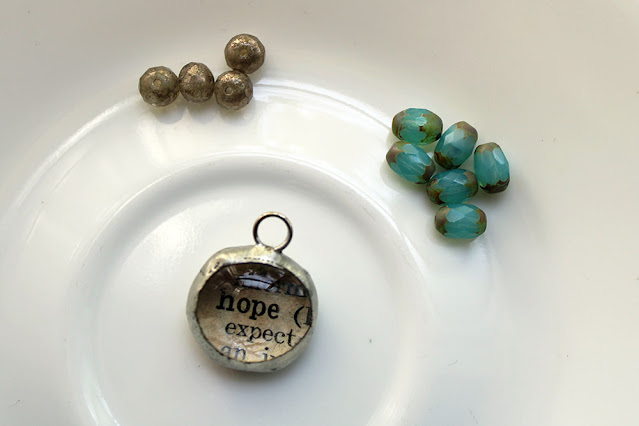
This soldered word bubble, along with the beads, jump rings, and head pins will eventually become a necklace. I plan to use the larger beads as links for a chain and have the seed beads as dangles from the chain. Hopefully, this will echo the little loops on the outside of the charm. That's the idea anyway.
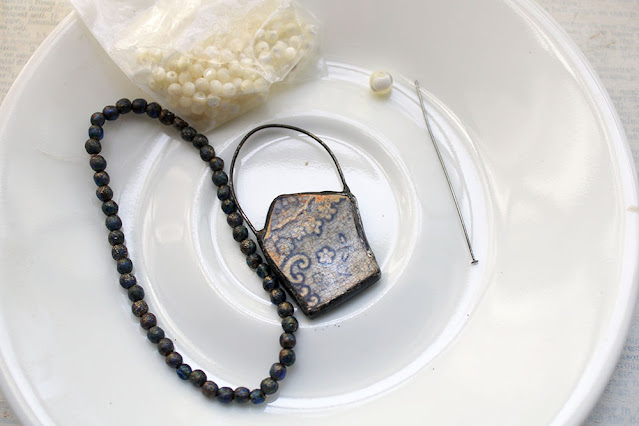
The focal to this necklace is that house-shaped soldered china shard. My sketch shows a large jump ring and the larger shell bead dangle hanging within the loop. (I've just added the jumping.) The other beads will be used for the chain of the necklace.
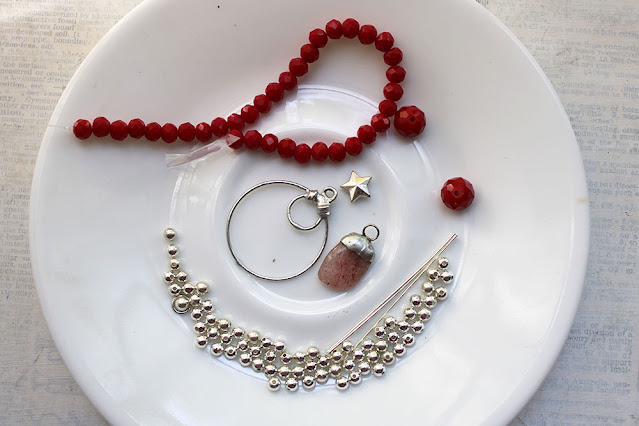
I seriously had to refer to my sketch to figure out what's supposed to be going on here. Of course, the soldered wire circles are part of the pendant. I'll have the soldered stone, the star, and a red bead dangling from them. The large red beads will also be used as part of the pendant while the small red ones and the silver beads will make up the chain. Easy enough, right?
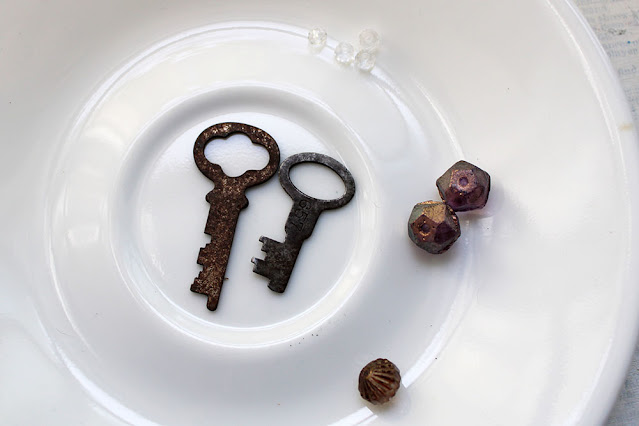
I hardly ever create mismatched earrings, but that's the idea for these.
This simple mix of a word bubble and some pretty beads will make up a bracelet.
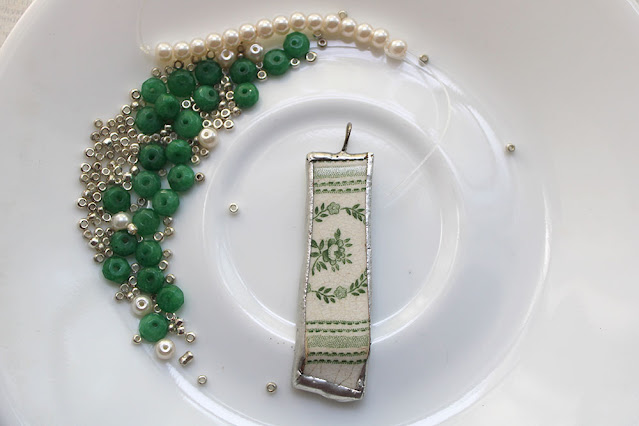
I'm kinda tickled that I could match these greens so well. The green stone beads, glass pearls, and silver seed beads will become a pretty beaded chain for this found shard pendant.
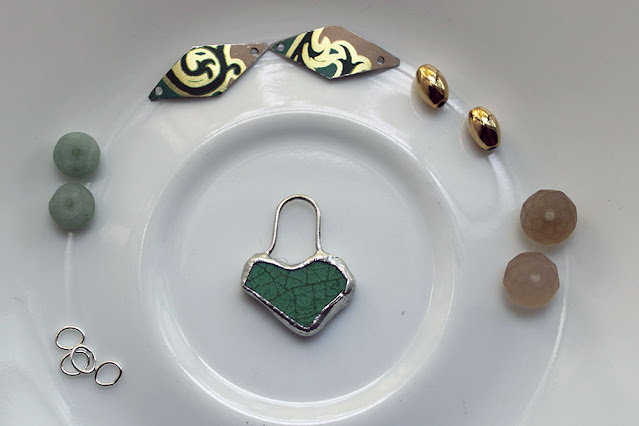
This shard charm in the shape of a heart is too neat not to use. While it would make a fine bracelet charm, I want it to be a bit more prominent, so it will be the solitary focal in a necklace. The selected beads and tin will be used in the chain. I expect to finish it out with some metal chain.
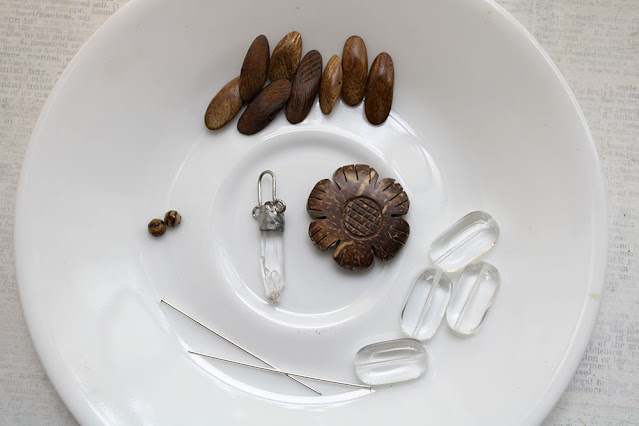
By now you can probably tell that I focused on using some of my soldered bits for this box. I love this little quartz point but it needs a little something else with it. The wooden flower has been in my stash (along with a few others) for quite a while. I think they pair up nicely together for a focal (along with a few tiny bead dangles.) The other wood and glass beads will make up some of the handmade chain for this necklace.
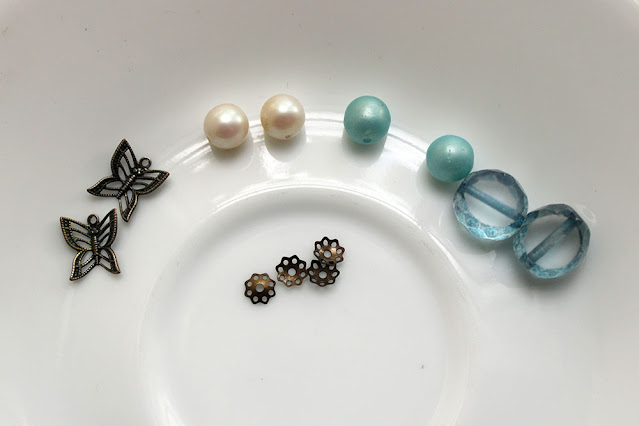
After so many necklace designs, I knew I needed to throw in a few earrings so I sifted through some brass charms in my stash. The little butterfly charms will dangle from some sort of stack of the other beads - maybe. 🤷♀️ I didn't sketch this one out. I'm sure it seemed like an obvious design at the time. I'll figure it out, I'm sure.
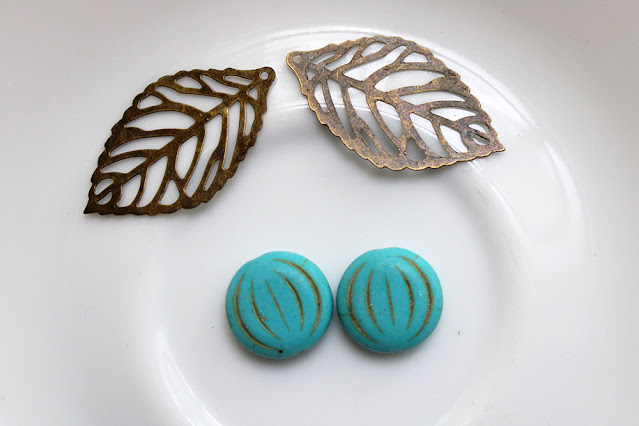
This earring design seems a bit more obvious. I do love both the brass leaves and those turquoise-colored beads. These should turn out quite lovely and simple.
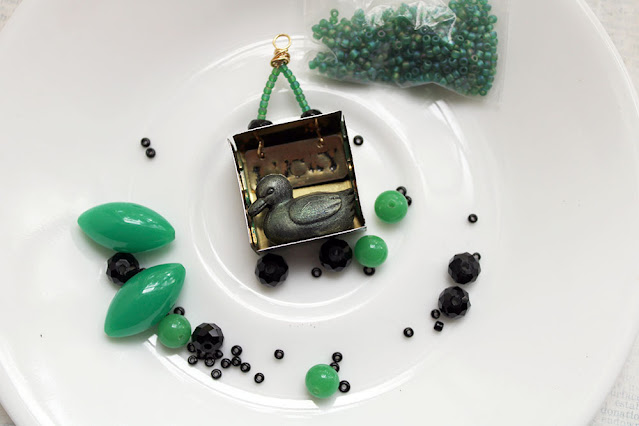
There's one large compartment in the bead box, and that's where this design sits. The Lucky Duck Pendant was one of my assemblage projects for both my 100 Day Project and for Ina's #4Core. You can click the link to watch my tutorial on making it. It will be the focal piece to a green and black necklace chain with the beads gathered there.
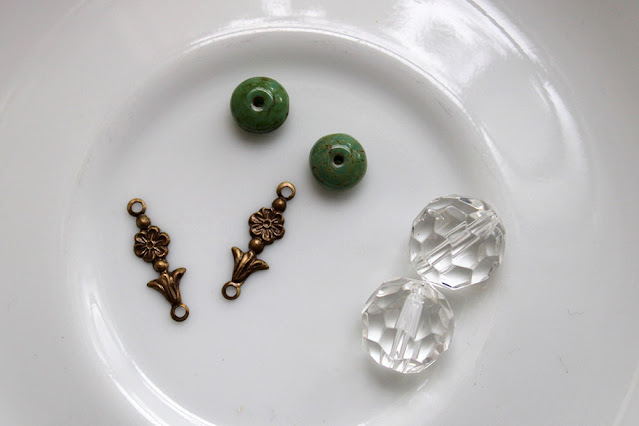
Back to the earring designs...These brass connectors will be wire-wrapped to the beads here - somehow. Again, I'll figure it out.
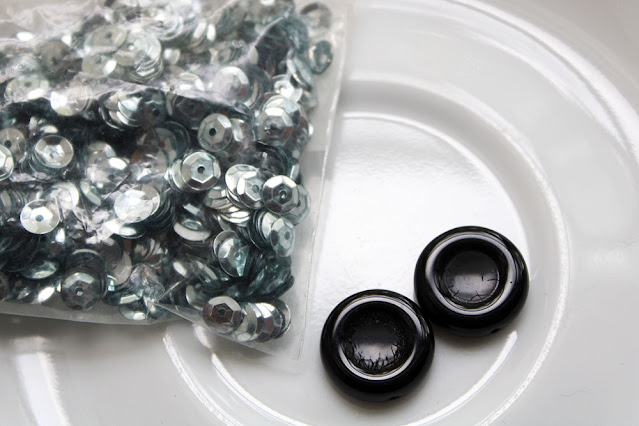
THIS design I did sketch out. (Whew!!) I've had these pale, pale blue sequins for ages. I'm glad I'll be working them into a pair of earrings. I'll wire up and shape the sequins into a circle and the black beads will hang from the circles. They should be interesting.
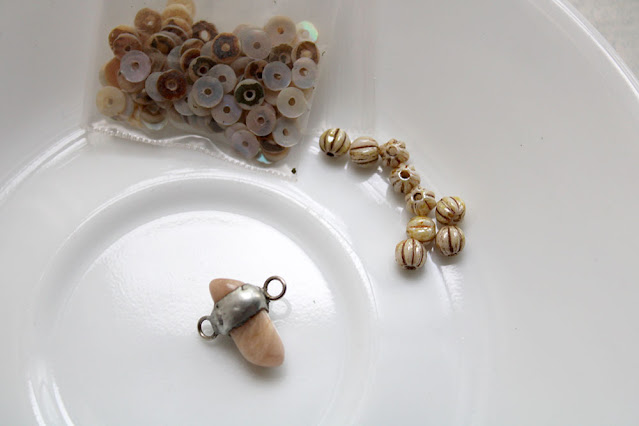
This little soldered stone along with those mother-of-pearl heishi beads and the little Czech glass melon beads will become a bracelet. I think it will be a cute little thing.
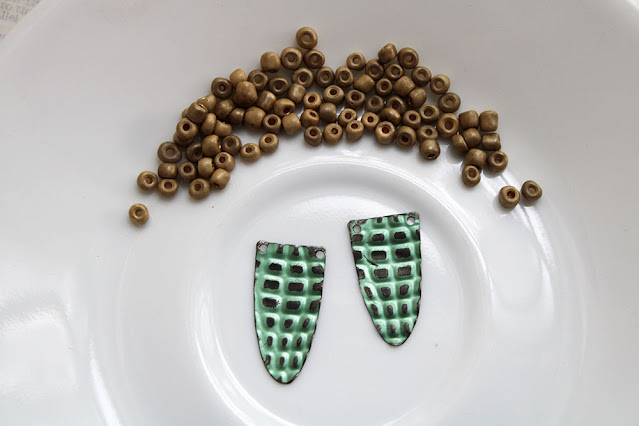
I've moved those little alligator-skin-looking tin pieces around on my desk for a while now. The khaki-colored e-beads will be looped at the top of them for a pair of interesting earrings. They feel kinda safari-inspired.
I really wish I had sketched out what I had in mind for these. I know they will be earrings...but beyond that, I have only inklings of what I intended. I have an idea of what I can do but am not sure if it was my original intent. I suppose it doesn't matter anymore.
The design for these earrings feels pretty obvious to me and doesn't need a sketch. They should be pretty cute when they're finished.
And, that's what I have in mind for Bead Box 16. I haven't started on it at all yet as I've been so busy with ICAD and other projects. And, that's a good thing. This box isn't really intended for everyday use. I am itching to start on these now that I've been reminded of what's in it. Maybe another day! For now, here are the other Bead Box versions - stocked and reveals.
It's funny how just pulling out some random materials can inspire you and result in something pretty awesome. That was the case with these fun earrings.
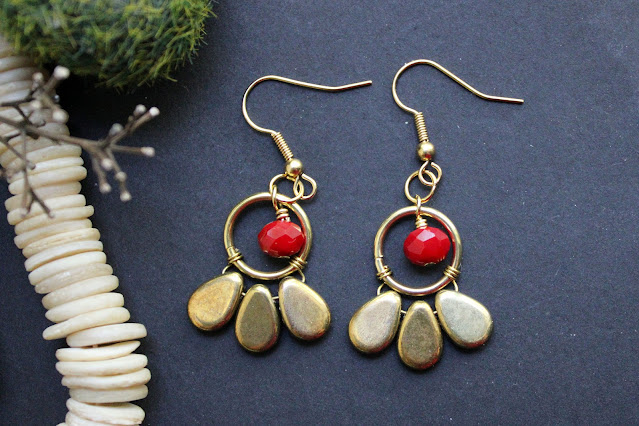
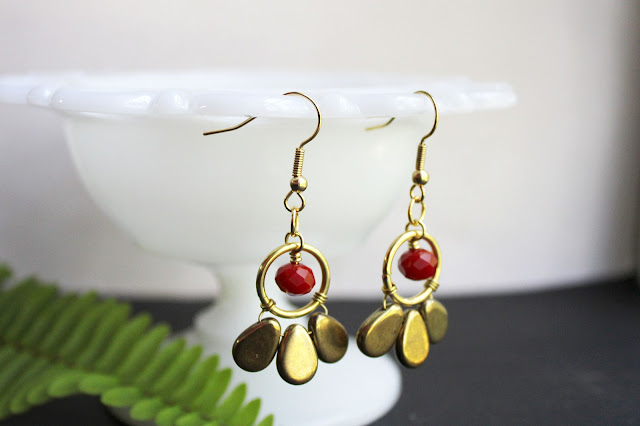
The monthly birthstone Pirates Pretty Jewelry Challenge from Angela at Pirate Pretties Jewelry had me searching my stash for ruby red and gold to make earrings. I happened to pull out those big rings and spied the golden glass teardrop beads in the same drawer. As I laid them together on my desk, the bead strand curved around the rings, and the idea for these earrings was born.
In all honesty, they're so very simple. But, as is often the case, simple can be best. Once the idea was fully formed, I popped on the video camera and recorded a quick video to share with you on how to make your own Golden Petal Earrings.
I really am tickled with how they came together and am glad I have more of those teardrop beads in a few different colors so I can experiment with other palettes too. But, these are pretty stunning in their gold and pop of red combination.
Head on over to the short video and let me know what you think. What color should I try next?
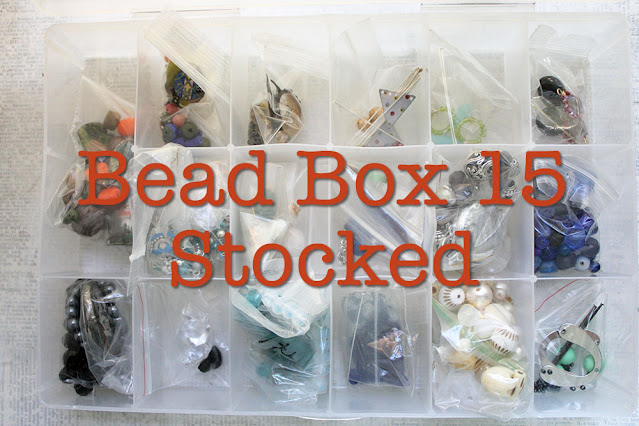
It's been months and months since I've had both the need and the urge to pack another Bead Box. Really, that's because I haven't been far from home in months and my inspiration has been dipping lately too. But, packing for my long-postponed (pre-pandemic) trip to visit my cousin in Ohio seemed to remedy both causes. Let me explain that my Bead Box is a simply 17-compartment plastic organizer that I pack with the components for 17 designs to be made when I travel or my inspiration wanes. As I was preparing for my trip, I realized that it was the perfect opportunity to stock my box. This is the FIFTEENTH iteration of this box.
Packing this box had some ups and downs. To begin, I started by gathering the pieces needed for several designs that had been sketched while I was still in the bed with my broken ankle. From there, I began cleaning off some bits from my desk that were simple enough to pair up. And, I dove into my Jesse James Secret Stash Box. Then...the real inspiration hit. I'll get to all that in a bit. Let's start with compartment one.
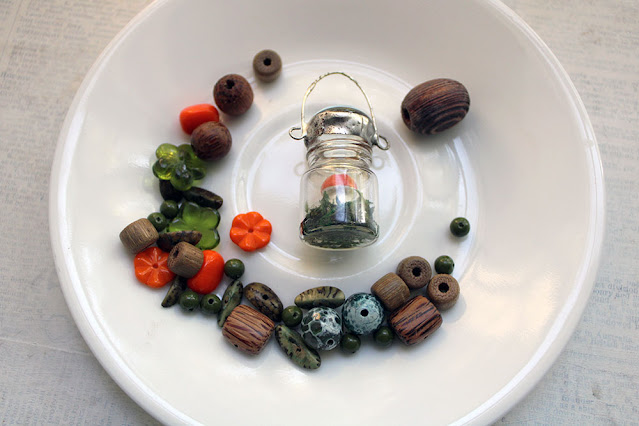
This design actually came about in my second wave of designs (things that were on my desk) but was added to the first compartment because it's the largest, and the pendant would best fit in there. Adding a chain to the soldered mushroom jar pendant took a little thought, but I realized that I wanted to keep the palette for this necklace fairly simple and organic-feeling. I pulled out some greens, wood beads, and a few pops of orange. (I have to admit that more will be added to this little spread as I forgot to account for the large size of the holes in the wooden beads.)
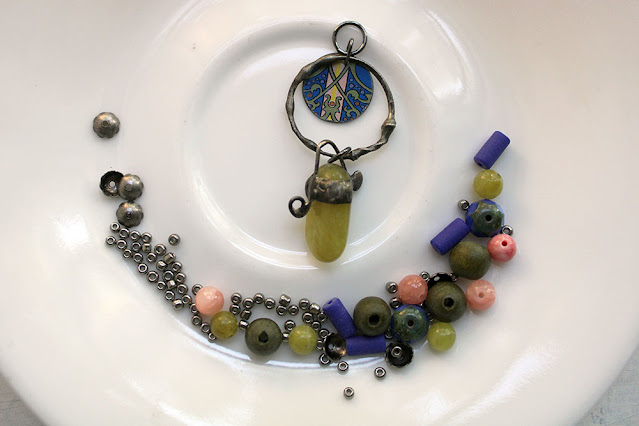
Here's where the sketched designs actually began. In reality, the idea for this one was really only for how to pull the pendant together. I hadn't given the chain much thought other than to scribble the words "boob-length" next to it. Geez! In any case, I picked out a few beads that I think go with the colors of the tin and the soldered stone. These beads will help make up the chain.
This was yet another sketched design, but it was basically just the idea to pair the "zeal" charm with the soldered ring. Beyond that, I picked out the beads and chain as I was assembling the rest of the box.
This was the last of the sketched ideas. The little tin triangles didn't have the holes punched in them yet, so I hoped I could get five of them in that tiny space. Whew, I was lucky. The little beads match the colors of the dots on the tin. These should be pretty cute.
Here's where I started cleaning off my bead mat. I made quite a few of these bead-wrapped beads as I was healing. I decided that I liked the sparkly lime with the matte of that light blue cultured sea glass.
And, here's another pair of wrapped beads. You can't go wrong with some large black beads.
My friend, Jenny, has a new tutorial out for making her signature tassel necklaces. And, she asked me to read through it for her. Of course, I couldn't resist making one of the tassels myself. It was sitting on my desk too. Next up is to complete the chain of it to turn it into a necklace.
From there, I dove into some of the beads from the Secret Stash I received from Jesse James Beads as part of being a Design Ambassador. Those little puffball charms are too adorable. And, once again, I'm taken with pairing them with something on the opposite end of the spectrum: shiny, sparkly, hard. They should work out nicely.
Let me go ahead and admit to you that I ended up with so many ideas for this box that this one shares a cubby with the previous design. Again, these are some of my Jesse James Beads from the Secret Stash. In the video, I mention that this connector would make a great bracelet focal. And, that's just what I indeed to use it for here too. The rest of the beads will help make up the chain.
This design and the next also share a compartment. These little tin rectangles have been floating around on my desk for AGES. Until I set them next to those bright blue crackle beads, they didn't seem to work with anything else. The crackle beads and bead caps are also from Jesse James.
I was smitten with those resin and wood charms as soon as I pulled them from the mix in my Secret Stash. It just took a little moving of things around from the box to decide what they would go best with (and, these may be perfect for the Honey Do List from SJ Designs Jewelry this month too. Yay!!)
I found the soldered pendant in a bowl on my desk. I had completely forgotten about it. I realized that some of the gray and neutral beads from Jesse James would be perfect for it. I can't wait to see this one pulled together.
After that, I felt like I was out of ideas. I packed those first ones in a mad rush, just using old ideas and what I had already out in front of me. I thought that the last several compartments of my bead box might travel with me empty. But, then I started packing my suitcase. I realized that I was lacking some jewelry pieces to go with each of my outfits. And, that fueled these last several pieces. I simply envisioned what jewelry I wanted to wear with each outfit, and the inspiration flowed faster than I expected! I may have to use this technique again.
I have a long blue dress that I just love, and this necklace was designed with it in mind. The soldered shard was already in my stash, I just pulled together a mix of other blue beads and buttons that will help to make a long chain to go with the pendant.
A basic gray tunic and leggings were the inspiration for this necklace. While something bright might have worked too, the leggings have some florals on them that might be too busy with a bright necklace. So, I took the soldered chandelier crystal and paired it with black faceted glass beads and gray glass pearls. These elements should make a subtle but beautiful piece.
These black teardrop briolettes and chandelier crystal components are to become earrings that could go with the previous necklace design. Or, they may be lovely on their own.
This may be my favorite design in the box. I have a black and white striped shirt that I love, but with the basic blue jeans I packed, the outfit was in need of a little spark. I can't even remember what order this idea came together - it was such a flurry of excitement for me. I know I found that "dreams" key in my pendant drawer and realized that it needed some weight. That's when I remembered that large faceted bead that was in my JJB Secret Stash Box. The colors of it reminded me of the other crystals that were already in my own stash. And, I found the matte aqua beads and faux moonstones as well that should complement the pendant and help make a beautiful chain.
I'm having trouble even remembering what outfit this was supposed to go with, but I know I wanted dark blue. So, I found the tin, cut the shapes, punched the holes, and sanded the edges. I picked out dark blue seed and faceted beads to finish the design.
One of the tops that I planned to wear (and didn't) is minty green with white flowers. I was going to pair it with black jeans. I didn't want any jewelry that might overload it too much, so I found this clear component (some old jewelry piece, I assume) and paired it with white and off-white beads that will make up the chain.
I thought that if the previous necklace ended up being too busy for the shirt I had packed, I might as well have some simple earrings. So, I pulled out the pale green beads, gunmetal elements, and seed beads. This 19th design finished off the box.
I'm still so excited about some of these designs that I've started on them even though I've returned home and won't be traveling again for another month or so. I really enjoyed the inspiration of designing for actual outfits and will definitely be using that tactic again. I did pack some of my other jewelry for this trip. And, that was a blessing since I didn't get any of these made. I may share a post next week on what jewelry I packed and wore. We'll see. If you're interested in seeing more of my bead boxes stocked and their reveals, here's the full list of all fourteen.
I'd love to know if you have any favorites in this mix and if you've ever used your own wardrobe as inspiration to create something new. Let me know in the comments below!
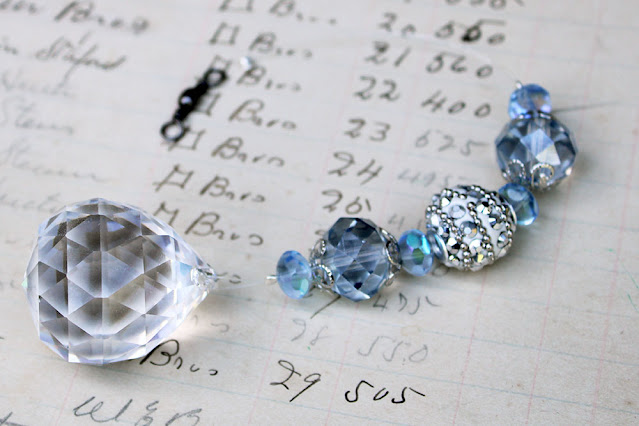
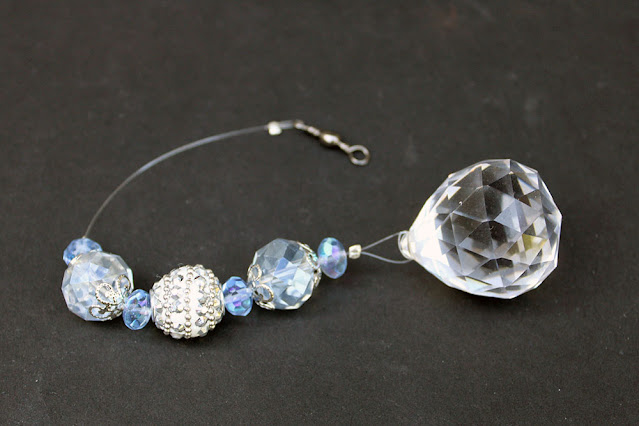
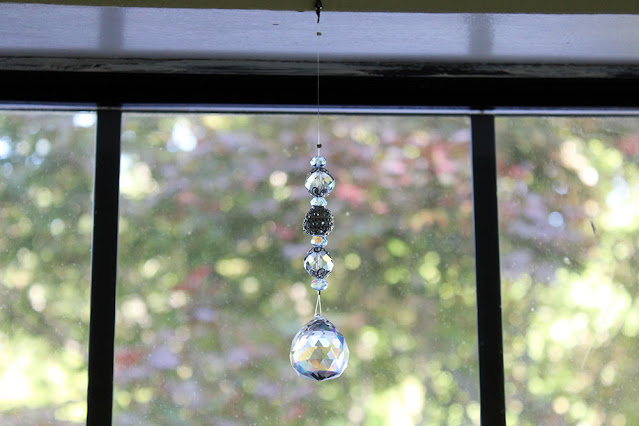
As a Jesse James Beads Design Ambassador, I received one of the Secret Stash Boxes this month. And, it was PACKED with beautiful beads, pendants, and findings. One of the pieces in there was a large crystal that I thought might be too heavy for a pendant. It got my wheels turning as to what else that beauty could become. It didn't take long for me to settle on using it to create a suncatcher for a window in my sunroom.
And, it took even less time to pull it together. Really, the hard part was deciding what beads to include with it.
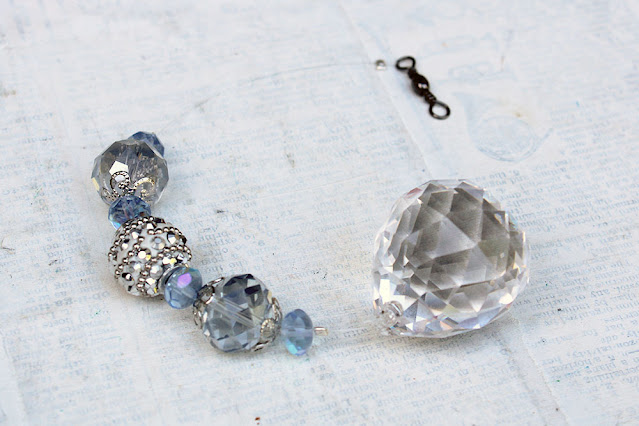
All of the beads included in this project came from my own Secret Stash Box. But, who knows what could be in yours. Each box is different, but all of the pieces are curated to go together. It's such a FUN surprise.
Anyway, back to the suncatcher. Once I decided on the beads, I used fishing line, crimp beads, and a fishing swivel to complete it. You can watch my whole process in my Easy Handmade Beaded Suncatcher video.
I do mention in the video that you can create the suncatcher without the swivel, but I like to include it because it allows it to spin in the light more easily.
It has brought a smile to my face every time I see it.
And, really, even if you don't have a big crystal from Jesse James Beads, you could use all kinds of things to create a fun hanging decoration with this technique. Tell me, what will you string up in your window?
Have I mentioned that I was selected to be a Jesse James Beads Design Ambassador? (#JJBAmbassador)
It was a simple enough process to fill out the form on their website and then wait for the news. After that, I sat on pins and needles to see what they would send me to play with for April. You can watch my Unboxing Video for the unveiling of the above beauties.
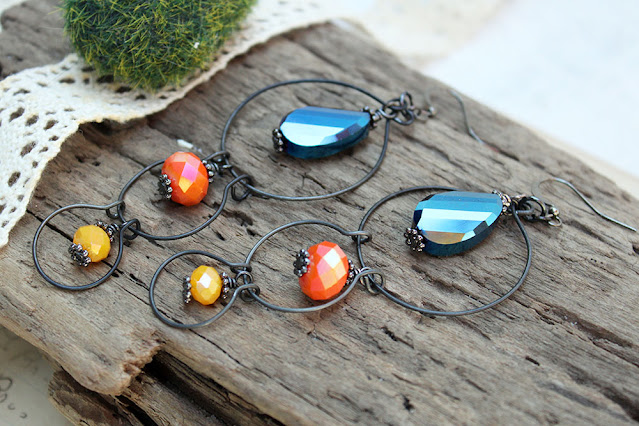
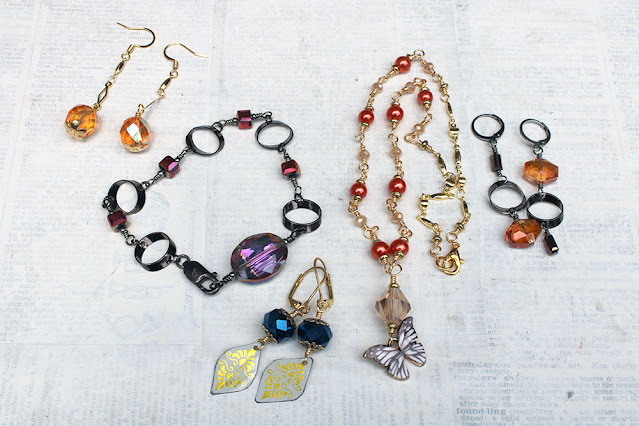
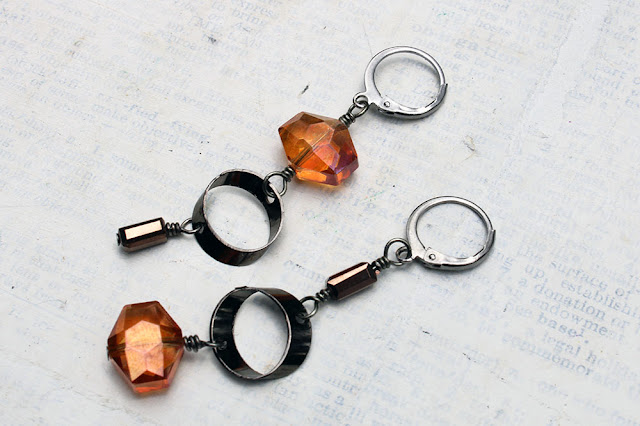
From there, I set to moving the beads and chain around on my desk. Almost immediately, I was ready to create. First, I came up with a pair of simple earrings made with some wire that framed several of the beads.
Most of the beads I received from Jesse James Beads came in even numbers, making them perfect for earrings. So, I HAD to create several more pairs. First were these that also used a few links of some chain I purchased from them.
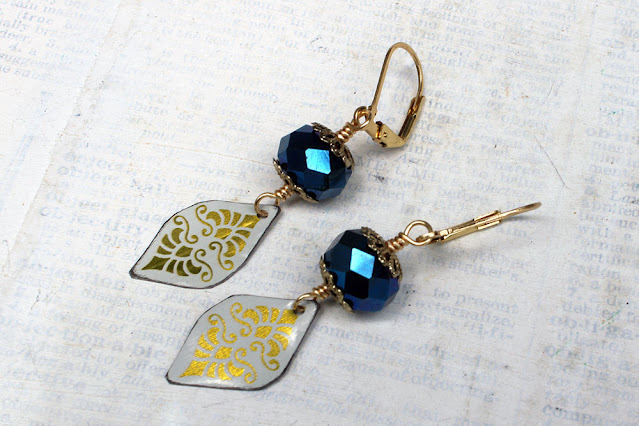
And, I had to see how well they worked with a few snippets of tin.
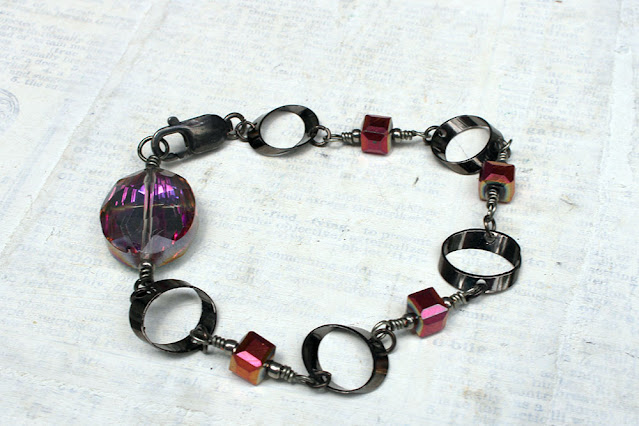
Then, the gunmetal chain drew my eye again!
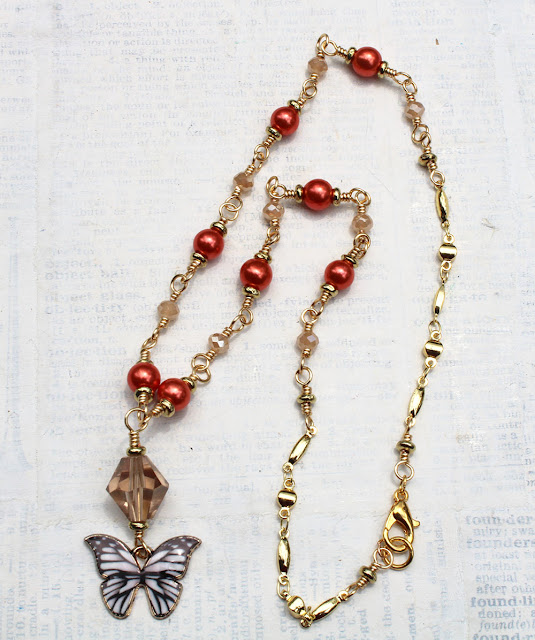
Finally, I combined some of the beads they sent with some of the beads and chain I bought to create this lovely, delicate butterfly necklace.
All around, I'm ticked with the results and how fun it is to create with Jesse James Beads. I'm hoping they want to continue to work with me as a Design Ambassador and can't wait to see what they send next to inspire me! Keep your eyes peeled for more.