I've been slacking in so many ways lately in sharing what I've been up to here. I recently posted several times about my mixed media art endeavors, but I've made some jewelry too! Hopefully, I'll be sharing a reveal of my most recent Bead Box makes, but I've made a few other things for Jesse James Beads and their Summer Bead Blast challenge. Here's a look at the pieces that have video tutorials. Clicking the picture and/or caption should take you to the tutorial.
And, that about covers the pieces with tutorials. I've also shared several more makes on Instagram if you want to take a peek over there too. And, there are several weeks left of the JJB Summer Bead Blast if you're interested in a fun challenge.
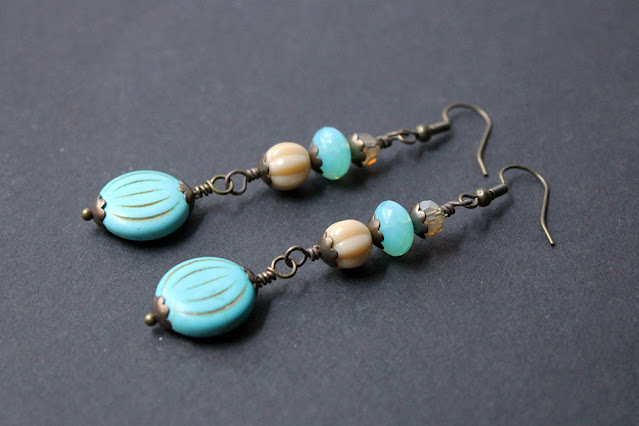
As it's the 15th of the month, it's time to show off what I made for the Double Color Jewelry Collaboration that is the Pirate Pretties Jewelry Challenge. This month, we were to use the color combination of Blue and Tan to make a pair of earrings. In addition, bronze/brass or silver metal was to be used. And, for an optional challenge, we could include the fun element of shell. (Spoiler: I didn't use the fun element this month.) Here's what I did make.
These earrings came together quickly once I had my beads selected. You can watch the reveal video on YouTube and learn how they were made. The video also includes a little trick I figured out in the process. (How's that for a tease?)
I believe that I've mentioned a time or two here that I'm a Design Ambassador for Jesse James Beads. Basically, that means they send me beads, chains, pendants, and findings from their shop; and I make beautiful things with some of it that I share. For the most part, that sharing is on either Instagram or YouTube. But, there's no reason I shouldn't make sure you see what I've made either.
From there, I created this pair of earrings that were full of hearts and flowers, perfect for Mother's Day at the beginning of the month. You can watch how I made these in this Instagram Reel.
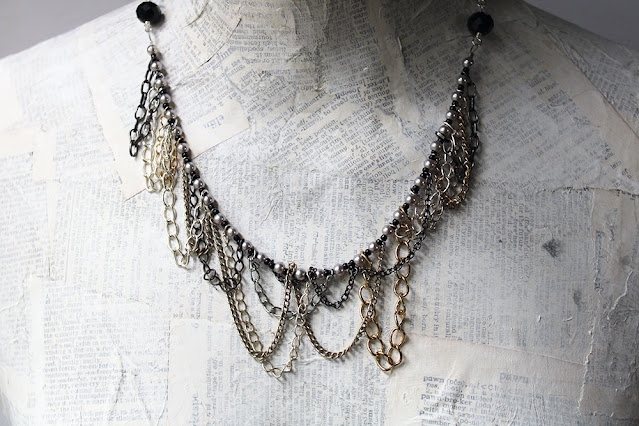
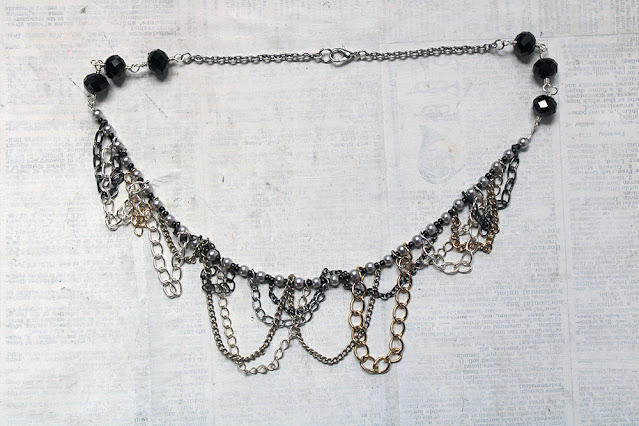
For about the past year, I've been sharing the monthly information on the #PiratePrettiesJewelryChallenge from Angela of Pirate Pretties on Facebook in my roundup of challenges and inspirations. This month, I was boggled for a bit by the double colors of Grey and Black, though they sound so simple. The other elements of the challenge were to use either silver or gunmetal to make a necklace and to (optionally) include chain as a fun element. It was kinda ironic that figuring out a way to use chain in a unique way was what really hung me up. But, inspiration prevailed.
The design is not one I've ever tried before, and I headed into it with my fingers crossed that it would work out as I hoped. And, it did! I'm not sure that I could explain the process to you here. But, no worries, I have a whole video that shows my process.
Of course, I would be happy to also answer any questions you may have.
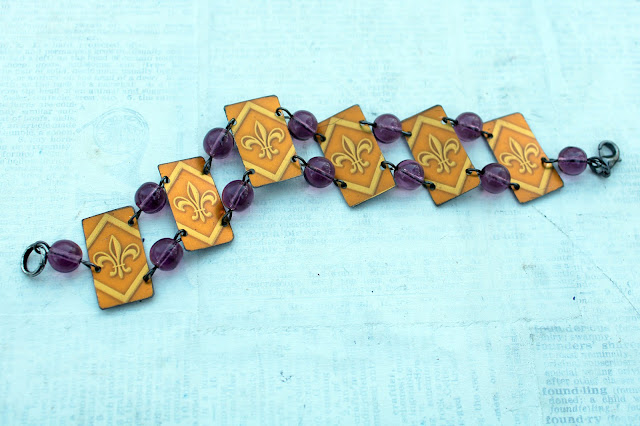
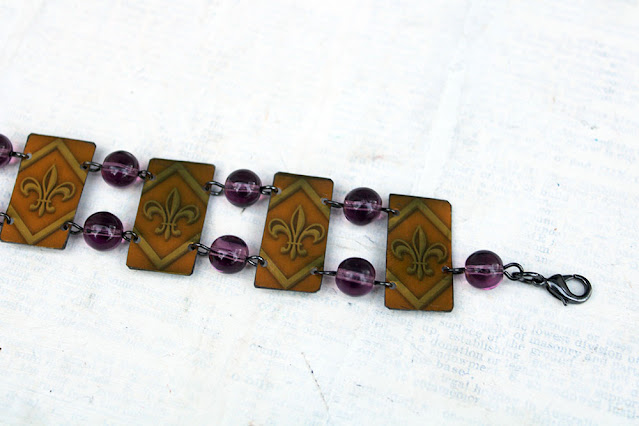
As I flipped through some old jewelry magazines to decide if they needed to be kept or donated, I found so much inspiration in many of them still. The design idea for this bracelet arose from some of that flipping. And, I couldn't wait to try it out. As it is Mardi Gras Season in my area, it seemed the perfect color inspiration for the bracelet too. So, I ran with it.
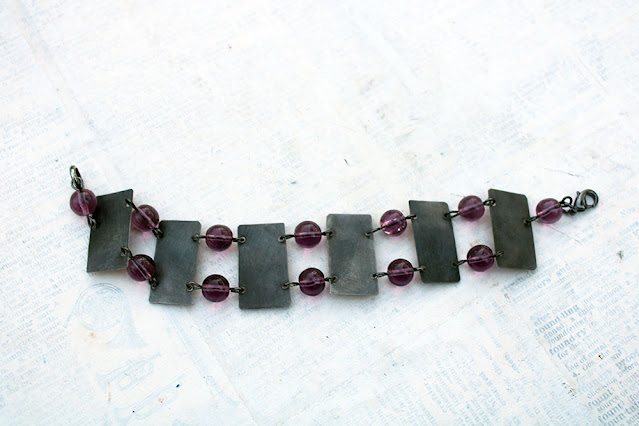
The actual design of the bracelet is easy enough: rectangles of tin are connected to one another by beads on eye pins. What takes the most time is the prepping of the tin. Each tin piece has to be cut, sanded, distressed, punched, flattened, and sealed before it can be joined with the beads to complete the bracelet.
And, if you have any questions at all, I'd be happy to answer them. For now, here's a few more peeks at the finished bracelet.
Though I went with a Mardi Gras design for this, I believe it can be worn inside out (reversible) for a completely different look.
And, I hope to make quite a few more of these. By using different tin, cutting alternative shapes, and incorporating other beads; I can create a variety of different bracelets with this one design idea. I hope it inspires you too!
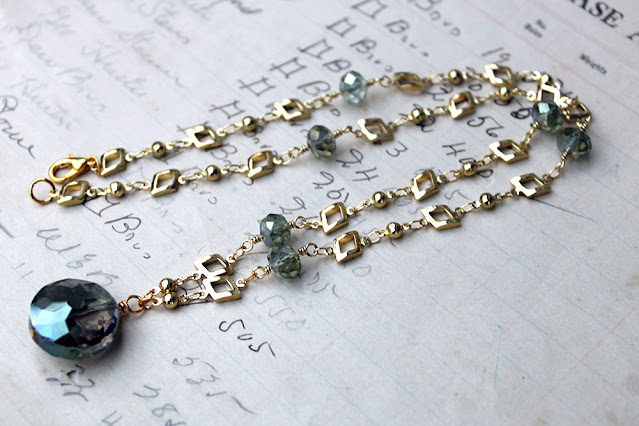
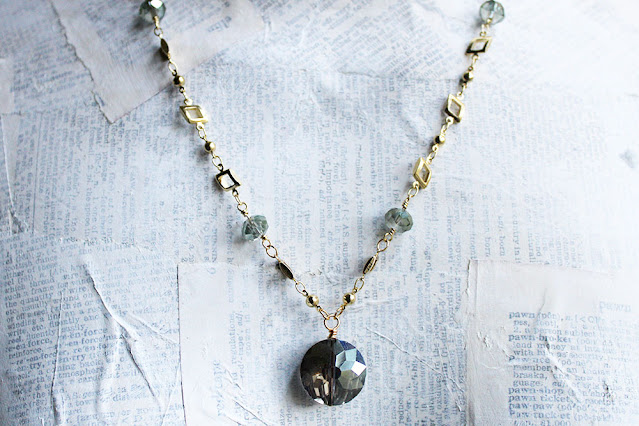
As a Jesse James Beads Design Ambassador, I receive a ton of fabulous beads, findings, charms, buttons, and chains. But, admittedly, some of it lingers in my stash because it feels too precious to work with, too perfect already. This is precisely the case with the Chain Reaction strands. These strands contain interesting metal links interspersed with wire-wrapped crystals. They can easily be a necklace or a bracelet on their own. So, I struggle. But, in an attempt to push myself this year and be BRAVE (my Word of the Year). I moved some of the chains around on my desk until this super simple design jumped out at me.
The skills needed to make it were little more than knowing how to open and close a jump ring and how to make a wrapped loop. And, I only need a few jump rings, a clasp, and a headpin to pull it together. I'll talk you through it in the video.
The video also contains some real-life moments too: cats fighting, dog barking, and me being unprepared. But, that's how inspired I was to create this piece. I couldn't wait for the "perfect time" to make it work. It had to be made right then!
I've already got a few more ideas of what to create with some of the other many strands of Chain Reaction in my stash. But, I'd also love to know what would you make with this neat chain. You can see a few more examples of it in the video.
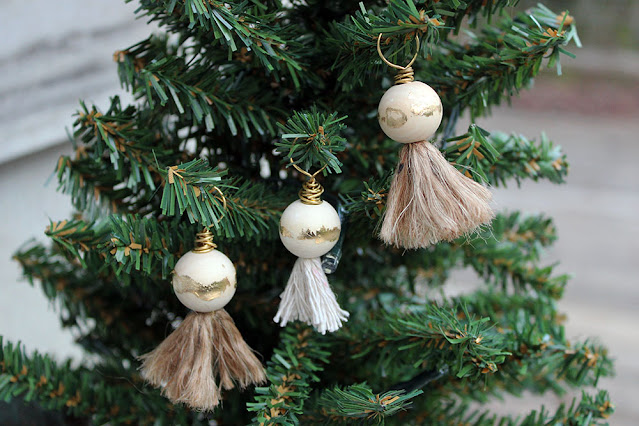
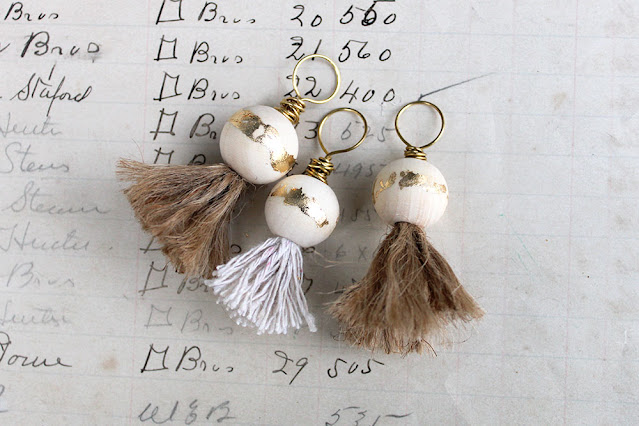
It's a few days past Christmas and you're probably already focusing on the new year - I've personally got a list of goals for 2023 building on my desk! BUT, I forgot to share these cute ornaments with you and thought it would be a good idea to do so in case you want to save them for next year.
So cute, right!?
They're a cinch to make and easy to personalize for your mini tree. Here's my video on how to create your own.
I really just used materials that I had here at home.
I think one of my goals for the new year may need to be more on top of things - like blogging. We'll see how that goes!
Let me know if you have any questions at all - about these ornaments, my goals, whatever. And, feel free to share what some of your goals for the new year are.
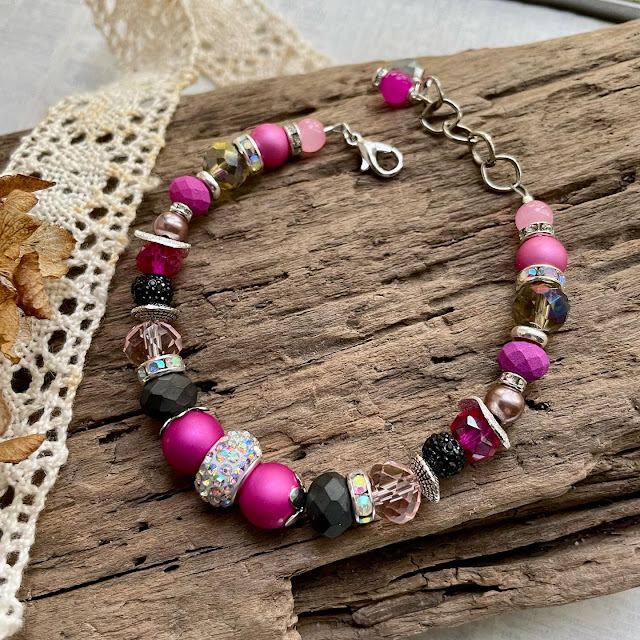
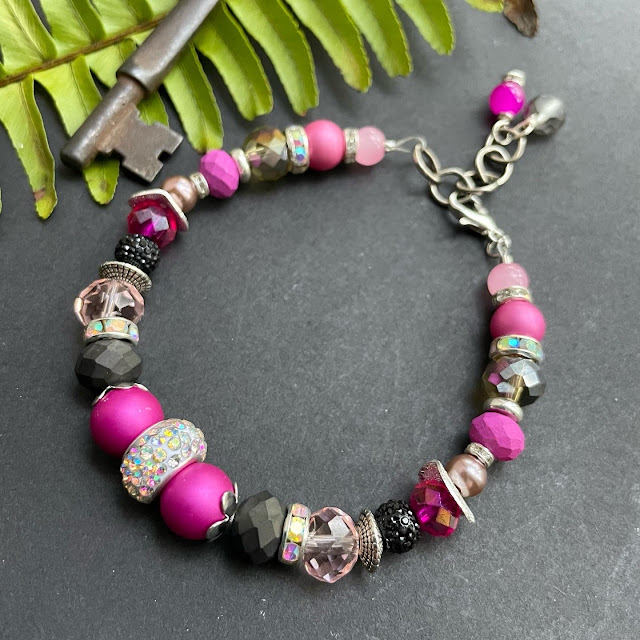
Sometimes the best gifts are the ones that you make. I can't resist crafting a few projects for friends and family this time each year. With one friend in mind, I gathered some beads and made a simple beaded bracelet just for her.
And, since I knew this project and method might work for others too, I popped on the camera and recorded the process in case you want to make one too.
It really was just a matter of sorting through an array of beads from Jesse James Beads, getting them in an order I found pleasing, and crimping the ends. But, the results really are stunning.
While it's probably just fine on its own as a gift, I'll pair this bracelet with a couple of other goodies I hope she'll enjoy. It was just so darn simple to make, I want to throw in some extras too.
So, tell me, are you making any gifts this holiday season?
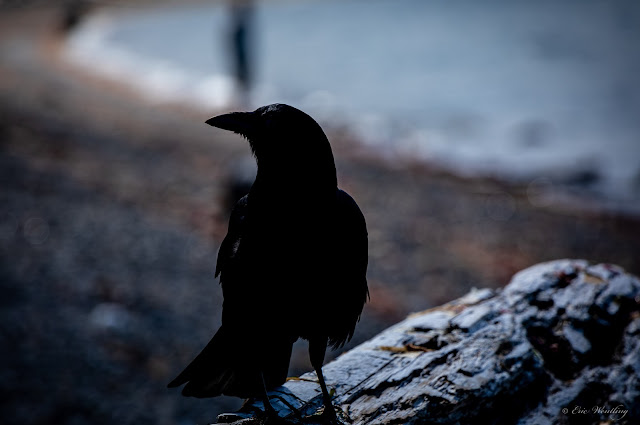
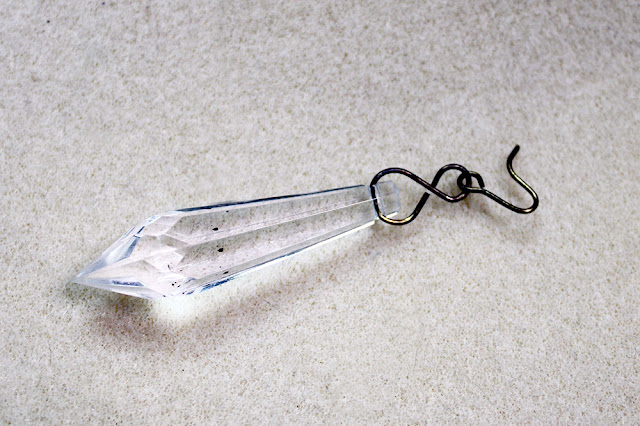
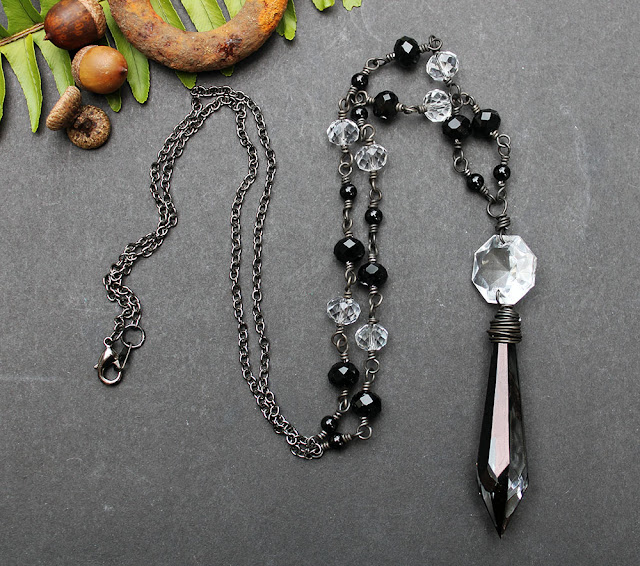
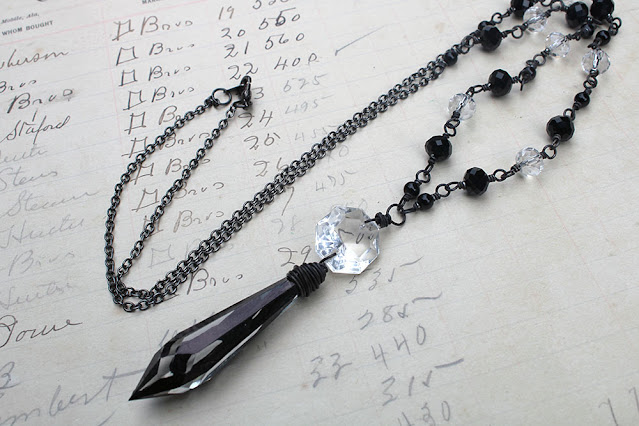
I have to admit that it took me a little while to get to this challenge even though I saw the photo at the start of the month and adored it then. As soon as I took a second peek, I got to gathering and making. The first thing that struck me was the darkness of it, so I knew I needed black. Then it was the...pointiness of it - the beak, the feathers. So, I dove into my stash of chandelier crystals for a dagger crystal to use as a pendant.
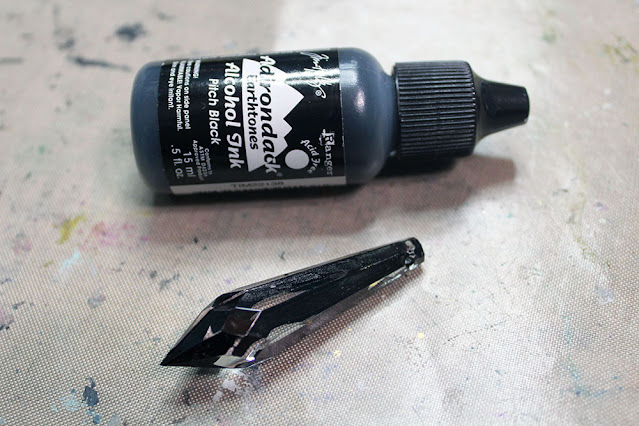
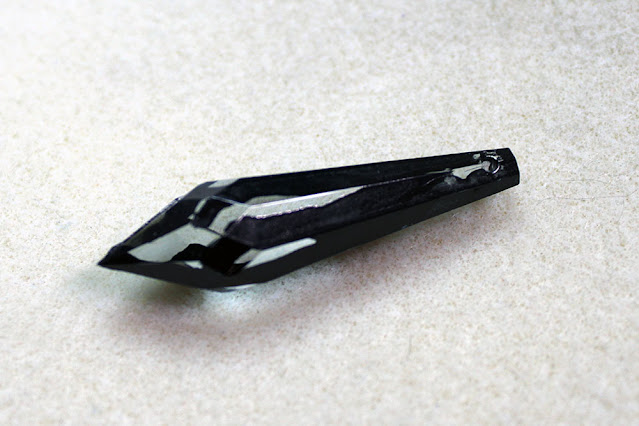
I found this plastic variation that had apparently been an earring. It wasn't quite "dark" enough for me. So, I altered it with black alcohol ink.
It's kinda hard to see, but I just dripped some of the ink down sections of the "crystal" so that the black only covers some of it.
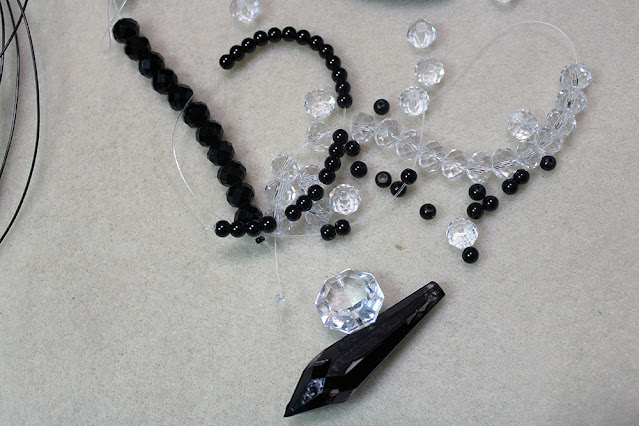
From there, I collected beads that went with the dark, goth look I wanted.
I kept to a simple palette of black crystals and pearls along with clear crystals. I also added a real chandelier crystal connector that would be used to help complete the pendant and give it a little more weight. Then, I began making the chain.
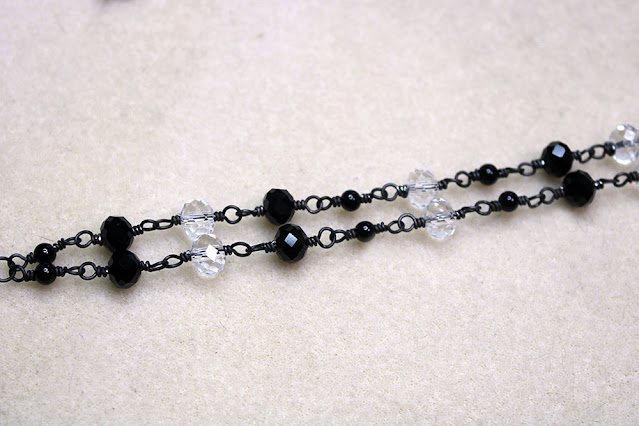
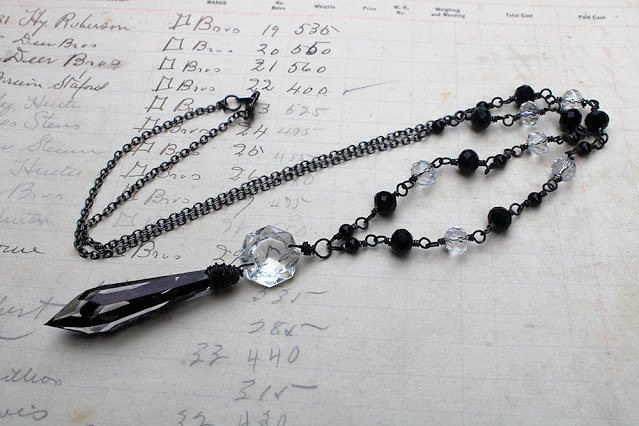
I used some cleaned and sealed annealed black steel wire to connect the beads via wrapped loops. This made up the front part of the chain for the necklace. I finished the back of it with gunmetal chain.
I have to admit, it's exactly what I wanted.
I'm actually kinda relieved that I found the plastic "crystal" so I didn't have to try the alcohol ink technique on one of my real crystals. And, getting to upcycle a salvaged earring is great also!!
Thanks as always to Sarajo and Eric for the inspiration for this necklace. I'm anxious to see what Sarajo and any other participants made. Check out her SJ Designs Jewelry blog. If you're inspired by the photo, make something and make sure to share it on Sarajo's reveal with the linky tool. She'll have it open for several weeks.
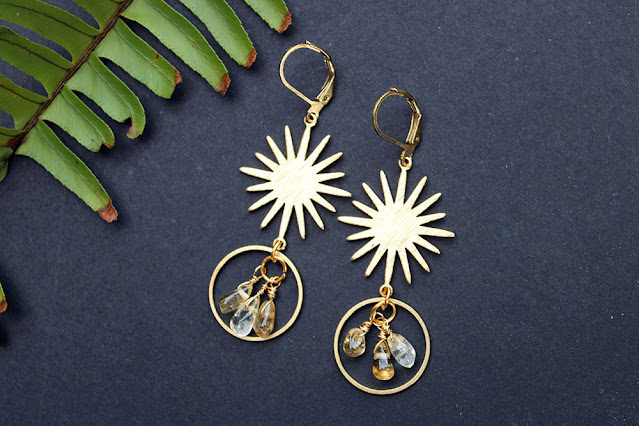
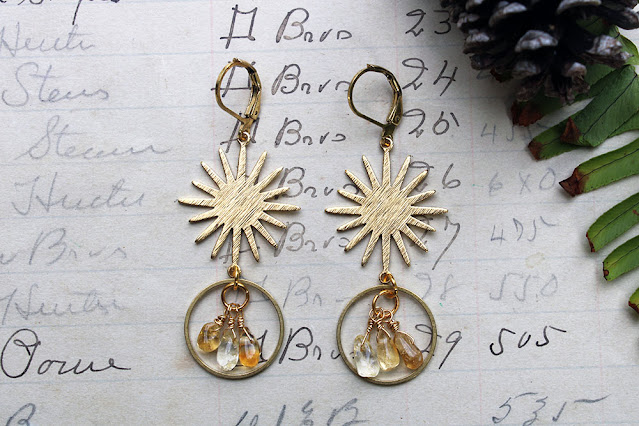
The fifteenth of each month is the reveal day for the Pirate Pretties Jewelry Challenge. This is a birthstone challenge from Angela of Pirate Pretties Jewelry. She sets several criteria that include the month's birthstone color(s), metal type options, a project type, and optional fun elements. For November, the colors are citrine or yellow topaz, the metal types are gold or bronze, the project type is earrings, and the fun elements are sun, moon, and/or stars. This is what I created with these prompts.
I was totally surprised at how quickly these came together once I discovered the citrine drops in my stash. I went straight for the sun connectors that I knew I had and found the rings nearby in the same drawer. Both of those elements are from Patina Queen.
I am well aware that I would have NEVER combined these elements without this challenge. The colors are too...matchy-matchy for my usual tastes. But, they work wonderfully in these earrings. That's the beauty of challenges like these. They help you think beyond what you would usually do.
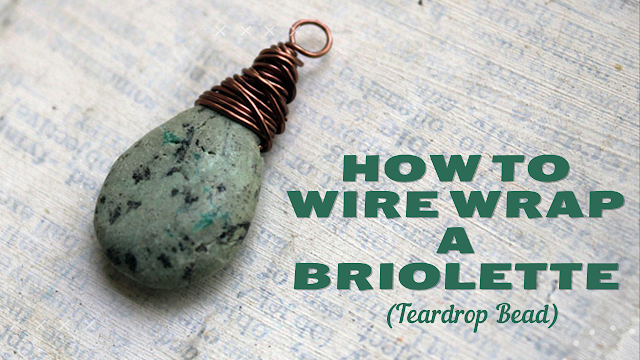
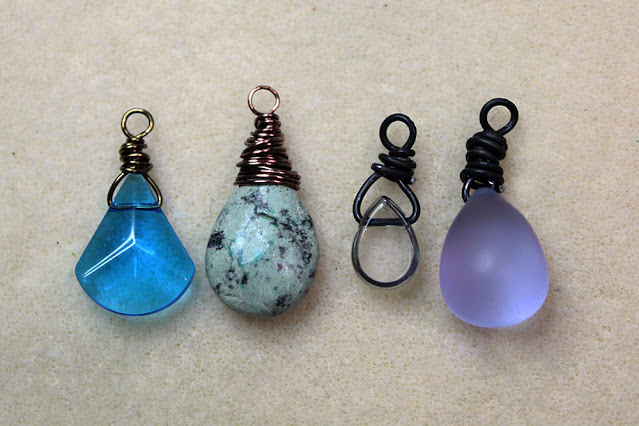
It's been a minute since I added to my Jewelry-making for Beginners series. As I was working on another project (stay tuned for that reveal!), I realized that I've never shared the basics of wrapping a top-drilled teardrop bead, otherwise known as a briolette.
The tools, materials, and steps are pretty simple.
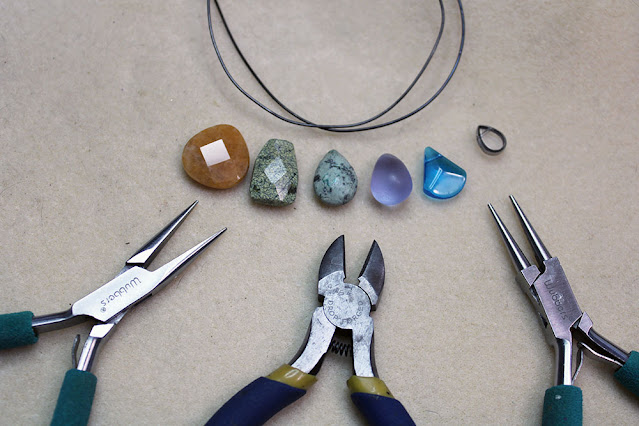
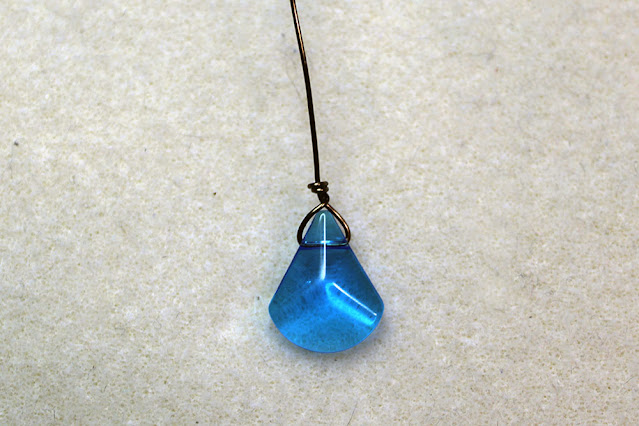
Start with your briolette, some wire that fits easily through the hole in the bead, wire cutters, chain-nose pliers, and round-nose pliers.
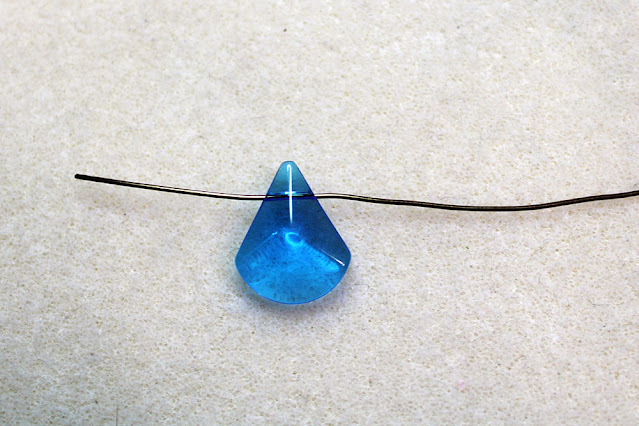
From there, insert the end of the wire into your briolette. You may only need an inch or so coming out the other side (depending on the gauge of the wire and the depth of your briolette's point.)
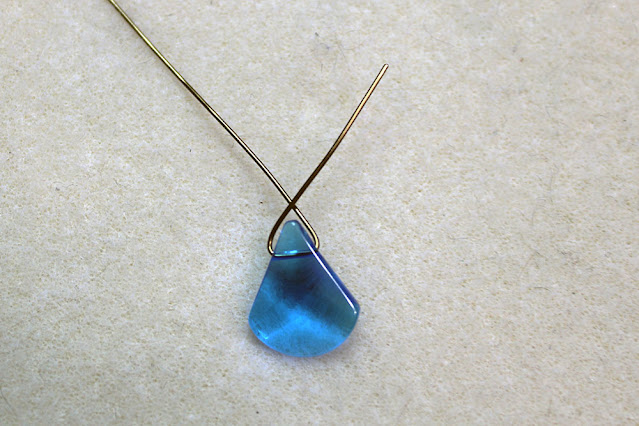
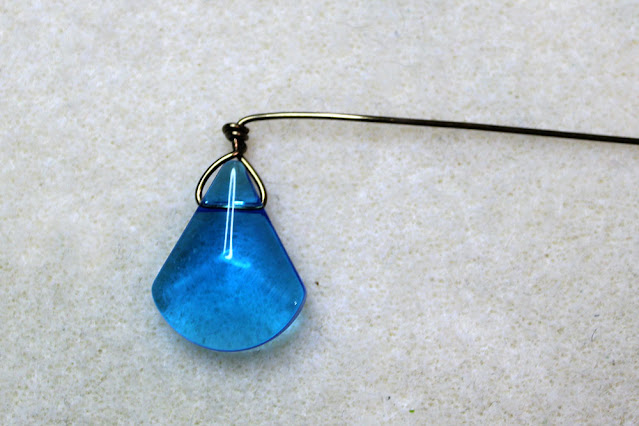
Bend both ends of the wire up and over the bead so they cross.
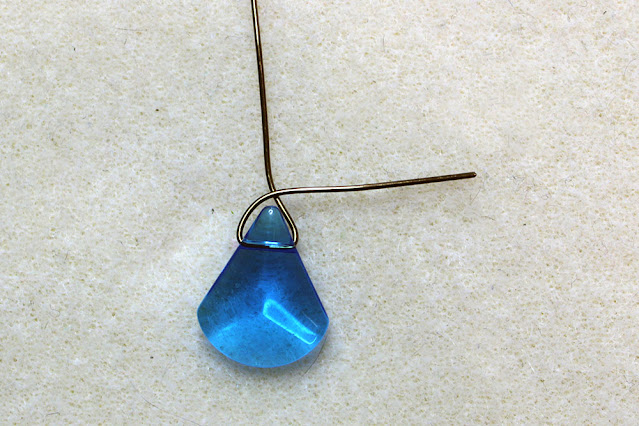
From the point where they cross, bend your short (tail) end horizontally and the longer end vertically.
Wrap the tail end around the other end a few times, then trim the excess.
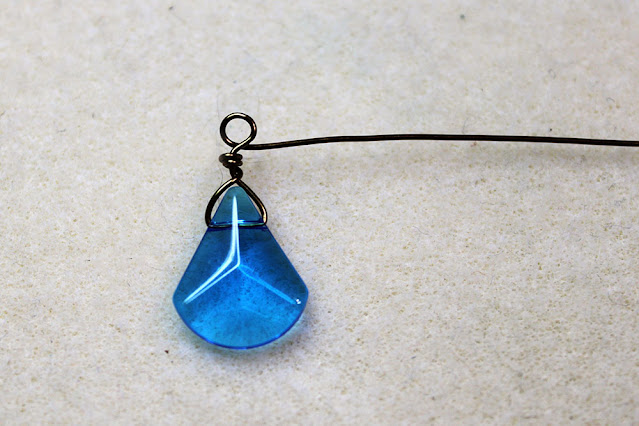
From there, you're basically going to create a wrapped loop. Start by bending the wire horizontally just above where you wrapped the tail.
Using your round-nose pliers, create a loop.
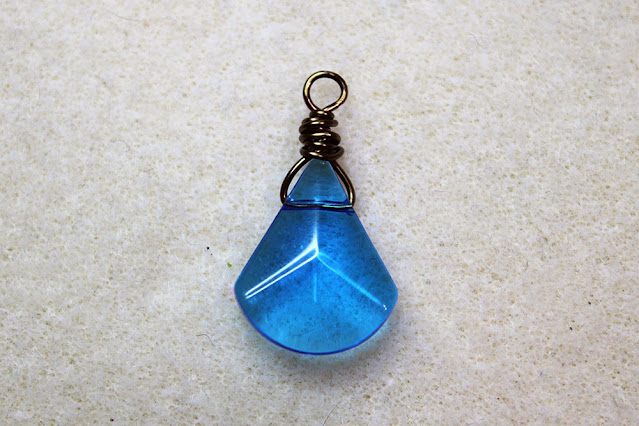
Finish by wrapping the wire around the previous wraps, just below your loop. Then, trim any excess wire.
You can make your wrapping as simple or elaborate as you wish.
There are some very cool ways to make the wrapping more decorative. However, that's not really my style, and I just wanted to share the simplicity of this technique. You can watch this whole process in my video.
And, please let me know if you have any questions at all!
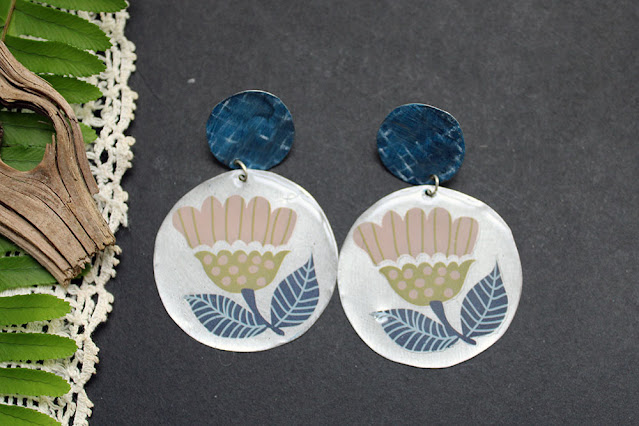
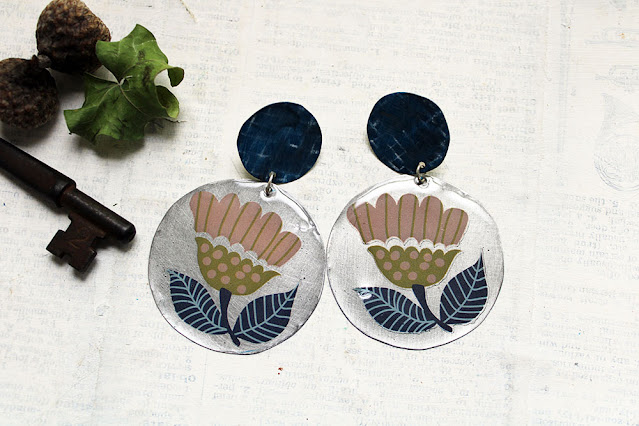
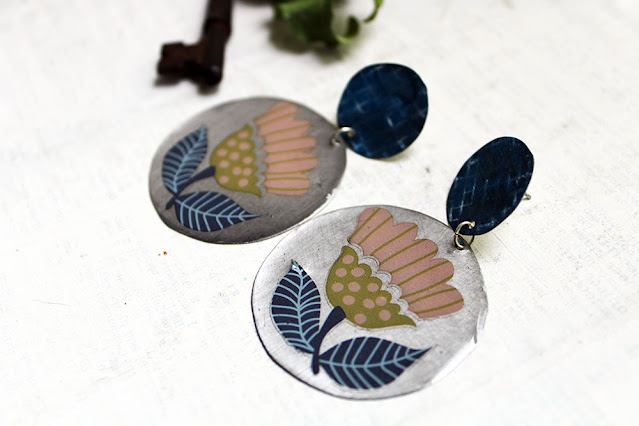
When I saw the cute rub-on transfers at my local Dollar Tree, I knew they were perfect for more than just paper crafts. And, I was right. It was easy to transform them into super cute earrings.
I simply used the bottom of one of my old cookie tin containers, added the transfers to the tin, and cut circles around them. From there, I punched a hole in each of the tins and added some UV resin.
Oval jump rings were used to connect the altered circles to another altered piece of tin that has post-earring findings adhered to them.
And, that's it! Simple, pretty floral earrings made with rub-ons from the Dollar Store and old tin. You can watch my full video tutorial on YouTube.
Let me know if you have any questions.
Have you found a fun use for this type of transfer? I just used some also in my Beware Spider Webs Necklace too. I can't wait to experiment with them more.
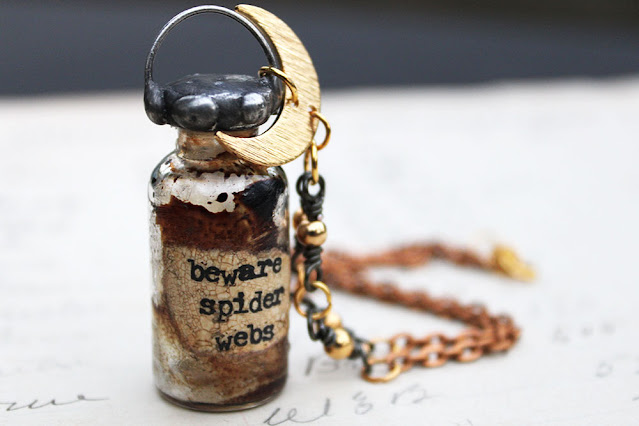
I've mentioned the 4Core Challenge from Ina Solsbery several times in my monthly challenge list. It's one that I really love. Each month, Ina issues a mixed media art challenge that must include four core (4core) ingredients. Your medium can be anything, 2D or 3D. This month, I went for a necklace.
Ina's four prompts were:
Aware Beware Danger
Crackles, Rips, Broken, or Damaged
Crescent or half-moon shape
Spider
I began by recognizing that the spider prompt was going to be tough for me as I'm arachnophobic. So, I let that slide, figuring I could come up with something later. In the meantime, the crescent shape occupied my mind. I realized that I still had a few golden brass crescent connectors from Patina Queen in my stash. With that, it was easy to recognize that I needed to make jewelry.
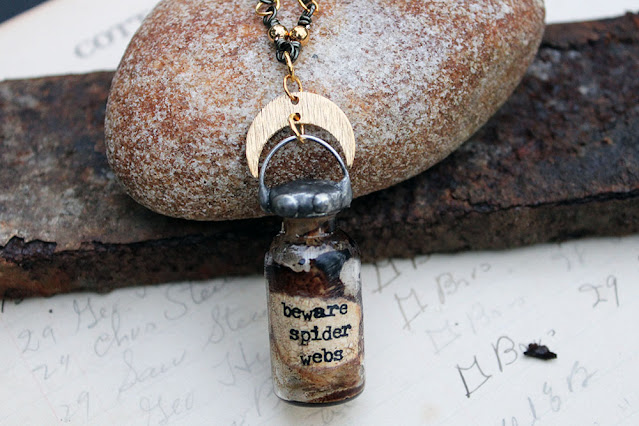
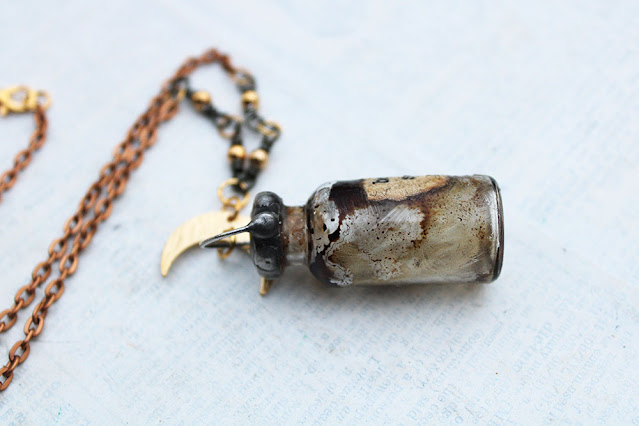
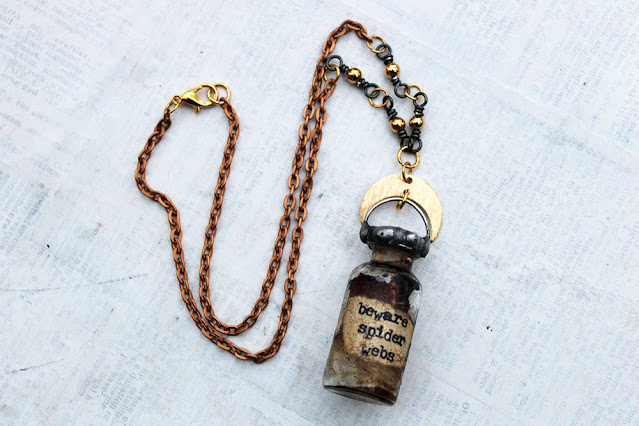
So, I stuffed some dandelion fluff into a small glass jar that I altered with alcohol ink. The fluff kinda looks like spider webbing, and I made a label using rub-ons with the word beware on it. I soldered the jar closed and added an arc of wire to help connect it to the crescent. The label was altered with inks and crackle paste to complete all the prompts.
The chain of the necklace is a simple metal chain to which I added a few gold beads on gunmetal wire - to get the mixed metal look of the pendant.
It's a darling necklace, just perfect for spooky season! To get a better idea of how the pendant came together, you can watch my Beware Spider Webs Necklace video on YouTube.
And, don't hesitate to let me know if you have any questions!
So, how would you have handled these four prompts?
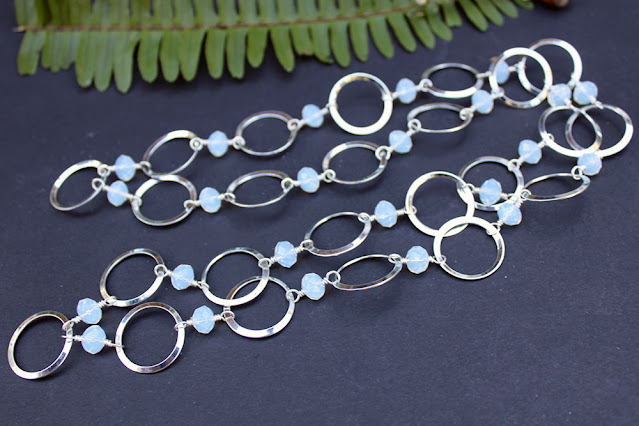
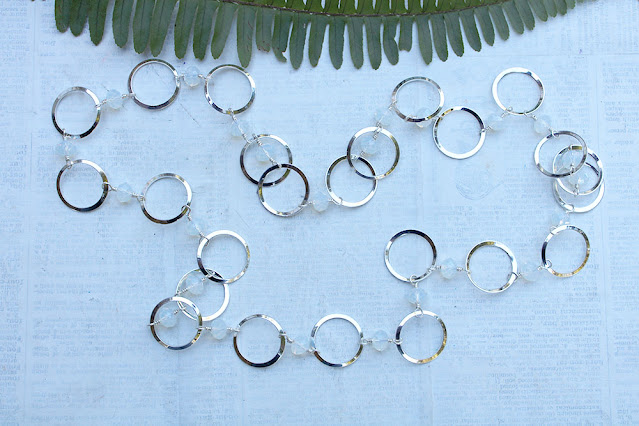
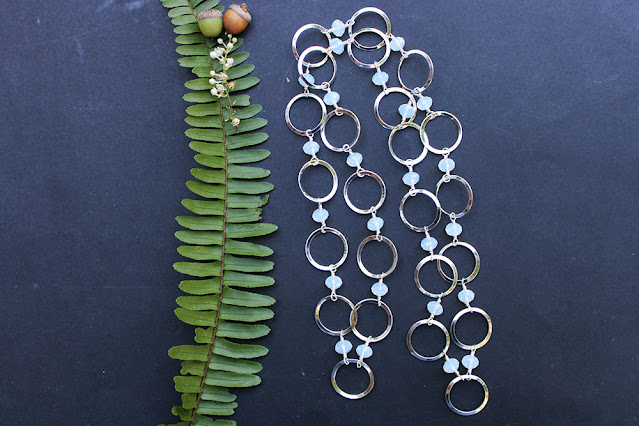
Angela of Pirate Pretties Jewelry challenged us to use the October birthstones of either Opal or Pink Tourmaline to create a necklace in silver or rose gold and optionally include links or chains. While October is my birth month, I don't have any opals and don't really care for pink, so I worked with the closest beads in my stash, opalescent/moonstone-like glass beads, to create a simple infinity necklace.
This was a straightforward project that just needed a length of chain, some beads, and wire. As well, the only skills used were opening jump rings and making wrapped loops. To finish the piece, I connected one end to the other to make this an infinity necklace.
I think it's a great necklace for everyday wear that adds just a little something without much distraction. You can watch me make this DIY Infinity Necklace on YouTube.
It really is just that simple. And, think of all the variations you can make by just connecting any type of bead to various links of chain.
Though it may be easy for me, I'm open to answering any questions you may have. Don't hesitate to let me know if you need anything clarified or explained better.