Showing posts with label bracelet. Show all posts

Bead Box 17 - Reveal

It's well past time that I share the jewelry designs that came from the 17th version of my Bead Box. Let me explain my box first. It's a simple 17-compartment, plastic organizer that I use to hold the pieces for seventeen jewelry designs. I turn to the box when I travel or need something already designed to do with my hands. It has honestly come in handy MANY times. 
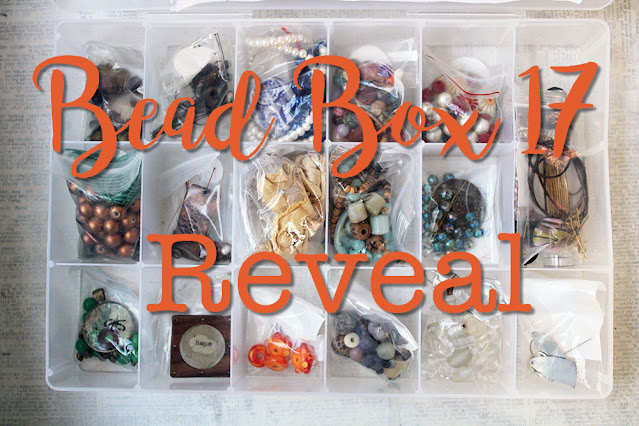
Above you can get a glimpse of what the box looked like before I started pulling the pieces together. Let me tell you that for this box, I included sketches and instructions for what I had planned for the elements in each compartment. And, to stock this box, I turned to many artisan-made components - things I have been hoarding for some time. Now, it's time to show you how it all worked out. 

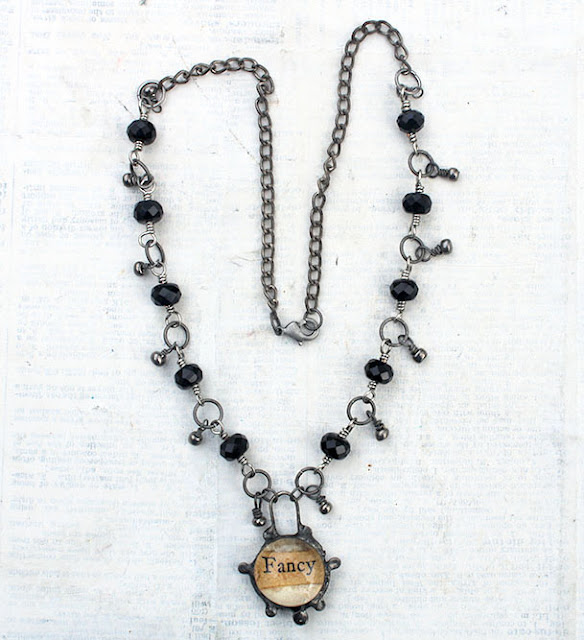
This first necklace came together just as planned. You can find it already in the Etsy shop, listed as Soldier's Necklace

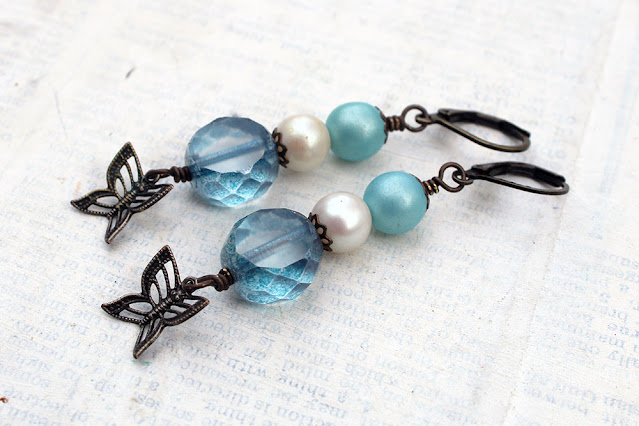
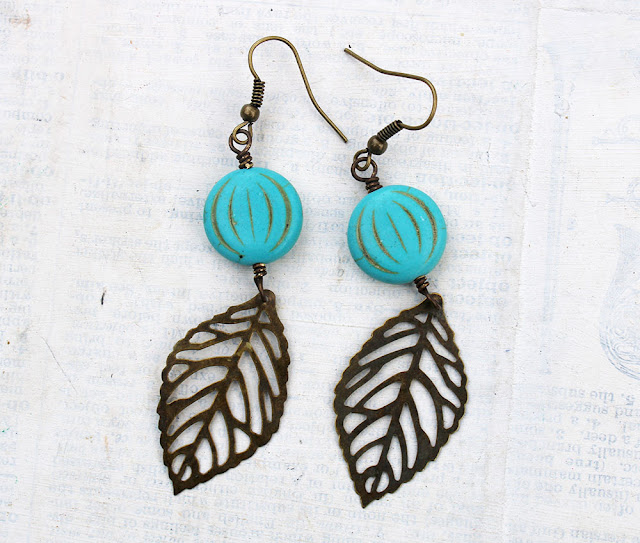
Here's where I began pulling in artisan elements that weren't made by me. These super fun earrings flew out of the Etsy shop pretty quickly!

I expected this one to come together without a hitch, and I was right. It's now available at Hello Gallery Art & Things in downtown Fairhope. 

Oh, I really love how well the colors in this long necklace blend together. And, working with the copper wire was so lovely too. Anyway...this one is also at Hello Gallery. 

Simplicity was the key to allowing this Golem Studio focal to be the star of this necklace. I've got it up at the antique store. 
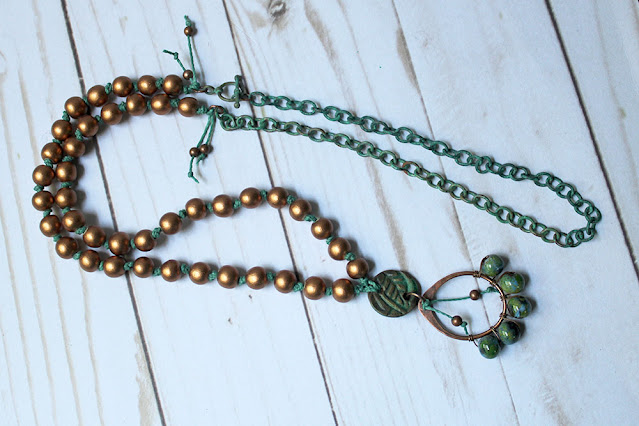
So very many artist-made elements went into this beauty of a necklace. Since it is a work of art, it's available at Hello Gallery

I can't get over how beautifully these turned out. These Patina and Pearls Earrings are currently listed in the Etsy shop.

It was important to me to keep the other colors in this necklace as neutral as possible so that the many colors of the lampwork bead would show through. I think it worked. You can find this Lampwork Tassel Necklace in the CraftyHope Etsy Shop. 

Also in the Etsy shop is this Grow Necklace. It was a wonderful reminder of how I started in jewelry-making - stringing necklaces on beading wire. 

This Filigree Sparkle Necklace was so wonderfully methodical to make with just one bead type (for the most part). Click the link to see some other pictures of it in the Etsy shop. 

In every bead box, there are a few designs that I'm just not sure about. As well, bracelets are a bit of a stumbling block for me. I was so excited about seeing how this one worked out. Alas, I just don't think it works. 

Containing some of my favorite things, this Crackle and Rust Necklace is available on Etsy. Don't you just love that shade of green, and the crackle, and the rust!?!? Yum!

I really hate that this pendant ended up breaking while I was trying to wrap beads around it. It was totally my fault as I simply put too much pressure on the wood with the wire. 

These beautifully bright earrings are destined for the Etsy shop. But, I had to fix them first. Somehow I cut through one of the wires and didn't even notice until I started editing these photos. Do you see the break in the wire? Whew. I'm so glad I did!!

Okay, so I really do love this bracelet. But, I haven't decided what to do with it yet. I feel like it needs a little something else - maybe some fun dangles before I try to sell it. I will admit that it came together so quickly and easily on the beading wire. It made me question why I don't use the stuff nearly as much as I used to. 

This is one of those necklaces that will go with everything!! And, it is available for sale - at Hello Gallery in Fairhope! 

I love it when the last item in the box comes together super quickly. That was the case with these earrings. They are also at Hello Gallery with so many of these other pieces. 

If you're interested in seeing other versions of my bead box, here's the full list of posts. 


Usually, when I get one of these posts up, I've already stocked the next box. However, that just hasn't happened this time. Hopefully, I can remedy that soon and share Box 18 with before too long. In the meantime, let me know if these turned out the way you expected.


Pretty Filigree and Bead Bracelet

I really enjoy participating in the Pirate Pretties Jewelry Challenge each month as it encourages me to use materials and combinations I wouldn't have previously considered. This challenge comes from Angela, and this is the second year I've participated. While the monthly theme last year was birthstones, this year we're using color combos that Angela has set. In addition, she has a choice of metals, a project type, and an optional fun element that should be included each month. This month, the color combo is Peach and Pearl White, the metal choice is copper or silver, the project is a bracelet, and the fun element is filigree. These are the materials I gathered for the challenge. 


Now, I haven't done much work with filigree as a setting for anything, but really wanted to try - especially once I found the glass cabochon. I let the camera roll as I experimented with the design of my bracelet, and am thrilled with the results.


You can watch all my experimentation in my DIY Copper Filigree Bracelet video on YouTube. 


I cannot believe how beautifully this bracelet came together, and that's evident in my reaction when you watch the video. 


You can find more participants and makes from this challenge by searching #PiratePrettiesJewelryChallenge on YouTube. That's also one of the options in how to participate. Also, Angela has a Facebook Group where she sells beads but also encourages you to share your monthly makes in a comment on her reveal.

If you have any questions about the making of this bracelet or Angela's challenge, please ask away!

Tin and Bead Bracelet DIY

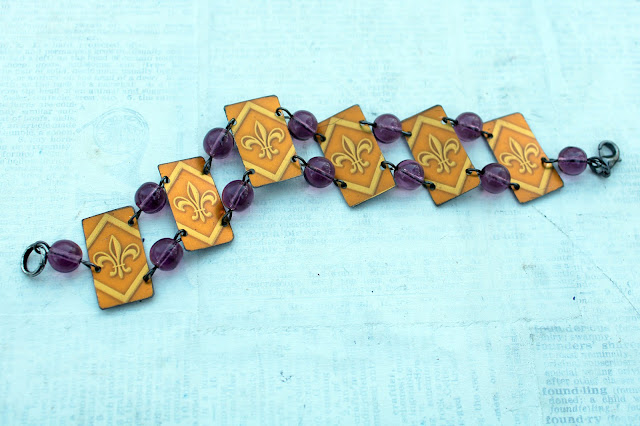
As I flipped through some old jewelry magazines to decide if they needed to be kept or donated, I found so much inspiration in many of them still. The design idea for this bracelet arose from some of that flipping. And, I couldn't wait to try it out. As it is Mardi Gras Season in my area, it seemed the perfect color inspiration for the bracelet too. So, I ran with it. 

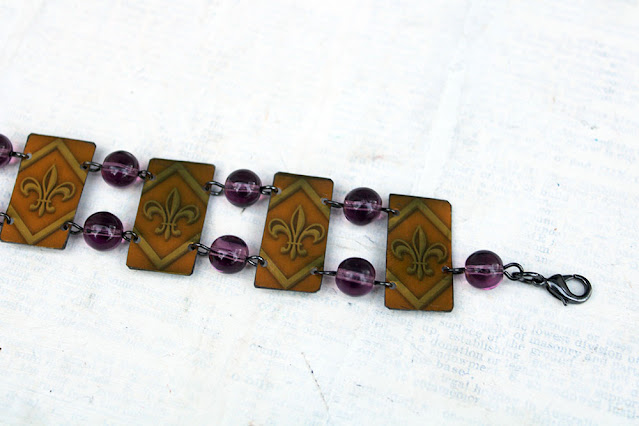
The actual design of the bracelet is easy enough: rectangles of tin are connected to one another by beads on eye pins. What takes the most time is the prepping of the tin. Each tin piece has to be cut, sanded, distressed, punched, flattened, and sealed before it can be joined with the beads to complete the bracelet. 


Of course, I recorded this whole process so you can watch it on YouTube.


And, if you have any questions at all, I'd be happy to answer them.  For now, here's a few more peeks at the finished bracelet. 

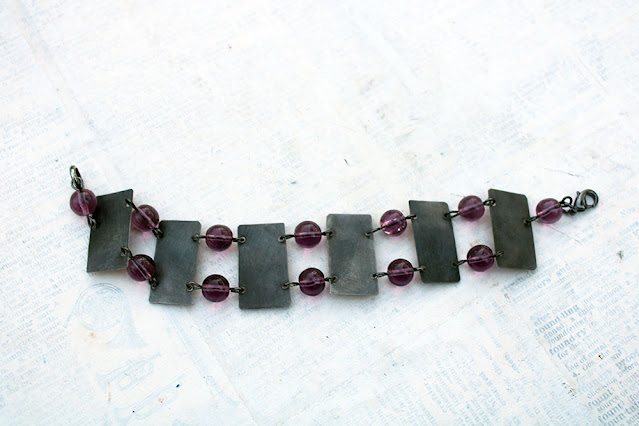
Though I went with a Mardi Gras design for this, I believe it can be worn inside out (reversible) for a completely different look.


And, I hope to make quite a few more of these. By using different tin, cutting alternative shapes, and incorporating other beads; I can create a variety of different bracelets with this one design idea. I hope it  inspires you too!

Bead Box 16 - Reveal

It's been about FIVE MONTHS since I shared what I stocked in Bead Box 16 and probably seven months since I stocked it. I'm not even sure how that happened. But, I've finally finished all the designs and am ready to reveal how they came out. 


First, let me remind you that my Bead Box is a simple 17-compartment plastic organizer that I use to stash the elements for one design per compartment and take with me when I travel or just use it when I'm not inspired to come up with something new. I guess I just haven't traveled much and have been inspired by other projects. And, yes, there have been 15 other iterations of this box (I'll link all those below.) For now, let me get to it.


I mentioned in my stocked post that I had sketched out some of these designs - but I currently have no idea where that scrap of paper might even be. So, as I finished up some of these last pieces, I wasn't sure exactly what I originally had in mind. I just let myself be inspired anew by the materials in the compartments. And, it seemed to work out just fine.

This came together exactly as I had envisioned, I believe. I know I worked on this necklace back in JULY!! It's a great neutral piece. 


Simplicity was the key to this one. It was just about making the chain and hanging the shell dangle. Easy enough, and perfect for keeping my hands busy. 

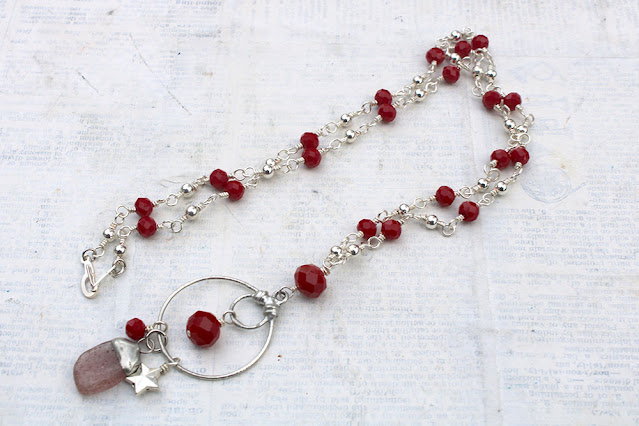
I like that this one has a little more interest to it with the dangles. Oh, and if you have any idea what that stone is that I soldered, would you help a girl out and let me know?

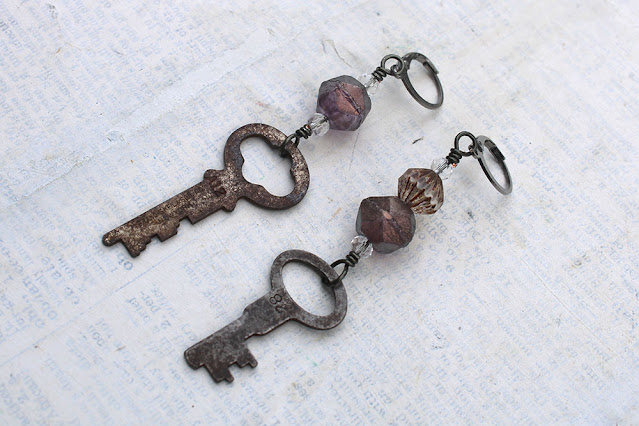
Mismatched earrings aren't usually my jam. But, these worked out to the perfect length with the addition of the Czech glass bead on the earring with the shorter key. 

I have to admit that this bracelet turned out a bit small when it was finished. So I added a short length of chain when I attached the clasp (I do all the finishing touches to these boxes at one time.) I feel like the chain might need a small dangle from the end of it to give it some weight. What do you think?

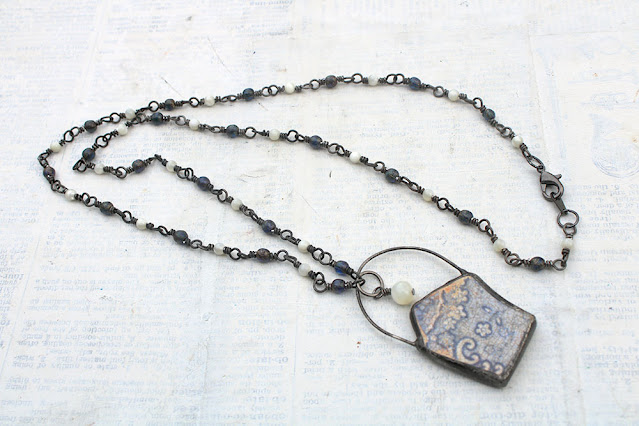
You wouldn't know by looking at it, but the chain of this necklace is what held me up the longest with this box. I kept toying with the idea of making it a multi-strand chain or a layered-look necklace. Really, the problem was that I was trying to run the chain through the loop on the soldered piece. Once I cut that off and just added a jump ring, this came together easily. 

I'm going to admit to you now, that I'm not sure about ANY of the bracelets that I made from this box (well, the last one might be okay.) This one feels a bit...clunky. I LOVE the soldered heart but am not sure that this bracelet works for it. 

I simply gave up on this necklace. Once I pulled the pendant together, the whole thing just didn't feel like my style. So, I didn't go any further. And, that's okay. 

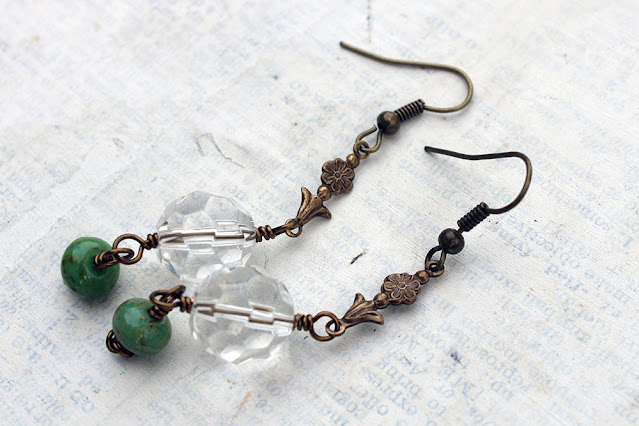
These feel more like me - sweet, simple, and romantic with gorgeous beads and salvaged elements. I like it. 

These could not have been more simple to put together. And, they almost make me regret putting them in the bead box and taking up a compartment. I think more busy-hands projects might meet my needs better when it comes to this box. I'll have to think about that. 

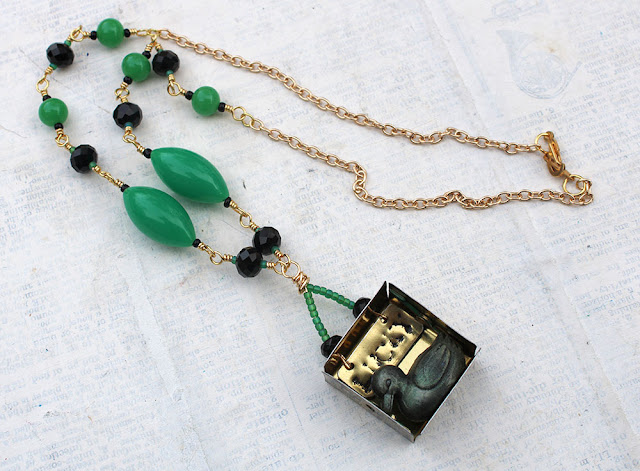
I am so tickled to have put that lucky duck pendant into a necklace. And, I think it's pretty perfect.

Even when I wrote about these in the stocked post, I wasn't sure how I had planned to assemble these earrings. I have to admit that that's a bit of a relief because I was befuddled by the elements in this compartment. At least they worked out into something pretty!

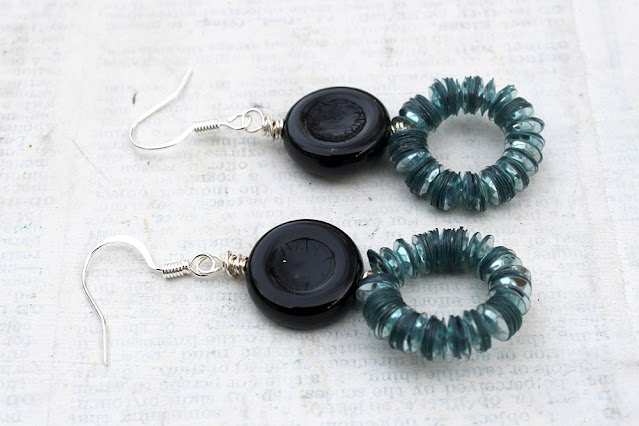
I did remember what I wanted to do with the black beads and pale blue sequins in this compartment. Those sequins have a LONG history in my stash. I thrifted them ages ago and every time I tried to purge my stash, I just couldn't part with them for some reason. I think it's that color. It's so subtle and lovely. These may look like pretty simple earrings, but I have to tell you - it was a booger to get all those sequins onto the wire. Thank goodness they worked out!

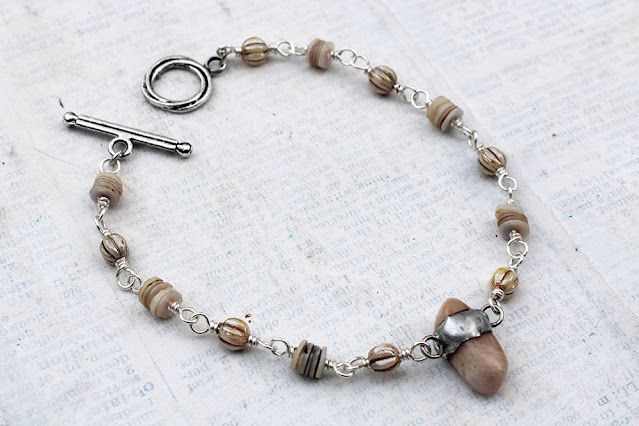
Here's that "last bracelet" that I mentioned before. It's no show-stopper. But, it's a perfectly sweet, great-for-stacking, simple piece. And, I can't argue with that. 

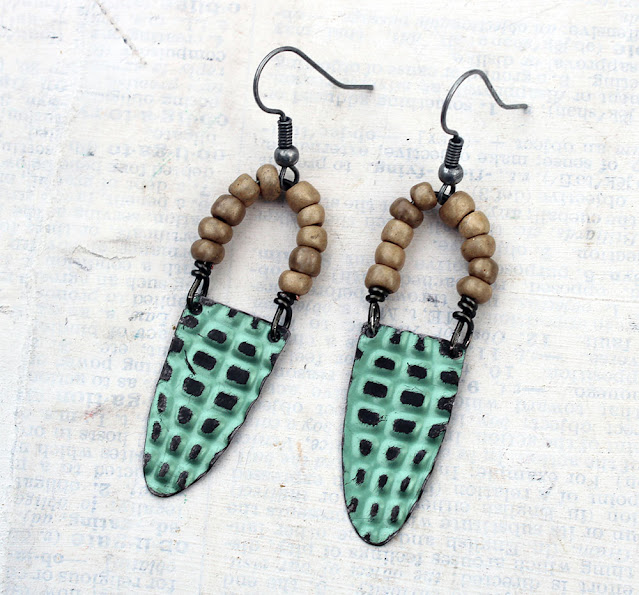
I just read what I wrote about these in the previous post. And, it all still holds true - the tin reminds me of crocodiles and the khaki seed beads remind me of a safari hat. I'll likely call these safari earrings. 

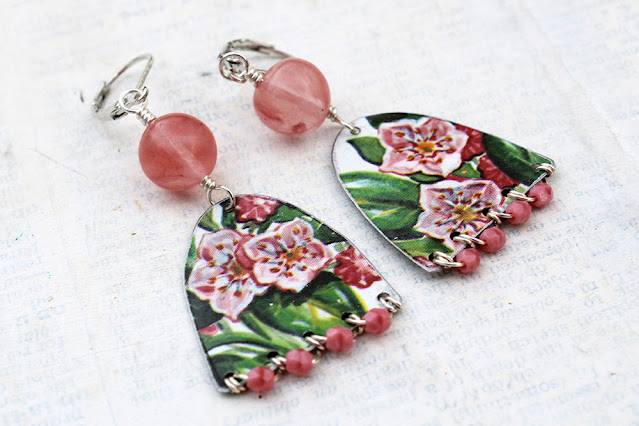
Oh, lawdy, I wasn't sure at all what I was supposed to do with these elements. But, I dove in and made my favorite pair of earrings in the whole box! Seriously.

I'm fairly sure I had intended to hang the little pink beads from the holes in the bottom of the tin. I had the same number of beads as holes. But, I didn't include any headpins in the compartment and was feeling awful lazy and just ready to be done. So, I couldn't be bothered to go find ten headpins. Instead, I just used some of the wire that was already on my desk to wrap the beads to the bottom of the tin. It's something new and adds some neat texture. It works, I suppose. 

And, there we have it - Bead Box 16. I'm not sure how long it will take me to pack up bead box 17, but I don't expect to forgo this practice anytime soon. It's nice having that box available whether I'm heading away from the house or just want something to do that doesn't involve rifling through my entire craft room first. 

If you're interested in seeing any of my previous boxes, here's the full list.


I know I had a few questions for you up there in the descriptions. But, I'd also like to know which of these are your favorites too. 


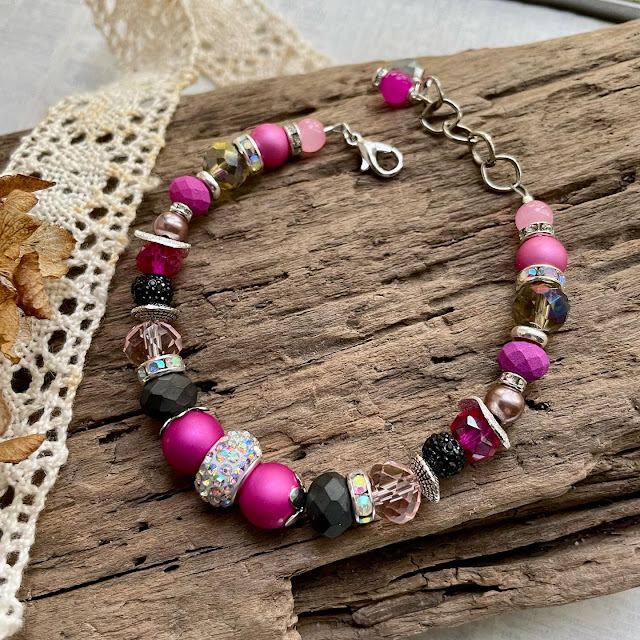
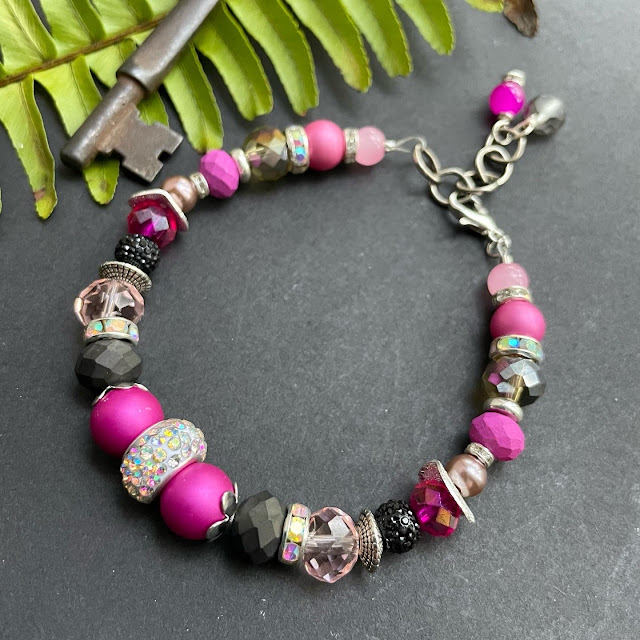
DIY Pink Sparkle Bracelet

Sometimes the best gifts are the ones that you make. I can't resist crafting a few projects for friends and family this time each year. With one friend in mind, I gathered some beads and made a simple beaded bracelet just for her. 


And, since I knew this project and method might work for others too, I popped on the camera and recorded the process in case you want to make one too. 


It really was just a matter of sorting through an array of beads from Jesse James Beads, getting them in an order I found pleasing, and crimping the ends. But, the results really are stunning. 


While it's probably just fine on its own as a gift, I'll pair this bracelet with a couple of other goodies I hope she'll enjoy. It was just so darn simple to make, I want to throw in some extras too. 

So, tell me, are you making any gifts this holiday season?

Honey Do List October Reveal

I've missed out on a few more of the Honey Do List challenges lately from Sarajo and Eric of SJ Designs Jewelry than I would like. So, I made sure to give myself a little time this past week to look at and create from the photograph taken by Eric. If you're unfamiliar with this challenge, let me quickly explain. Sarajo's husband, Eric, gives her a photo each month as inspiration. She shares it on her blog for anyone else looking for a creative spark for jewelry-making. I've loved this challenge for years as it has often pushed me to think outside the box. This was one of those times!


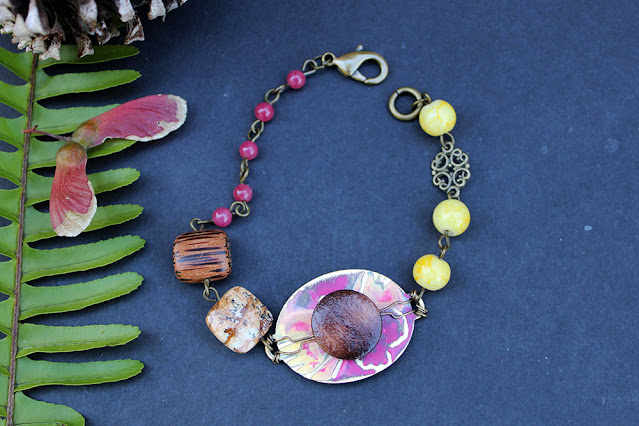
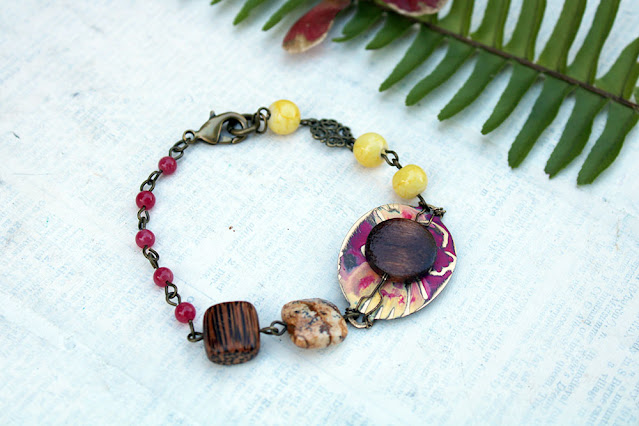
The above bracelet is what I created after studying the below photo from Eric (and Sarajo).


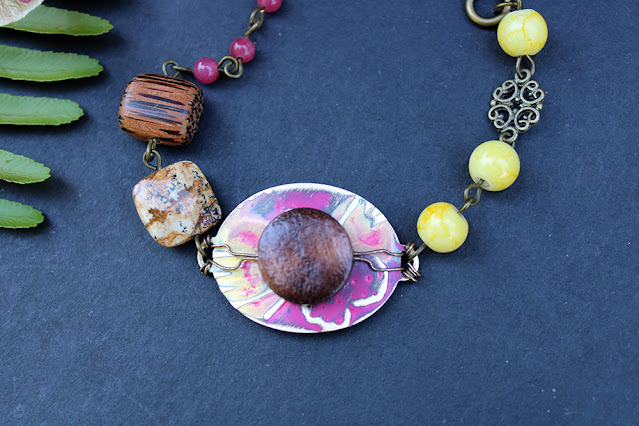
It was the bold pink, bright yellow, and subtle brown of the photo that stood out immediately to me. And, for some reason, I wanted all that on a bracelet (not my usual jam). I decided that some of the brown would best be represented in antiqued brass. Then, it struck me that I could emboss a Vintaj blank and color it with Vintaj Patinas* in Ruby and Citrine so that it would include all three colors. I even found a Vintaj embossing folder that had pinecones on it. 


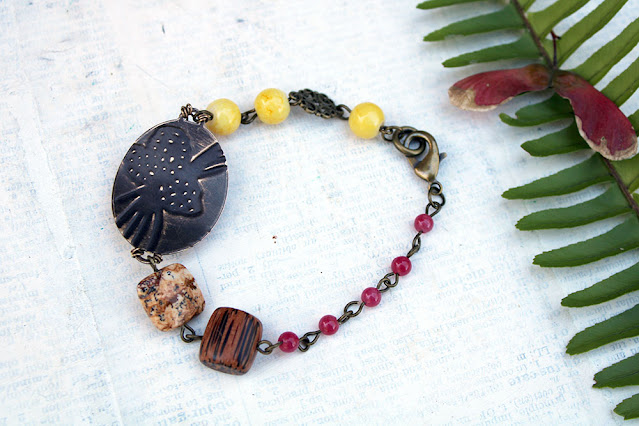
Alas, this uncolored back side showed the impression more than the colored front. So, I played with beads I had gathered and found that a wood coin bead worked well to accent and distort the image on the front just enough. Some meticulous (for me) wirework attached the bead to the focal.


From there, it was just a matter of attaching the beads to one another with eye pins. Actually, I only had to do that on one side. The yellow and brass filigree portion was simply a length of chain that I cut down to size. 


As always, I encourage you to head over to SJ Designs Jewelry to see what Sarajo created from the inspiration. As well, you may find links to other artists and what they created. If the image inspires you as well, the linky tool should be open for several weeks so that you can contribute to the challenge also! 

Thanks to Sarajo and Eric for another inspiring challenge. It definitely pushed me a little creatively. What's not to love about that?


*As an Amazon Associate, I earn from qualifying purchases.

NEW website (and blog to go with it)

 Hey y'all!! I've got some news. It's great, but also bittersweet. After almost NINETEEN years here on Blogger/Blogspot, I'v...