Oh goodness me!! It's been over a month since I last posted here. I think my ICAD (Index Card a Day) commitments got the best of me. So, I'm playing catch up. Since I never shared the videos from June, I'll start there. Expect another post shortly with the July ones! eek!!
As per usual, I'll start with the videos from my own CratyHopePrompts challenge and then add anything else after that.
Okay, it's taken me hours just to write this. I'd best pop off for now. Hopefully, I'll be back soon to update you with more later. What's been up with you?
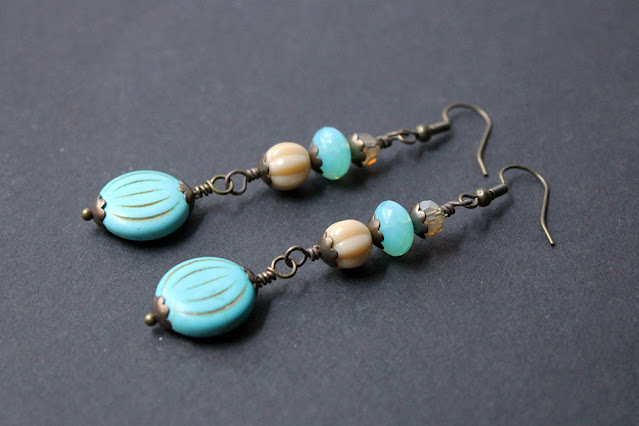
As it's the 15th of the month, it's time to show off what I made for the Double Color Jewelry Collaboration that is the Pirate Pretties Jewelry Challenge. This month, we were to use the color combination of Blue and Tan to make a pair of earrings. In addition, bronze/brass or silver metal was to be used. And, for an optional challenge, we could include the fun element of shell. (Spoiler: I didn't use the fun element this month.) Here's what I did make.
These earrings came together quickly once I had my beads selected. You can watch the reveal video on YouTube and learn how they were made. The video also includes a little trick I figured out in the process. (How's that for a tease?)
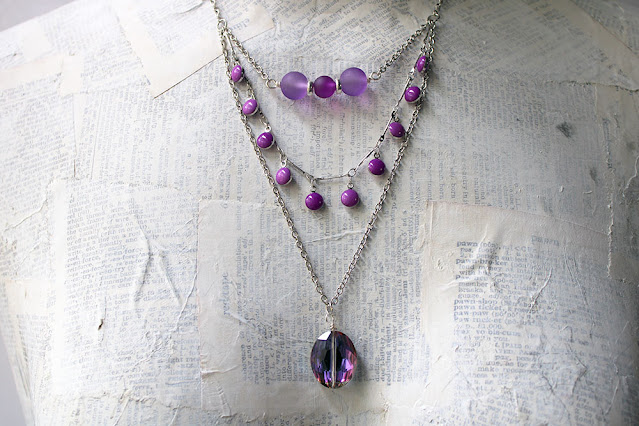
I hate that I haven't been over here lately and promise that I'll do a post soon about what was keeping me so busy the last couple of weeks, but for now I'm here to share one of the things I made from some of the beads and chain that I received from Jesse James Beads as a Design Ambassador. (My last post gave you a peek at what all they sent me.) If you watched the video, you saw me ohh and ahh over the enameled dangle chain in dahlia. I knew it would be just perfect for a layered necklace. And, I was right!
Along with the enamel chain, I used a few more beads from Jesse James Beads and some silver tone chain from my own stash to create the necklace. I think it's perfectly customizable as you get to decide how long you want each layer.
You can watch how I made this one to see how simple it really can be. Seriously, the hardest part is getting your lengths just the way you want.
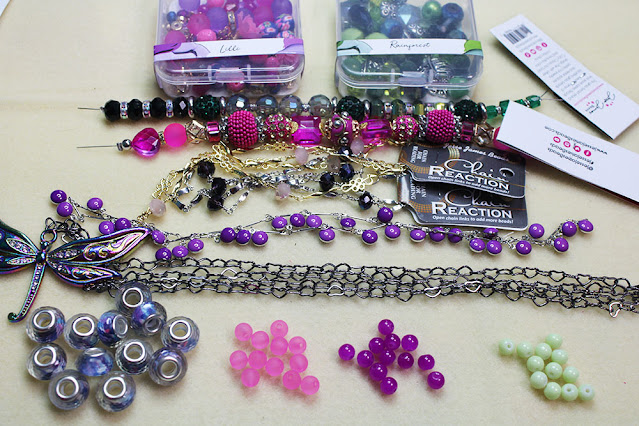
I received another package of goodies from Jesse James Beads as one of their Design Ambassadors. This one was full of bright pinks, purples, and greens and felt quite Spring-like.
I've already got a few ideas for some of these beauties and should hopefully be sharing those soon. For now, you can watch me unbox and take a good look at all of what I was sent.
I'm hoping to get back on track with balancing blogging and videos and Instagram and all the things. But, we all know it's a tightrope walk. So, I will not promise anything - just my hope. Let me finish last year by sharing the art journal and mixed media projects that I shared on YouTube in December. As is to be expected, the bulk is my #CraftyHopePrompts - a project I created for myself to build up and use a prompt deck. You can learn more about it in the videos.
The card for Week 14 of #CraftyHopePrompts is already up for this week too, if you're interested in playing along. Hopefully, I'll be back here soon with more variety.
If you wouldn't mind, I'd LOVE to know what you'd like to see more of here. What you're missing from my posts. What you come here for. Let me know in the comments or shoot me an e-mail!
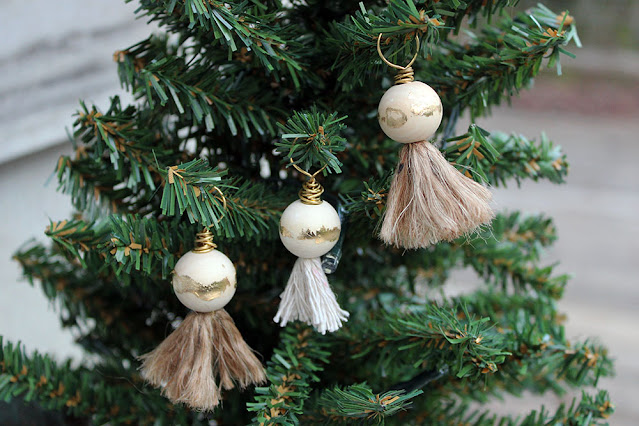
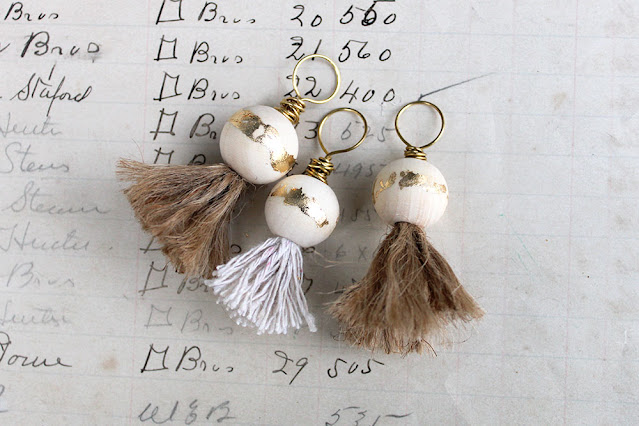
It's a few days past Christmas and you're probably already focusing on the new year - I've personally got a list of goals for 2023 building on my desk! BUT, I forgot to share these cute ornaments with you and thought it would be a good idea to do so in case you want to save them for next year.
So cute, right!?
They're a cinch to make and easy to personalize for your mini tree. Here's my video on how to create your own.
I really just used materials that I had here at home.
I think one of my goals for the new year may need to be more on top of things - like blogging. We'll see how that goes!
Let me know if you have any questions at all - about these ornaments, my goals, whatever. And, feel free to share what some of your goals for the new year are.
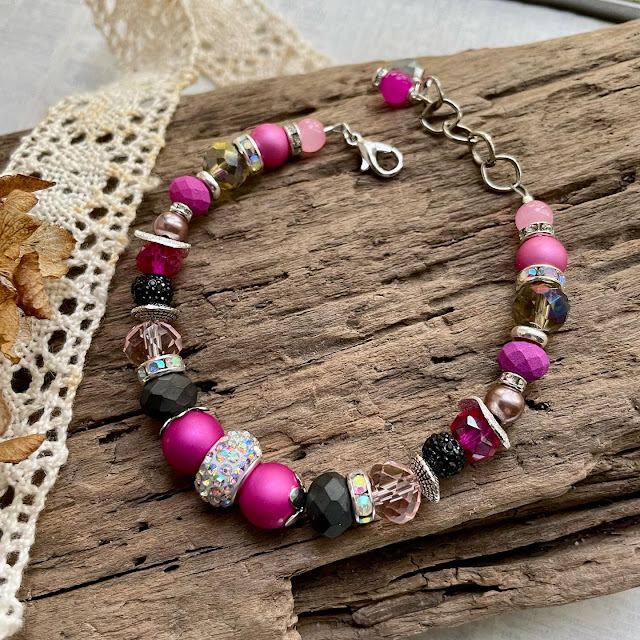
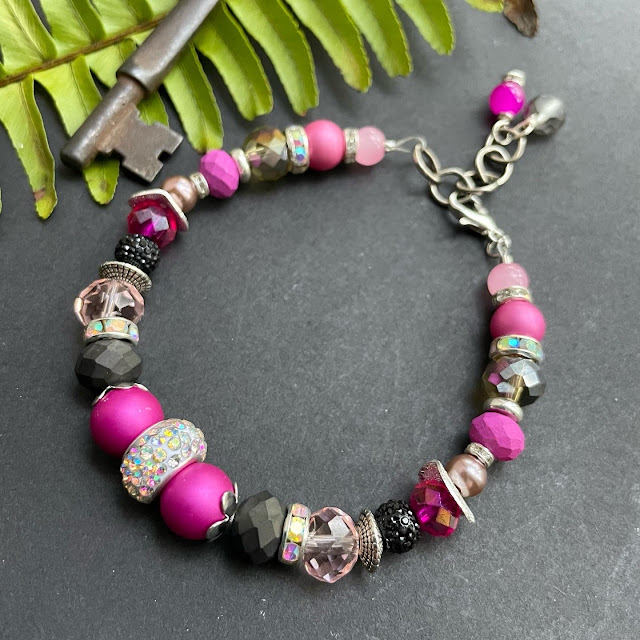
Sometimes the best gifts are the ones that you make. I can't resist crafting a few projects for friends and family this time each year. With one friend in mind, I gathered some beads and made a simple beaded bracelet just for her.
And, since I knew this project and method might work for others too, I popped on the camera and recorded the process in case you want to make one too.
It really was just a matter of sorting through an array of beads from Jesse James Beads, getting them in an order I found pleasing, and crimping the ends. But, the results really are stunning.
While it's probably just fine on its own as a gift, I'll pair this bracelet with a couple of other goodies I hope she'll enjoy. It was just so darn simple to make, I want to throw in some extras too.
So, tell me, are you making any gifts this holiday season?
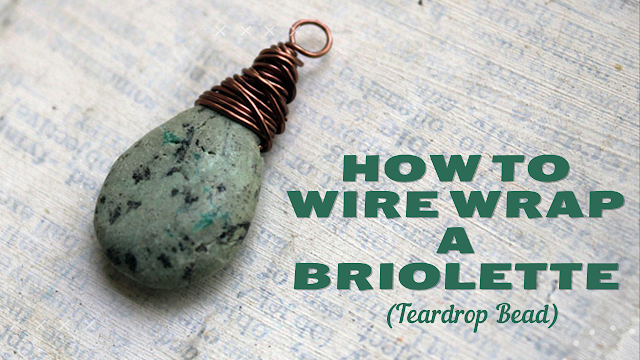
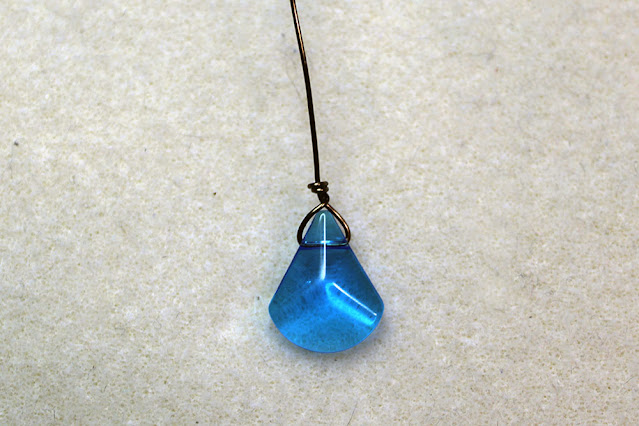
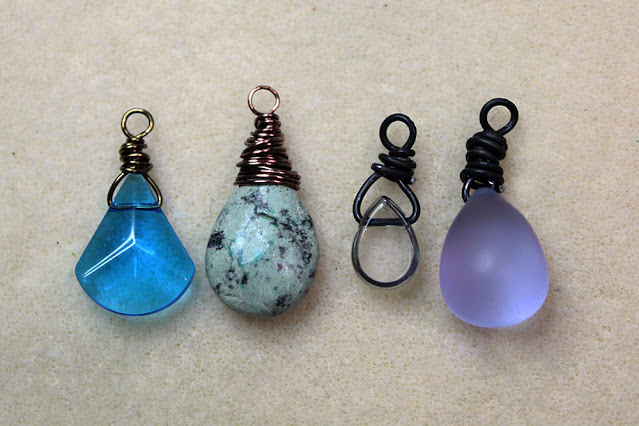
It's been a minute since I added to my Jewelry-making for Beginners series. As I was working on another project (stay tuned for that reveal!), I realized that I've never shared the basics of wrapping a top-drilled teardrop bead, otherwise known as a briolette.
The tools, materials, and steps are pretty simple.
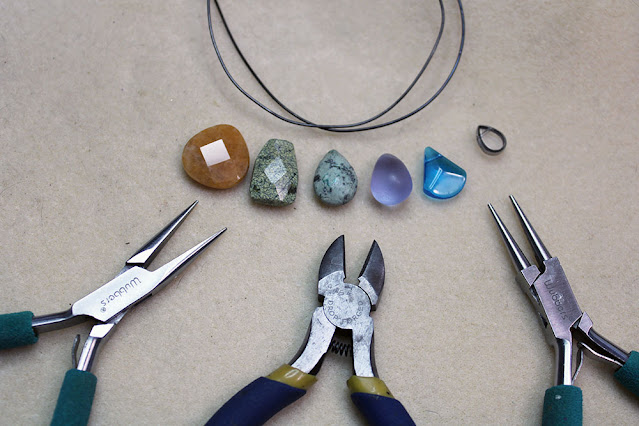
Start with your briolette, some wire that fits easily through the hole in the bead, wire cutters, chain-nose pliers, and round-nose pliers.
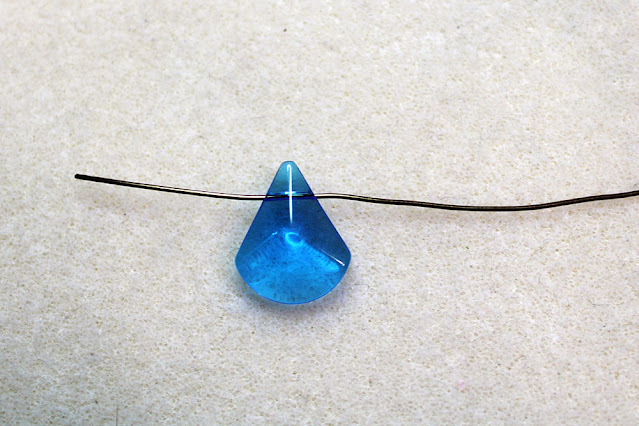
From there, insert the end of the wire into your briolette. You may only need an inch or so coming out the other side (depending on the gauge of the wire and the depth of your briolette's point.)
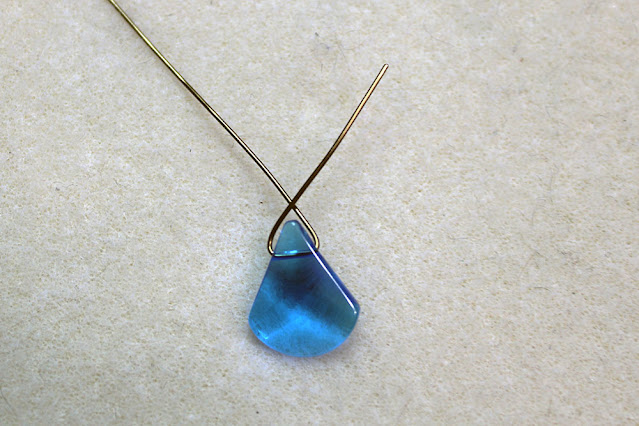
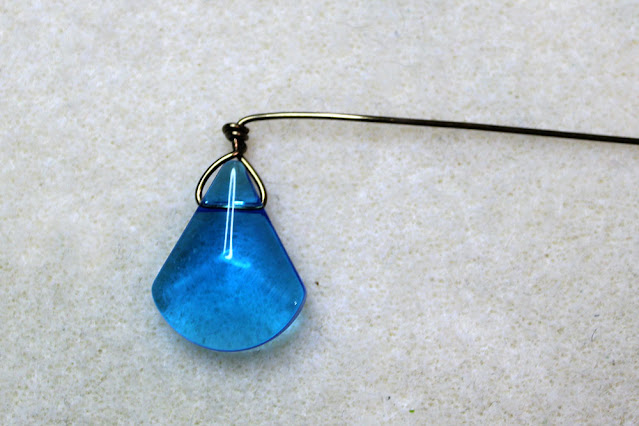
Bend both ends of the wire up and over the bead so they cross.
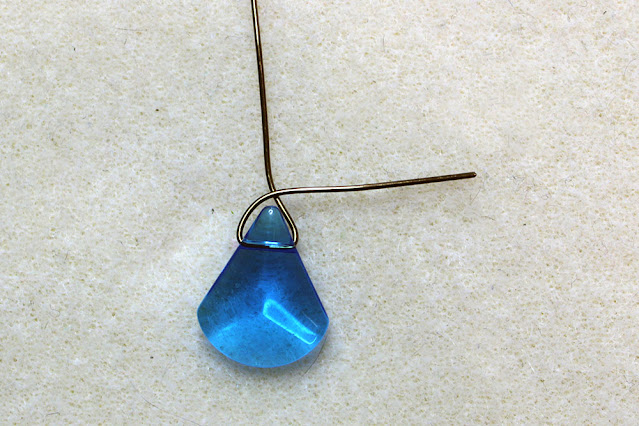
From the point where they cross, bend your short (tail) end horizontally and the longer end vertically.
Wrap the tail end around the other end a few times, then trim the excess.
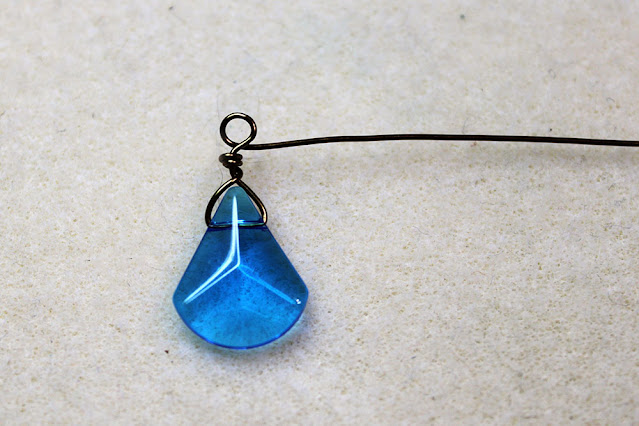
From there, you're basically going to create a wrapped loop. Start by bending the wire horizontally just above where you wrapped the tail.
Using your round-nose pliers, create a loop.
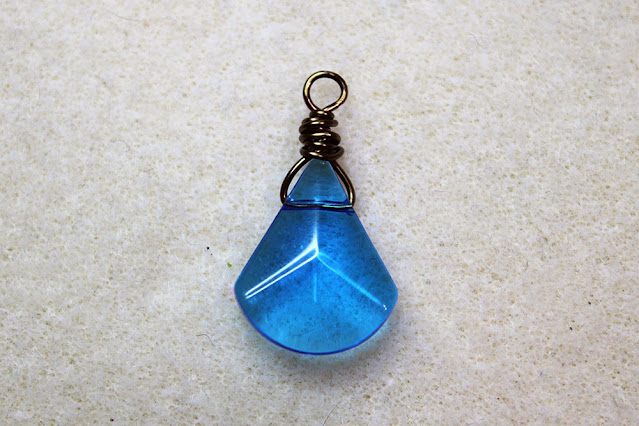
Finish by wrapping the wire around the previous wraps, just below your loop. Then, trim any excess wire.
You can make your wrapping as simple or elaborate as you wish.
There are some very cool ways to make the wrapping more decorative. However, that's not really my style, and I just wanted to share the simplicity of this technique. You can watch this whole process in my video.
And, please let me know if you have any questions at all!
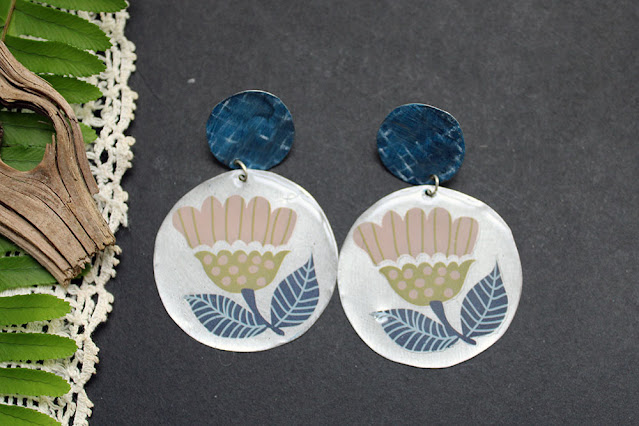
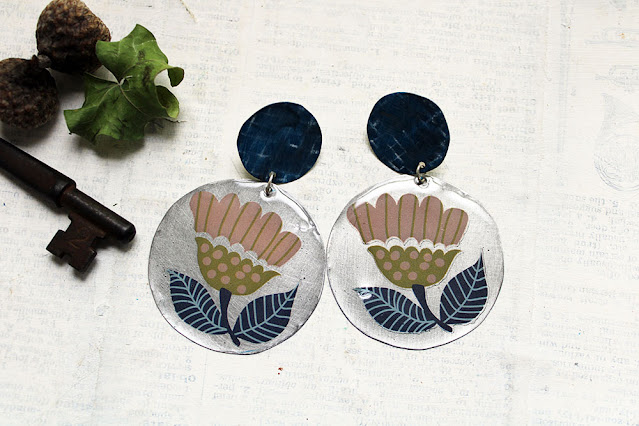
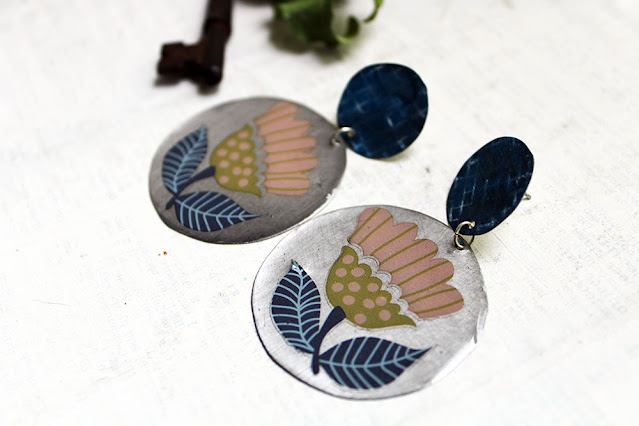
When I saw the cute rub-on transfers at my local Dollar Tree, I knew they were perfect for more than just paper crafts. And, I was right. It was easy to transform them into super cute earrings.
I simply used the bottom of one of my old cookie tin containers, added the transfers to the tin, and cut circles around them. From there, I punched a hole in each of the tins and added some UV resin.
Oval jump rings were used to connect the altered circles to another altered piece of tin that has post-earring findings adhered to them.
And, that's it! Simple, pretty floral earrings made with rub-ons from the Dollar Store and old tin. You can watch my full video tutorial on YouTube.
Let me know if you have any questions.
Have you found a fun use for this type of transfer? I just used some also in my Beware Spider Webs Necklace too. I can't wait to experiment with them more.
If you're interested in my Mixed Media and Art Journaling endeavors, I like to do a monthly roundup of what you may have missed over on the YouTube Channel. For the next year or so, it looks like these roundups will consist mostly of my new #CraftyHopePrompts series, which has me working on building and using a prompt deck for the 52 weeks in a year.
Let's begin with that, then get to what else I created in October.
I've already revealed the week 5 card/prompts but will save that for next month's roundup. I have created a page here with the weekly prompts and links to the videos if you'd rather keep up that way. I'll try to keep it updated.
The only other art journaling video that I shared on YouTube was my contribution to Mixed Media Menagerie.
That was it for October for the most part. Make sure you're subscribed to the CraftyHope YouTube channel and hit the bell icon so you get notifications when I post new videos. You don't want to miss anything, do you? 😜