Showing posts with label necklace. Show all posts

Bead Box 17 - Reveal

It's well past time that I share the jewelry designs that came from the 17th version of my Bead Box. Let me explain my box first. It's a simple 17-compartment, plastic organizer that I use to hold the pieces for seventeen jewelry designs. I turn to the box when I travel or need something already designed to do with my hands. It has honestly come in handy MANY times. 
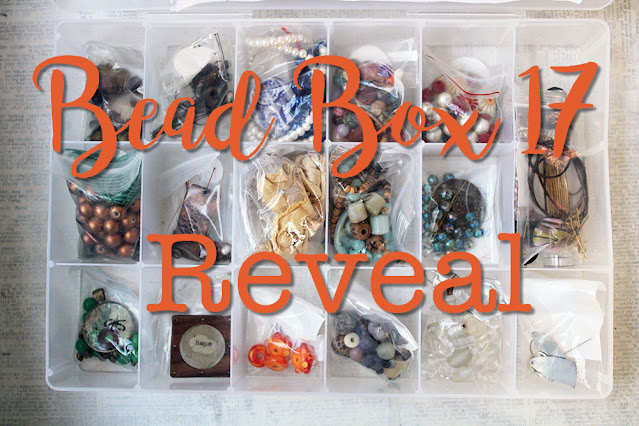
Above you can get a glimpse of what the box looked like before I started pulling the pieces together. Let me tell you that for this box, I included sketches and instructions for what I had planned for the elements in each compartment. And, to stock this box, I turned to many artisan-made components - things I have been hoarding for some time. Now, it's time to show you how it all worked out. 

This first necklace came together just as planned. You can find it already in the Etsy shop, listed as Soldier's Necklace

Here's where I began pulling in artisan elements that weren't made by me. These super fun earrings flew out of the Etsy shop pretty quickly!

I expected this one to come together without a hitch, and I was right. It's now available at Hello Gallery Art & Things in downtown Fairhope. 

Oh, I really love how well the colors in this long necklace blend together. And, working with the copper wire was so lovely too. Anyway...this one is also at Hello Gallery. 

Simplicity was the key to allowing this Golem Studio focal to be the star of this necklace. I've got it up at the antique store. 
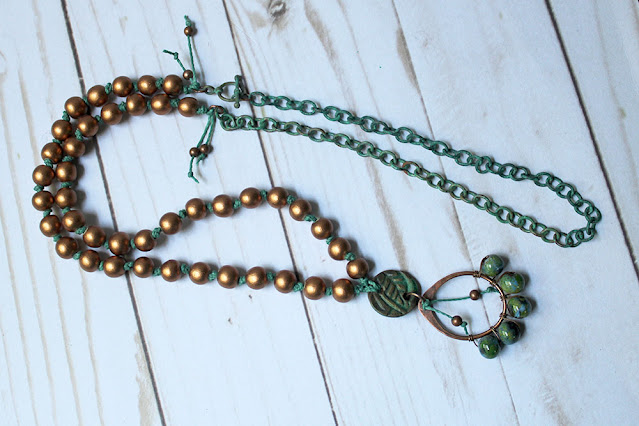
So very many artist-made elements went into this beauty of a necklace. Since it is a work of art, it's available at Hello Gallery

I can't get over how beautifully these turned out. These Patina and Pearls Earrings are currently listed in the Etsy shop.

It was important to me to keep the other colors in this necklace as neutral as possible so that the many colors of the lampwork bead would show through. I think it worked. You can find this Lampwork Tassel Necklace in the CraftyHope Etsy Shop. 

Also in the Etsy shop is this Grow Necklace. It was a wonderful reminder of how I started in jewelry-making - stringing necklaces on beading wire. 

This Filigree Sparkle Necklace was so wonderfully methodical to make with just one bead type (for the most part). Click the link to see some other pictures of it in the Etsy shop. 

In every bead box, there are a few designs that I'm just not sure about. As well, bracelets are a bit of a stumbling block for me. I was so excited about seeing how this one worked out. Alas, I just don't think it works. 

Containing some of my favorite things, this Crackle and Rust Necklace is available on Etsy. Don't you just love that shade of green, and the crackle, and the rust!?!? Yum!

I really hate that this pendant ended up breaking while I was trying to wrap beads around it. It was totally my fault as I simply put too much pressure on the wood with the wire. 

These beautifully bright earrings are destined for the Etsy shop. But, I had to fix them first. Somehow I cut through one of the wires and didn't even notice until I started editing these photos. Do you see the break in the wire? Whew. I'm so glad I did!!

Okay, so I really do love this bracelet. But, I haven't decided what to do with it yet. I feel like it needs a little something else - maybe some fun dangles before I try to sell it. I will admit that it came together so quickly and easily on the beading wire. It made me question why I don't use the stuff nearly as much as I used to. 

This is one of those necklaces that will go with everything!! And, it is available for sale - at Hello Gallery in Fairhope! 

I love it when the last item in the box comes together super quickly. That was the case with these earrings. They are also at Hello Gallery with so many of these other pieces. 

If you're interested in seeing other versions of my bead box, here's the full list of posts. 


Usually, when I get one of these posts up, I've already stocked the next box. However, that just hasn't happened this time. Hopefully, I can remedy that soon and share Box 18 with before too long. In the meantime, let me know if these turned out the way you expected.

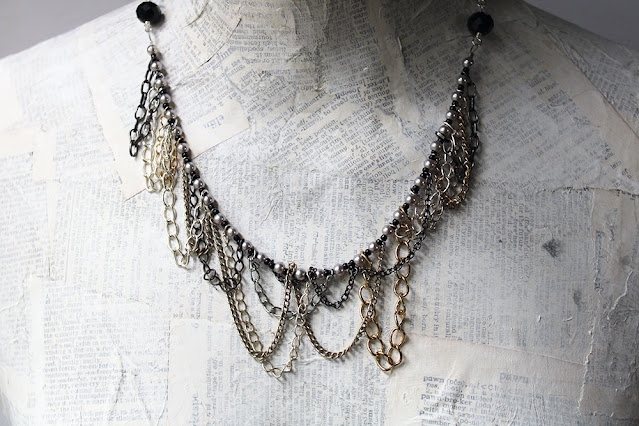
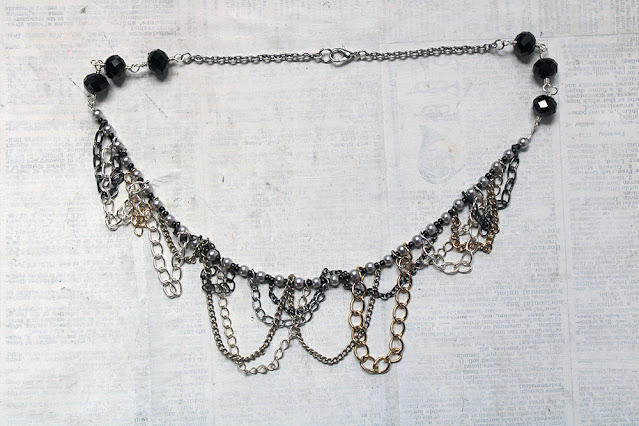
Pirate Pretties Jewelry Challenge April 2023

 For about the past year, I've been sharing the monthly information on the #PiratePrettiesJewelryChallenge from Angela of Pirate Pretties on Facebook in my roundup of challenges and inspirations. This month, I was boggled for a bit by the double colors of Grey and Black, though they sound so simple. The other elements of the challenge were to use either silver or gunmetal to make a necklace and to (optionally) include chain as a fun element. It was kinda ironic that figuring out a way to use chain in a unique way was what really hung me up. But, inspiration prevailed. 


The design is not one I've ever tried before, and I headed into it with my fingers crossed that it would work out as I hoped. And, it did! I'm not sure that I could explain the process to you here. But, no worries, I have a whole video that shows my process.


Of course, I would be happy to also answer any questions you may have.


It was easier than it looks, I promise!


DIY Easy Layered Neckalce

 Where the heck has the month gone?

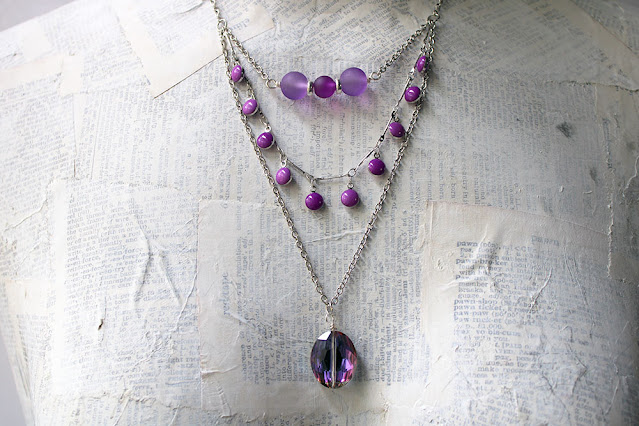
I hate that I haven't been over here lately and promise that I'll do a post soon about what was keeping me so busy the last couple of weeks, but for now I'm here to share one of the things I made from some of the beads and chain that I received from Jesse James Beads as a Design Ambassador. (My last post gave you a peek at what all they sent me.) If you watched the video, you saw me ohh and ahh over the enameled dangle chain in dahlia. I knew it would be just perfect for a layered necklace. And, I was right!


Along with the enamel chain, I used a few more beads from Jesse James Beads and some silver tone chain from my own stash to create the necklace. I think it's perfectly customizable as you get to decide how long you want each layer. 

You can watch how I made this one to see how simple it really can be. Seriously, the hardest part is getting your lengths just the way you want. 


Let me know if you have any questions at all!


Easy Chain and Bead Necklace

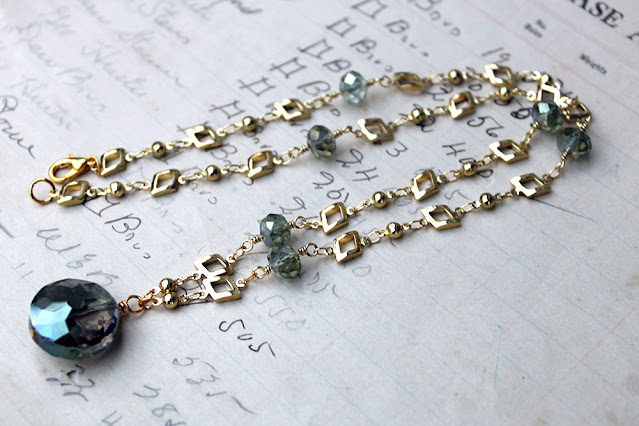
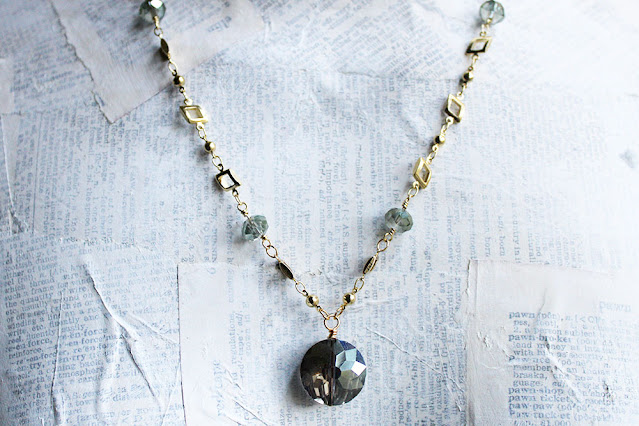
As a Jesse James Beads Design Ambassador, I receive a ton of fabulous beads, findings, charms, buttons, and chains. But, admittedly, some of it lingers in my stash because it feels too precious to work with, too perfect already. This is precisely the case with the Chain Reaction strands. These strands contain interesting metal links interspersed with wire-wrapped crystals. They can easily be a necklace or a bracelet on their own. So, I struggle. But, in an attempt to push myself this year and be BRAVE (my Word of the Year). I moved some of the chains around on my desk until this super simple design jumped out at me.


The skills needed to make it were little more than knowing how to open and close a jump ring and how to make a wrapped loop. And, I only need a few jump rings, a clasp, and a headpin to pull it together. I'll talk you through it in the video.


The video also contains some real-life moments too: cats fighting, dog barking, and me being unprepared. But, that's how inspired I was to create this piece. I couldn't wait for the "perfect time" to make it work. It had to be made right then!

I've already got a few more ideas of what to create with some of the other many strands of Chain Reaction in my stash. But, I'd also love to know what would you make with this neat chain. You can see a few more examples of it in the video. 


Honey Do List November Reveal

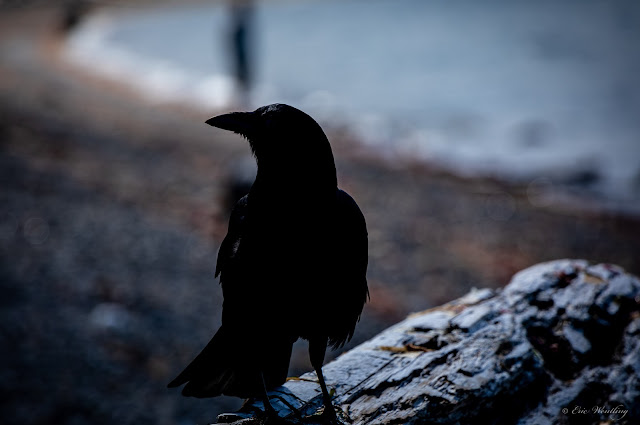
I really love this month's inspiration photo from Sarajo and Eric of SJ Designs Jewelry for their Honey Do List challenge. It's moody and dark and mysterious.


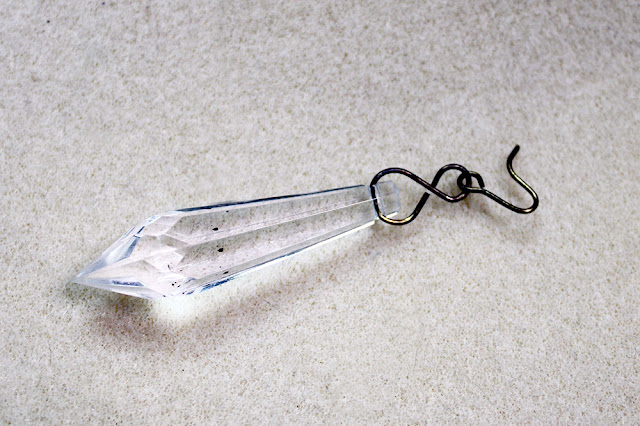
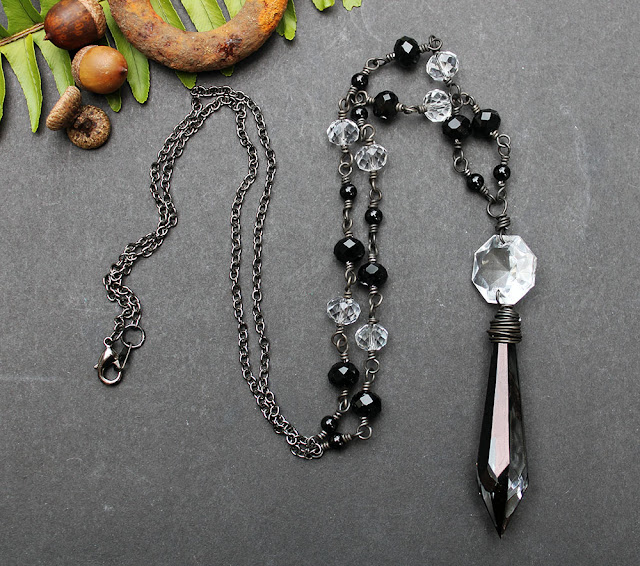
I have to admit that it took me a little while to get to this challenge even though I saw the photo at the start of the month and adored it then. As soon as I took a second peek, I got to gathering and making. The first thing that struck me was the darkness of it, so I knew I needed black. Then it was the...pointiness of it - the beak, the feathers. So, I dove into my stash of chandelier crystals for a dagger crystal to use as a pendant. 


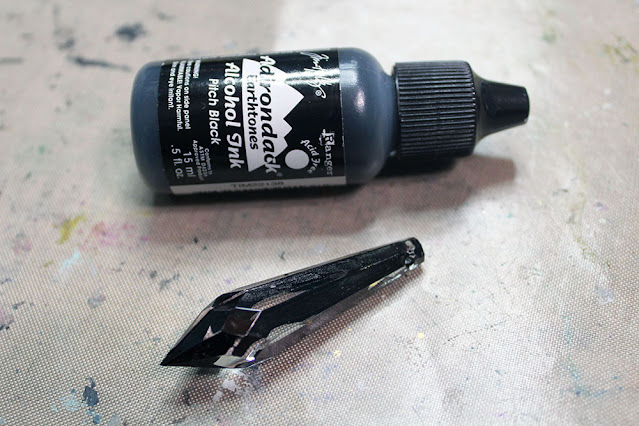
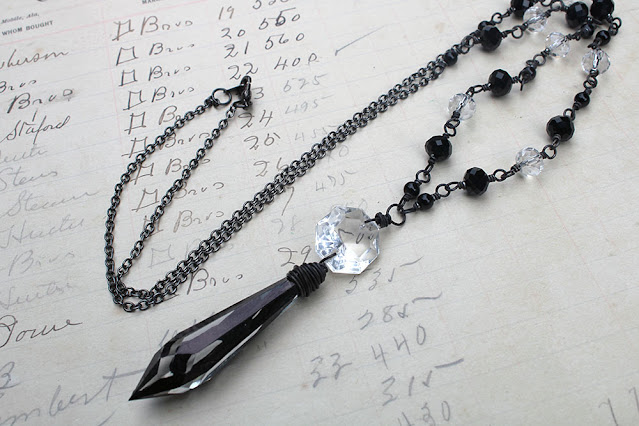
I found this plastic variation that had apparently been an earring. It wasn't quite "dark" enough for me. So, I altered it with black alcohol ink. 


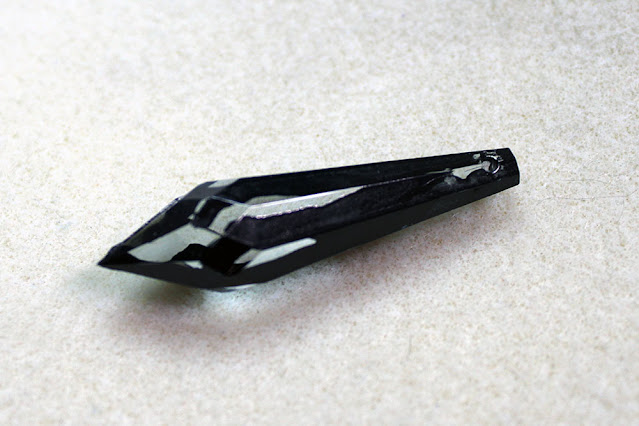
 It's kinda hard to see, but I just dripped some of the ink down sections of the "crystal" so that the black only covers some of it.


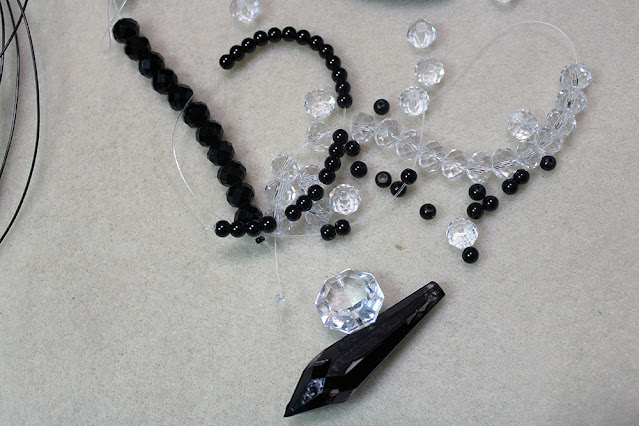
From there, I collected beads that went with the dark, goth look I wanted.


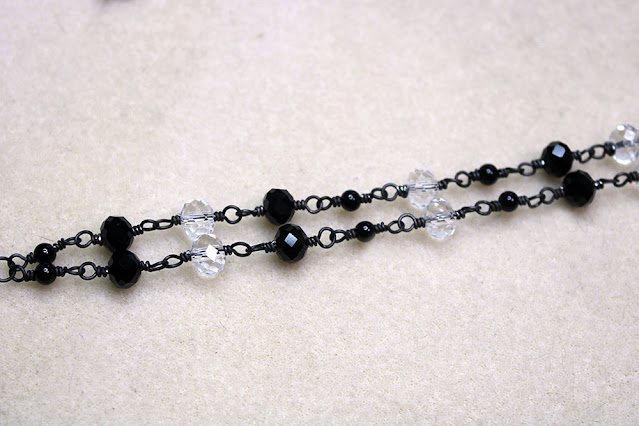
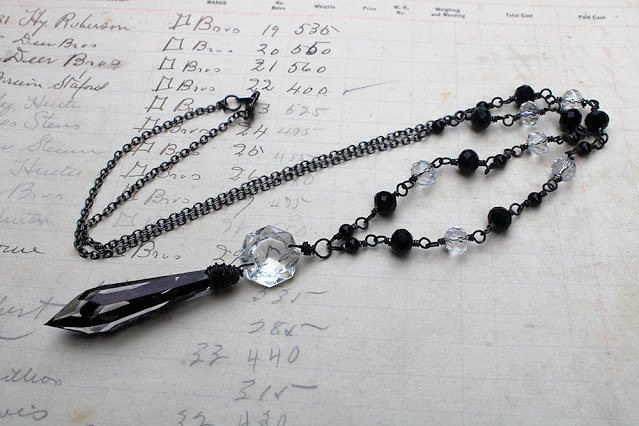
I kept to a simple palette of black crystals and pearls along with clear crystals. I also added a real chandelier crystal connector that would be used to help complete the pendant and give it a little more weight. Then, I began making the chain.


I used some cleaned and sealed annealed black steel wire to connect the beads via wrapped loops.  This made up the front part of the chain for the necklace. I finished the back of it with gunmetal chain. 


I have to admit, it's exactly what I wanted. 


I'm actually kinda relieved that I found the plastic "crystal" so I didn't have to try the alcohol ink technique on one of my real crystals. And, getting to upcycle a salvaged earring is great also!!

Thanks as always to Sarajo and Eric for the inspiration for this necklace. I'm anxious to see what Sarajo and any other participants made. Check out her SJ Designs Jewelry blog. If you're inspired by the photo, make something and make sure to share it on Sarajo's reveal with the linky tool. She'll have it open for several weeks. 


October 4Core Challenge Project Reveal

I've mentioned the 4Core Challenge from Ina Solsbery several times in my monthly challenge list. It's one that I really love. Each month, Ina issues a mixed media art challenge that must include four core (4core) ingredients. Your medium can be anything, 2D or 3D.  This month, I went for a necklace.


 Ina's four prompts were: 

  1. Aware Beware Danger
  2. Crackles, Rips, Broken, or Damaged
  3. Crescent or half-moon shape
  4. Spider
I began by recognizing that the spider prompt was going to be tough for me as I'm arachnophobic. So, I let that slide, figuring I could come up with something later. In the meantime, the crescent shape occupied my mind. I realized that I still had a few golden brass crescent connectors from Patina Queen in my stash. With that, it was easy to recognize that I needed to make jewelry. 

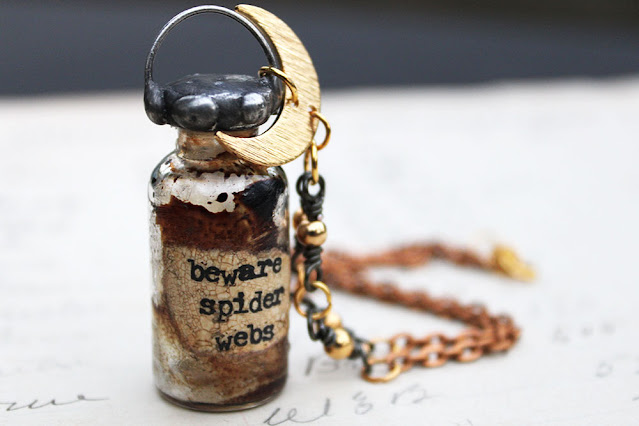
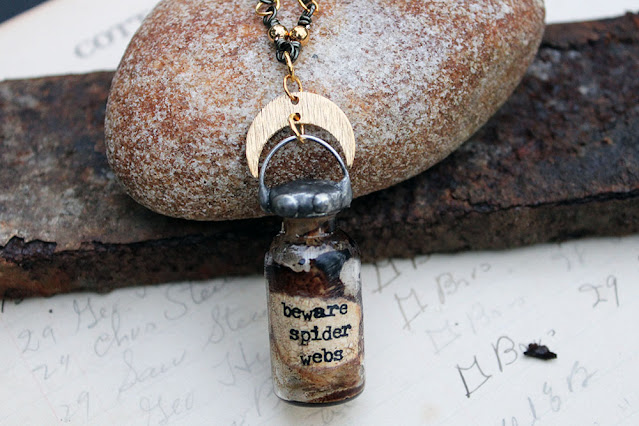
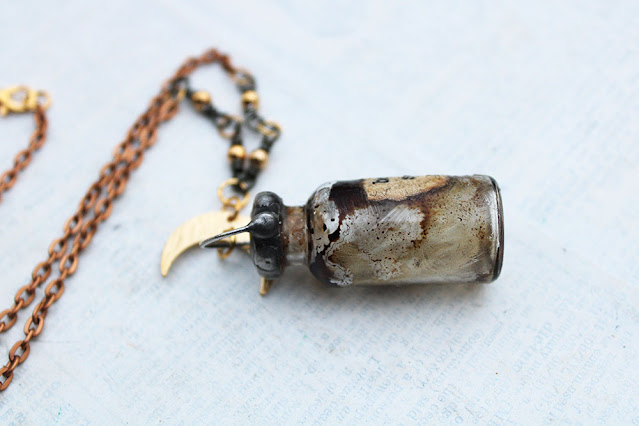
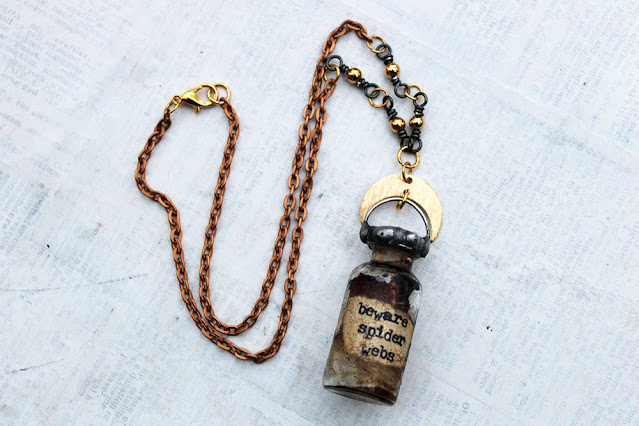
So, I stuffed some dandelion fluff into a small glass jar that I altered with alcohol ink. The fluff kinda looks like spider webbing, and I made a label using rub-ons with the word beware on it. I soldered the jar closed and added an arc of wire to help connect it to the crescent. The label was altered with inks and crackle paste to complete all the prompts.


The chain of the necklace is a simple metal chain to which I added a few gold beads on gunmetal wire - to get the mixed metal look of the pendant. 

It's a darling necklace, just perfect for spooky season! To get a better idea of how the pendant came together, you can watch my Beware Spider Webs Necklace video on YouTube. 

And, don't hesitate to let me know if you have any questions!
So, how would you have handled these four prompts?

Make a Pendant from a Chain and a Chain from Beads

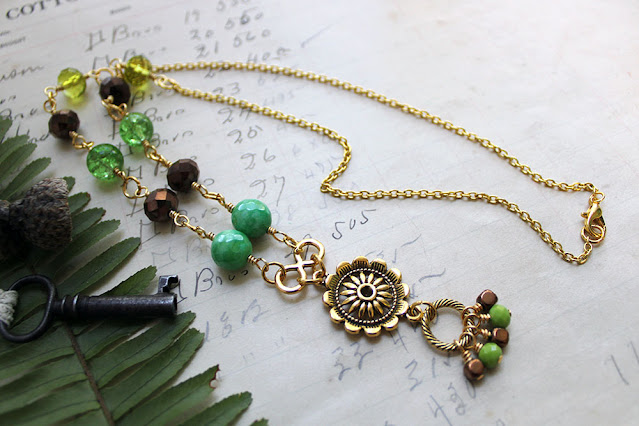
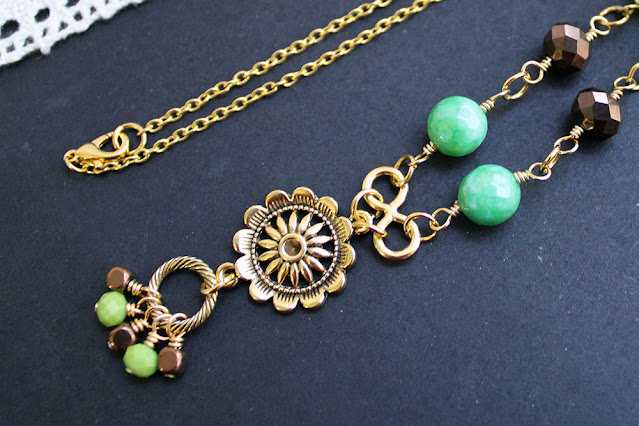
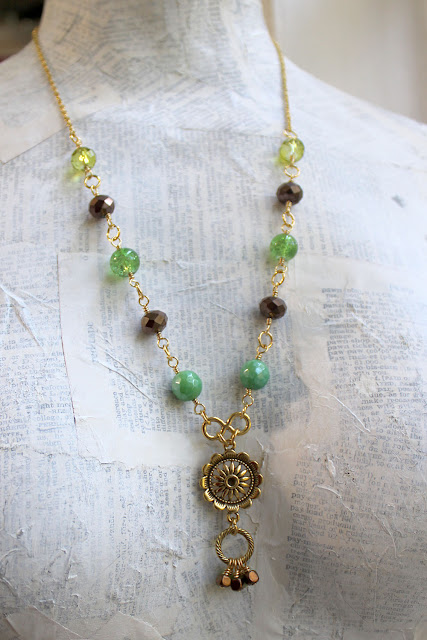
I have received a glorious array of beads from Jesse James Beads as a Design Ambassador. In fact, I've gotten so many that some have been neglected. I received the July Magical Mystery Bead Box at the end of July and put this Sunflower-inspired box aside while I made designs with some of the other beads from them. The Sunflowers box seems perfect for Fall, so it was about time I pulled it out and played. You can watch my unboxing of this array of beads, chain, and other treasures on YouTube. This unique necklace is my first to come out of that box. 


The "Chain of Blooms" chain from the box included three main links, and I moved them around so that the twisted ring hung from the bottom of the floral connector. The infinity connector was perfect to top the pendant and connect it to each side of the chain once I altered its alignment.


Dangles were created with headpins and a few of the beads in the Sunflowers Mini Mix. This addition finished the pendant.


From there, I picked out brown and green beads from the Gratitude, Friendship, & Happiness Bead Mix and used them to make links for the front portion of the necklace's chain. Jump rings were used to attach these links together and add a golden chain from my stash. To finish the necklace, a lobster clasp was added. 

This is a fabulous fall necklace. And, it kinda, sorta looks like an owl (one of my favorite animals). In my YouTube video, you can watch the complete tutorial to Create a Pendant with a Chain and a Chain with Beads


Of course, if you have ANY questions, I'd be happy to answer them. Ask away!


Bead Box 15 - Reveal

I recently finished all the pieces stocked into the fifteenth version of my Bead Box. This is a basic plastic organizer with seventeen compartments that I use to pack up designs that can be assembled while I travel or am otherwise uninspired. I've already shared what I stocked in the box so now it's time for the reveal. 


Usually, I only reveal seventeen designs - one for each compartment, but this one has nineteen as I got so inspired that I packed it all in as best as possible. So...here we go. 

I have a thing for the mystical and magical and somehow mushrooms play right into that for me. So, this little mushroom jar tickles me to no end. I wasn't sure how long the necklace would be once I wired the beads together, but some added chain gave it the length I wanted. 

It was simple enough to wrap up the beads for this chain in a simple pattern that corresponds with the colors in the tin disc. For such a small piece, it really packs in some interest.

The picture I took of this necklace captures the moodiness that I feel it has, despite the "zeal" word on the pendant. It's simple but lovely.

How fun are these!? I wanted the dangles to be as colorful and cute as those little triangles of tin, and I think I succeeded in that. 

These little beauties were so easy to pull together. They make me think of frosty cold beverages on the beach.

It's crazy to me that these earrings are basically the same as the ones before them because these feel a little more buttoned-up and classic - perfect for a boardroom. 

I owe the design of this necklace to my bead friend Jenny. She has a tutorial for this bead tassel necklace in her Etsy shop. In it she explains how to pick out beads and color palettes, putting the design together, and so many amazing tips. I definitely recommend it. 

As a Design Ambassador for Jesse James Beads, I receive lots of their cool beads. The next several designs consist primarily of beads from them. This earring design almost fell together. And, aren't they gorgeous!?

Likewise, once I saw this little green connector, I knew it needed to be a bracelet. It didn't take much to pull this beautiful design together. 

These seem like they were meant to be. As I mentioned before, the tin pieces were from my stash. I just happened to finally find the right beads to go with them in my Jesse James Bead stash. 

I seriously don't know what I would have done with this unique pendant I made if it hadn't been for one of the bead strands I received from Jesse James. Somehow, they were just right for this short necklace. 

In my mind, you can never go wrong with lots of blue. I mean...isn't this necklace just dreamy and perfect? 

Simplicity at its finest! This is a necklace that will go with anything. 

These earrings were made with the above necklace in mind. And, like them, they will go with just about anything in your wardrobe. 

I knew when I packed the bead box that this necklace would be my favorite, and I was right. It checks so many of my boxes - teal, sparkle, simple, pretty. 

I knew these would work beautifully before I even put them together. I was right. 

I have mixed feelings about this necklace. It looks great and took me FOREVER to make. But, the weight. . . it just isn't quite right. Some of the beads in the necklace are heavier than the focal so it doesn't hang as it should. I will likely have to find something heavy to add to the focal to make it work before I can really call this one finished.

It took very little to pull these last earrings together - just a few wire wraps. 

With that, this Bead Box was done (for the most part). Here's a look at all my previous stocked and revealed boxes, if you're interested. 


I've already got Bead Box 16 stocked and ready to go. So, you can expect that blog post soon. Usually, I tell you where you can find the completed items (as they often end up in one of my shops or sold before I get the rest of the designs completed.) However, I delayed listing these items this time around. I'd love to hear which ones are your favorite!


NEW website (and blog to go with it)

 Hey y'all!! I've got some news. It's great, but also bittersweet. After almost NINETEEN years here on Blogger/Blogspot, I'v...