While I am abundantly aware that July has ended, I also know that Sarajo at SJ Designs Jewelry leaves the linky tool open for about a month after the reveal date for each of her challenges. The Honey Do List challenge is one that her husband, Eric, offers to her each month. He gives her a photo from which she can draw inspiration to create jewelry designs. And, she shares that photo on her blog for other jewelry artists to use also. I was a bit overwhelmed in July but knew that the photo was one that would lead me to a great design. And, I wasn't mistaken!
I really adore the necklace that I made from this inspiration photo.
You see, the crest in the middle of the photo (among the leaves of the tree), called out to me. I decided to create a crest-shaped pendant from tin. And, I was determined to use a tin that had leaves on it.
In addition, I incorporated blacked steel wire that echos the wrought iron of the gate. I realized that this completed necklace doesn't scream of the original photo, but it's those little elements within the photo that pulled me to create this fabulous piece.
As always, thanks go out to Sarajo and Eric for the inspiration. Make sure to head over to the reveal of the Honey Do List to see what else was made from the photo.
When I saw that the Art Elements Theme Challenge for July was Upcycle, I knew I would have to post SOMETHING. Almost everything I create includes some kind of upcycling in it. I really could just make a long list of links and pictures and be done with it. But, it's more fun to share something new. So, before I get to a very short list of some of my previous upcycled projects, here's the "something new" I created.
Before I go any further, let me explain what upcycling is. Here's the quick definition.
Basically, it's taking something old or intended for the trash and transforming it into something new or using it in a new way. This is the basis for most of the art I create day in and day out. So, I was almost intimidated by this being the theme for the challenge, because upcycled art is my everyday. Anyway...let's get back to that sweet little pendant I made.
I began with a tiny round tin.
It's a tin for clock springs (I hauled in a TON of these at the beginning of the month and will have a thrifty haul to share next week.) This one had no counterpart and needed a new purpose. So, I started with it.
After creating loops in the tin with headpins, I layered UV resin, paper, rub-ons, lace, and a paper butterfly (from a Tim Holtz Ephemera pack) in the recess of the little tin.
I layered and layered until I came up with something that made me happy.
If you're interested in learning more about the process I used, I will have a video reveal on the CraftyHope YouTube Channel on Saturday at noon (CST) that shows a very similar technique with a basic bezel.
I'm really tickled with how well this pendant came together and can't wait to integrate it into a full necklace. As well, I have a massive stash of more of these tins now that will also be transformed in the future (yay!)
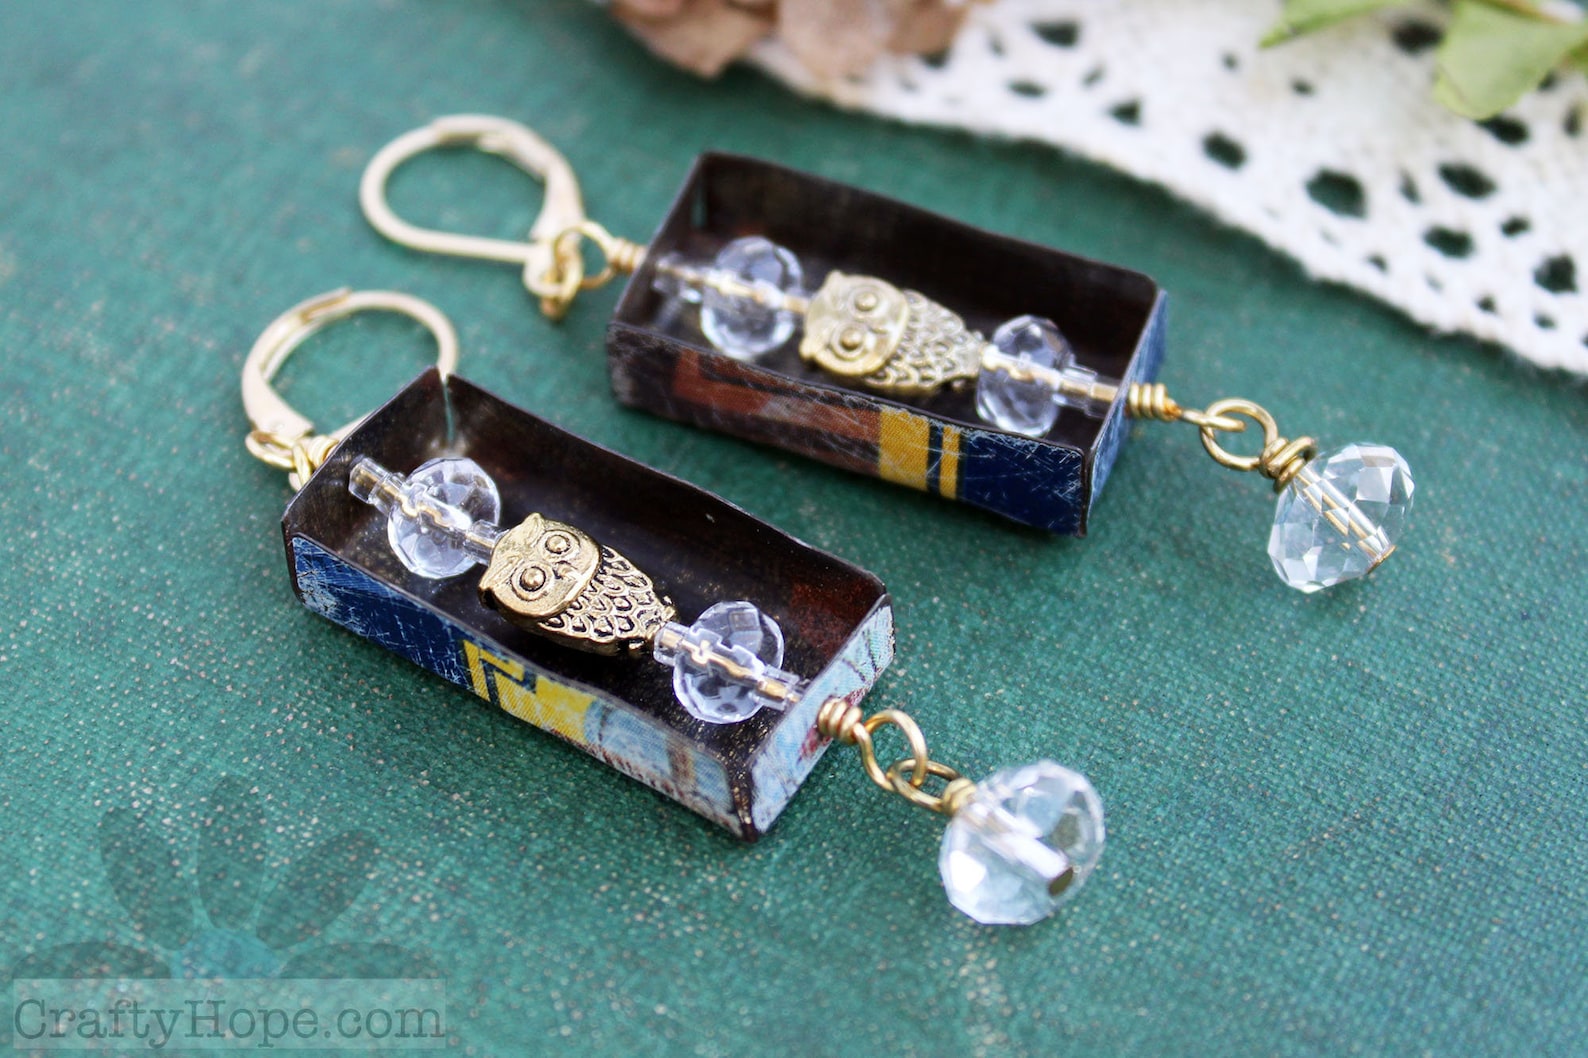
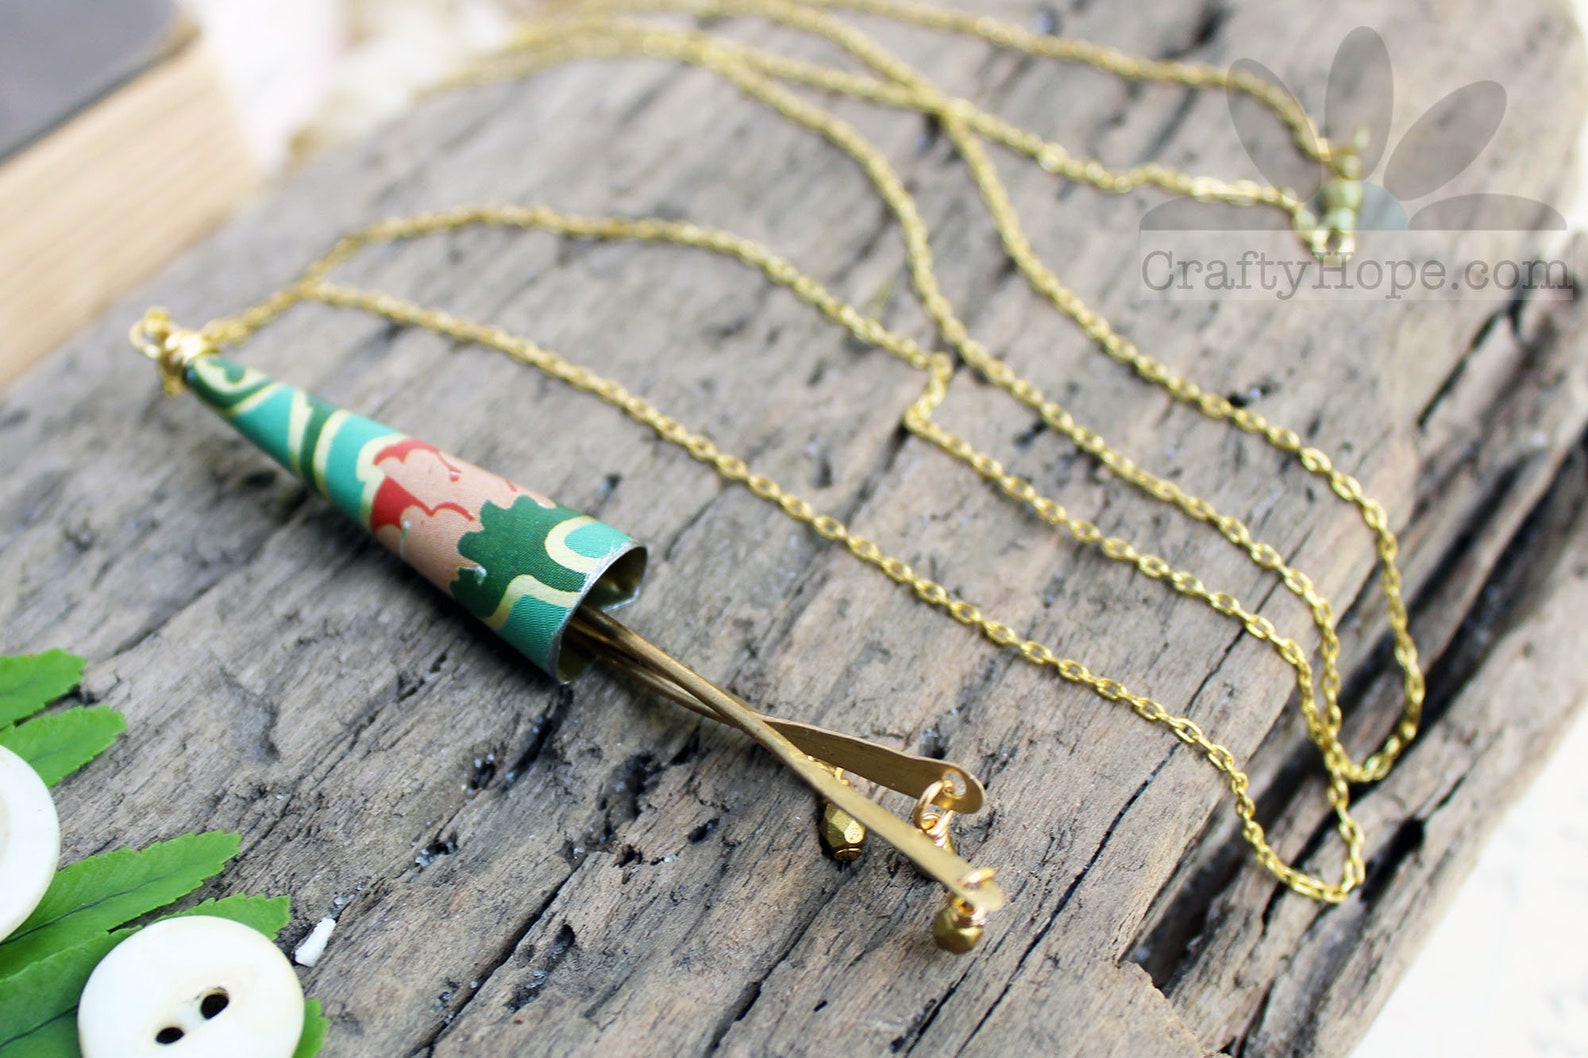
Now, I mentioned that I also upcycled loads of other things and would be remiss if I didn't share a few of them. First, almost everything in the CraftyHope Etsy shop includes some kind of upcycled item (almost). Old cookie tins are one of my favorite items to upcycle into my jewelry.
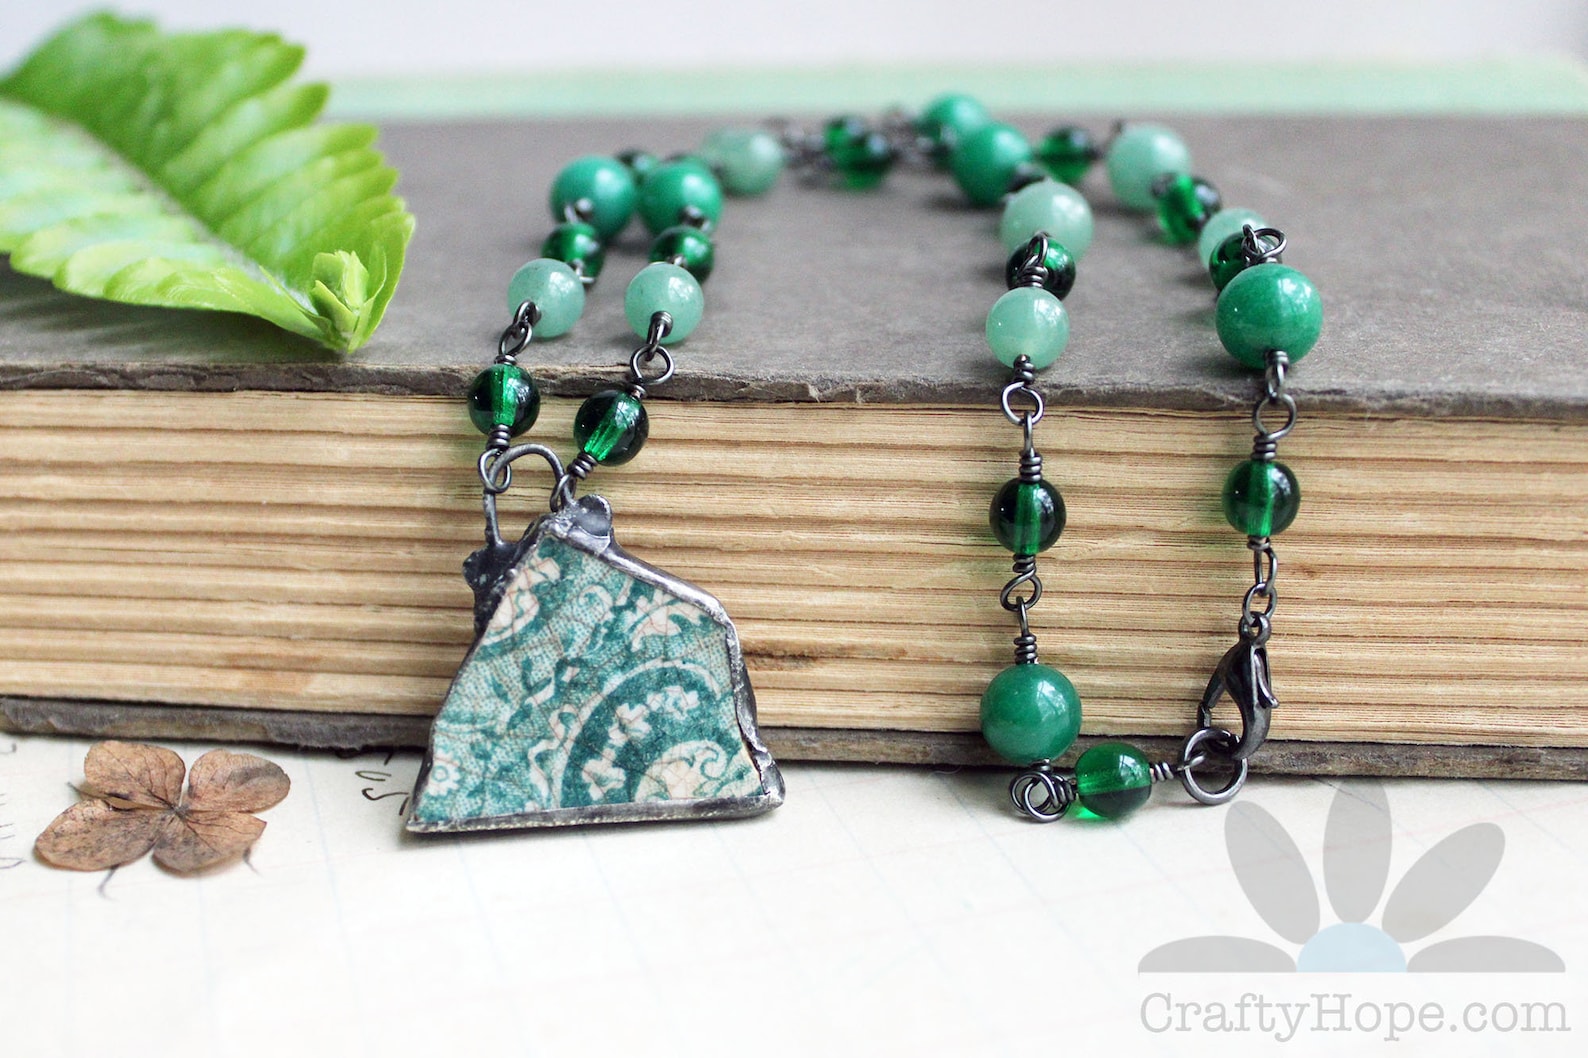
Admittedly, I did not personally find the ceramic shard that's the focal piece of this Green Pottery Necklace, but I did give it new life with the addition of some solder and beads.
Recently, I took old leather belts from the thrift store and made them into cuff bracelets.
Eventually, I will add other elements to them for personality and interest like this one that had (more) tin riveted to it.
But, it's not all jewelry-making for me. The most-watched video on my YouTube channel is my DIY Junk Drawer Wind Chimes video in which I show how to use an old tin can, wire, and items from your junk drawer to make a "wind chime."
If you're interested in some of my other videos on upcycling, there's also a Mixed Media Fairy Nook that was created for the Art Elements Repurposing theme challenge in April 2019 as well as my DIY Assemblage Owl that I made as part of the February 2019 "Birds of Prey" theme.
And, my mixed media paper projects almost always include the upcycling of various paper materials (old book pages, receipts, photos, etc.) I confess that I am an upcycling maniac! But, alas, I didn't get much more made new this month specifically for the challenge. So, I hope some of those other older projects will inspire you to take something old and make it into something new and amazing. I mean, otherwise, it's just going to take up space in a landfill. Don't let that happen! Make something beautiful instead.
Upcycling found and thrifted items has been a passion of mine for years. When I started seeing other artists using old cookie tins in their work, I was intrigued. It took me some time to figure it out, and I'm still tweaking my techniques. However, I've had other artists ask how I break down the tin, and I'm always happy to help.
I've got a quick video that shows the process in detail, but here you'll find a good look at the materials and steps. (I'll share the video at the end of this post too.)
Let me go ahead and admit that my first step(s) isn't completely necessary to begin with and can be done at the end. But, I start by locating the seam inside the tin.
Then, I use my heavy-duty tin snips to cut the rolled edge and down the side of the seam.
(Those are the steps that can wait if you want.)
From there, use your heavy-duty angled wire cutters to start pulling up (unrolling) the bottom edge. This is the part that might be best explained in the video.
As you work around the tin, it may come loose from the bottom (some do, some don't).
Unroll all the way around your tin.
If the bottom doesn't come loose on its own, simply push it out.
From there, you can cut your tin down to size. (This might be when you cut down the side of the seam if you didn't do it to start.)
Alternately, if you can't or don't want to unroll the bottom edge, you can also use either of your tin snips to snip along it. However, I've found that that method wastes some of the tin and can be a bit cumbersome. But, you decide for yourself.
Now that your tin is cut down, you can also cut down the lid, which I share how to do in the Breaking Down a Tin video.
And, if you're wondering what you can do with the tins you've cut down, here are a few examples from my Etsy shop of how I've used tins in jewelry.
I hope you have some fun treasure hunting for tins around your house or at secondhand stores. Don't hesitate to let me know if you have any questions! And, please share what you've made with your old tins.
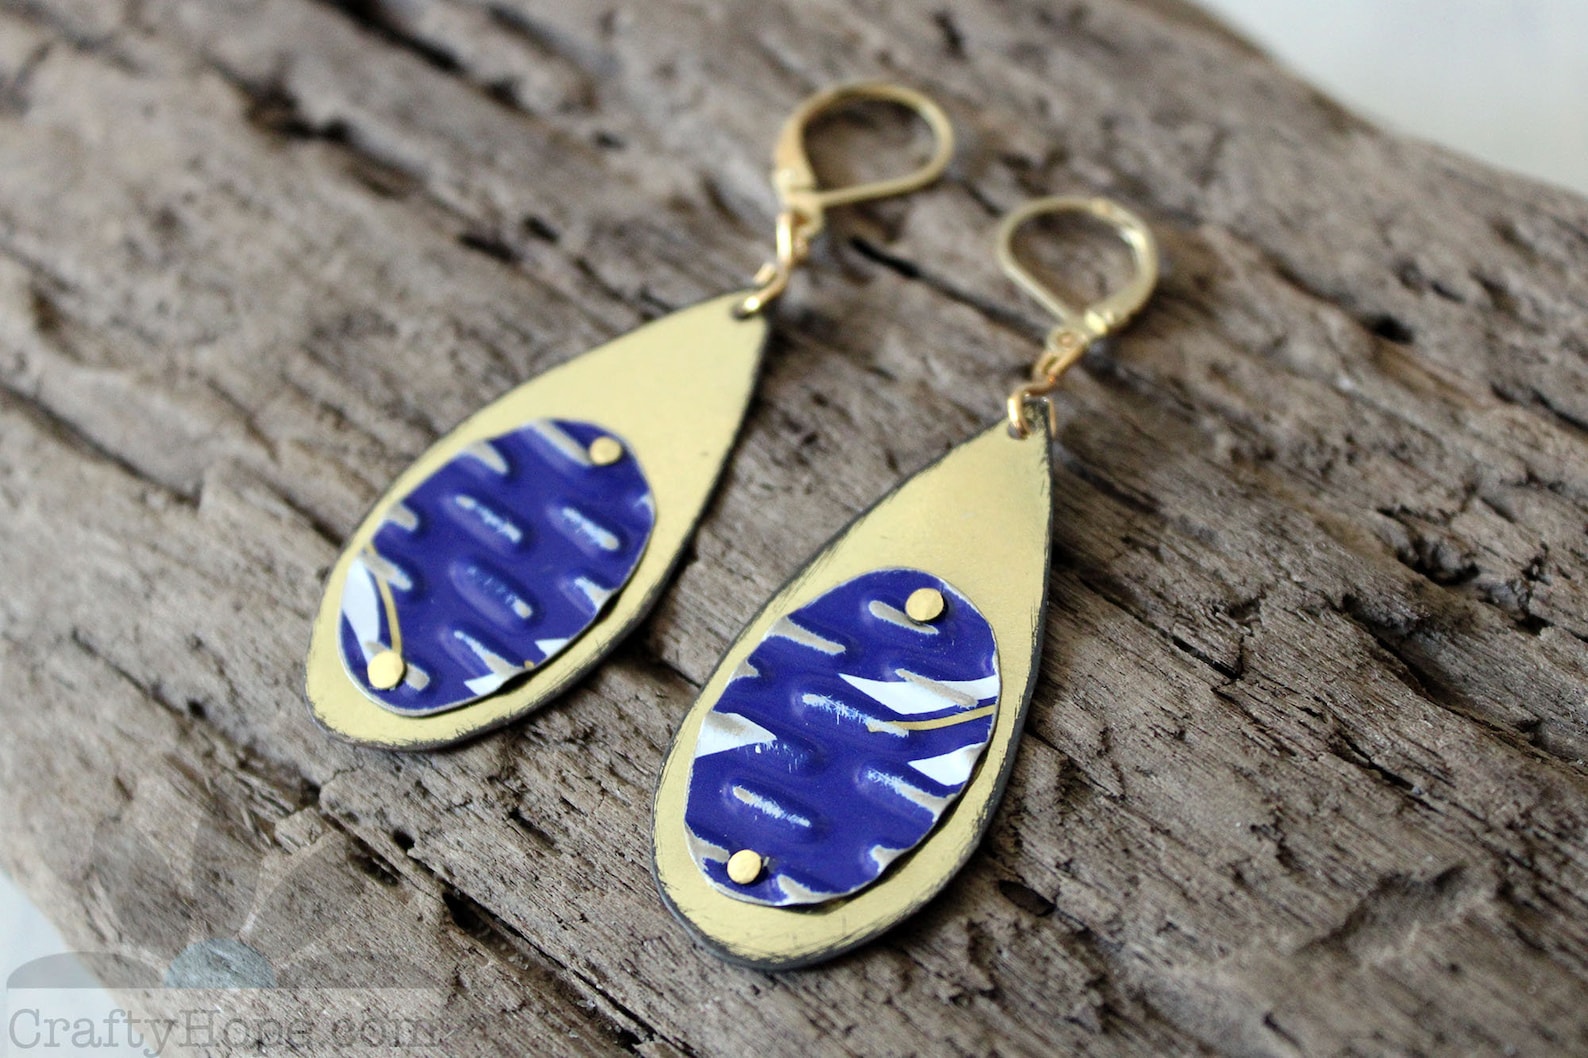
Sometimes a design idea just comes to you out of the blue. That's how it was with these earrings. I randomly saw something on TV that made me say, "Hmmm, I wonder..." And, before long, these earrings were born.
I'd like to say that I have a thorough tutorial with step-by-step pictures for you. But, that didn't happen. I did get a video of how to create these Floating Riveted Earrings though.
And, I'll tell you as best as I can how I made them.
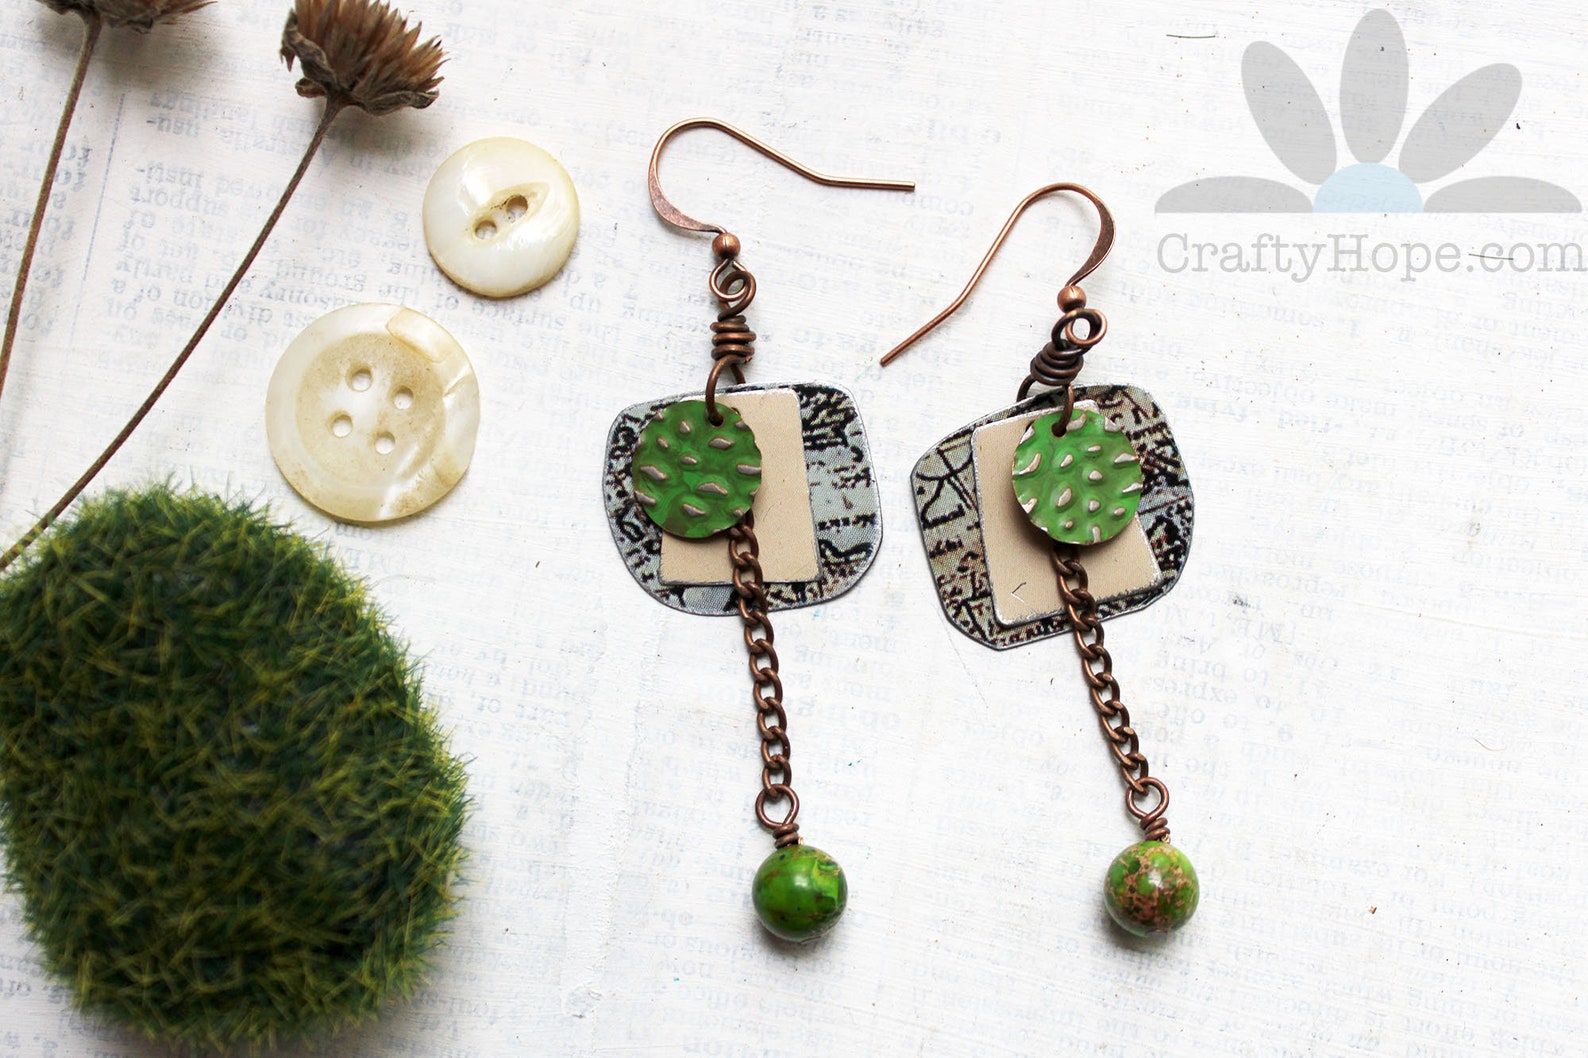
Start with two discs cut from an old cookie tin and two rings that are slightly larger than the discs. Also, cut six strips of tin. Sand the front, back, and edges of the tin discs. Cut a tiny bit off the corners of the strips then sand them also. Texture the discs by running them through an embossing machine in an embossing folder.
Color the embossed discs and the strips with Vintaj Patina. I used Verdigris for the discs and Ochre for the strips. When the patina is dry, use a very fine sanding block to sand off the patina from the raised portions of the discs. Darken the revealed areas with Novacan Black. Then, seal all the tin with Vintaj Matte Glaze.
Bend the tin strips at their centers around the small rod of bail-making pliers. Then, use a power punch with a 1.5mm punch to create holes at the ends of the bent tin strips. Punch a hole near the edge of one of your discs. Then, center the disc within the ring. Insert the bent strip over the ring and around the disc so your holes all line-up. Insert a rivet through the holes.
Trim your rivet down then use a small hammer to flatten the trimmed end and secure all your tin. Repeat this process so that you have three of the bent strips equally distanced from one another on each of the ring/disc combos. Open the loop on an ear wire and slip it onto on of the rings. Then close the loop, repeat on the other earrings, and you're done!
If you have any questions about my process, please don't hesitate to let me know. I'm still a little amazed at how easily these came together.
Disclaimer: I'm participating in the Amazon Affiliate program and as an Amazon Associate I earn from qualifying purchases.
The Honey Do List is a challenge hosted by Sarajo of SJ Designs Jewelry. Basically, Sarajo's husband, Eric, gives her one of his photos each month from which to draw inspiration. It started as a challenge for her, but Sarajo now shares it with the rest of us. And, I love it!
The moment I saw this month's inspiration photo, I knew where I wanted to start.
Isn't this door from Prague amazing!?
It had me chomping at the bit to run a piece of old tin through an embossing machine, color it, and add layers of filigree. And, that's just what I did!
Oh, y'all! I'm so in love with this piece! It had its ups and downs though. I even recorded my process for creating this fun altered and riveted pendant so you could take that roller-coaster ride with me.
To accent this amazing pendant, I selected just a few beads in a mix of metals (like the filigree) and added a length of gunmetal-colored chain.
Yeah, I'm pretty smitten with it.
I especially love the matte and worn feeling of the red on the tin. I had to mix that color myself using Vintaj Patinas. It looks like SJ did the same for a few of her pieces as well, though we used different colors to add to the garnet. The video shows you just what I did.
Making this beauty was a welcome distraction. I hope you're staying safe and secure behind your own doors right now!
Now, head over to SJ Designs Jewelry to see all the beauties she made along with the links for those who were also inspired by Eric's photo.
Can I just tell you how much I love the monthly Art Elements Theme Challenge? One of the team members selects a theme, anyone with a blog can participate, and you're welcome to use any medium you want to embody the theme. It's brilliant! This month, Jennifer Cameron chose to inspire us with "Letters" as the theme. We could take that any way we wanted, and I did - in the form of two projects.
Let me start with the one I finished first - an art journal page.
I used a fairly large mixed media journal for this project and layered on a collage of an actual handwritten letter and Tim Holtz Tissue Wrap in the Postale pattern. And with those two things, I had included letters in two forms. Done! Ha, not really.
I used several brown spray inks to add the color and water to take some of it away.
Letters were stenciled and stamped on with Distress Oxide ink.
And, I added washi tape with letters and words on them in a few spots.
Finally, I used hand-lettering to create a phrase I thought was appropriate and would finish up my overabundance of letters.
I remembered to record my process since this Letters Art Journal Page was created specifically for this challenge.
It's always fun to get messy in the art journal!
The next project was actually started months and months ago when I made the small tin box. I'm not even sure how long ago it was. At the beginning of January, I picked it back up, deciding it would be a good Valentine project. But, this was as far as I got.
When I saw this month's Letter theme, I decided that it would be a good opportunity to finish the little box, especially since it was a vintage hand-written love letter that was cut for the hearts. So, I began by gluing down the first heart with mod podge.
This not only secured the paper but also helped to seal it for the steps to come.
A metal punch was used to create two holes at the top of the box. I applied more mod podge to the outside edges of the box before sprinkling in some silver German glass glitter (from Ice Resin). Once the glue was dry, I wrapped the outside of the box in packing tape.
The packing tape helped to contain the Ice Resin that I poured in a thin layer into the box. After the resin had dried for a few hours and was still tacky, I placed another one of the hearts (a smaller one) on top of the first. This one had been edged with Staz-on black ink but not sealed. When the resin was cured, I slipped headpins into the punched holes - through the tape - before the holes were covered in the second layer of resin.
Once the second layer was cured, I added a final black-edged heart. This one was sealed with mod podge (though some of the resin has seeped into it) before getting stuck onto the other hearts and sealed under a third layer of resin.
For now, I'm letting the third layer be the last one as I like that this thin layer lets some of the edges of the last heart poke up a tiny bit. Once I was sure this layer was dry, I removed the tape and created simple loops with the headpins. Then, the piece was transformed into a necklace with the addition of some ball chain.
And, I REALLY love it!
I should tell you that the red portion of the tin was the outside of it while the inside portion was a distressed silver.
There's absolutely nothing perfect about this necklace, but I think that's the charm of it.
I know that the letter portion of this reveal is pretty weak, but I did highlight that handwritten love letter in an unexpected manner.
At least it was unexpected for me.
Before you start (continue) hopping to the other participants' contributions, I want to thank Jennifer for the amazing, inspiring theme as well as the team at Art Elements for allowing me to participate along with them. I needed this! Now, here's the list.